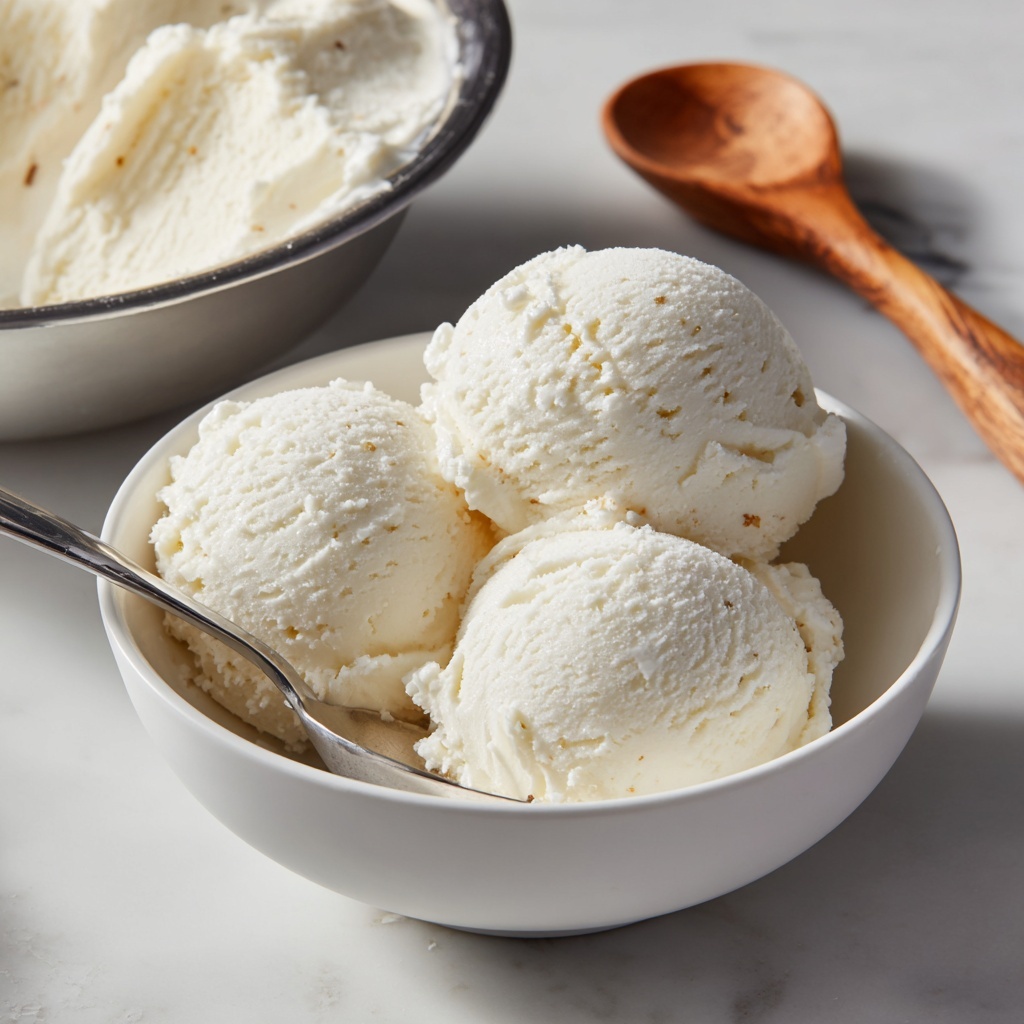
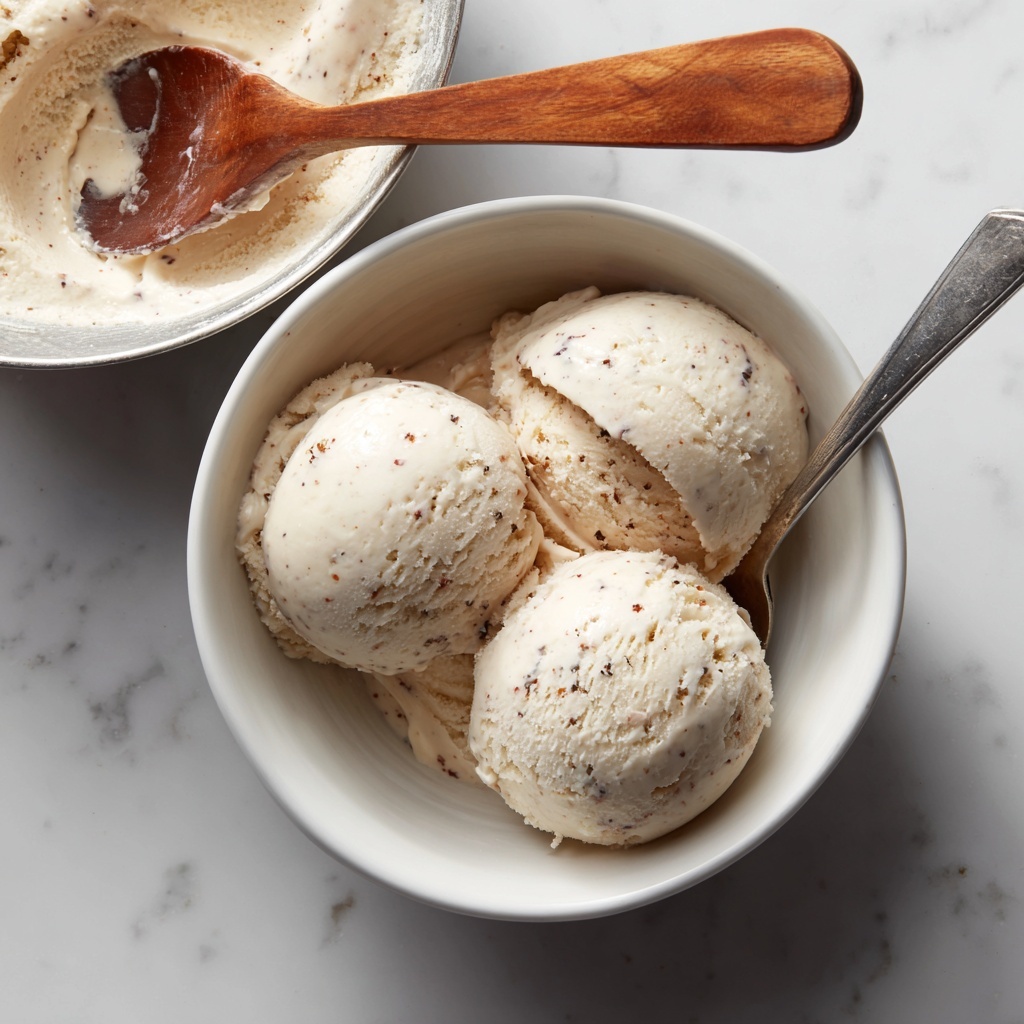
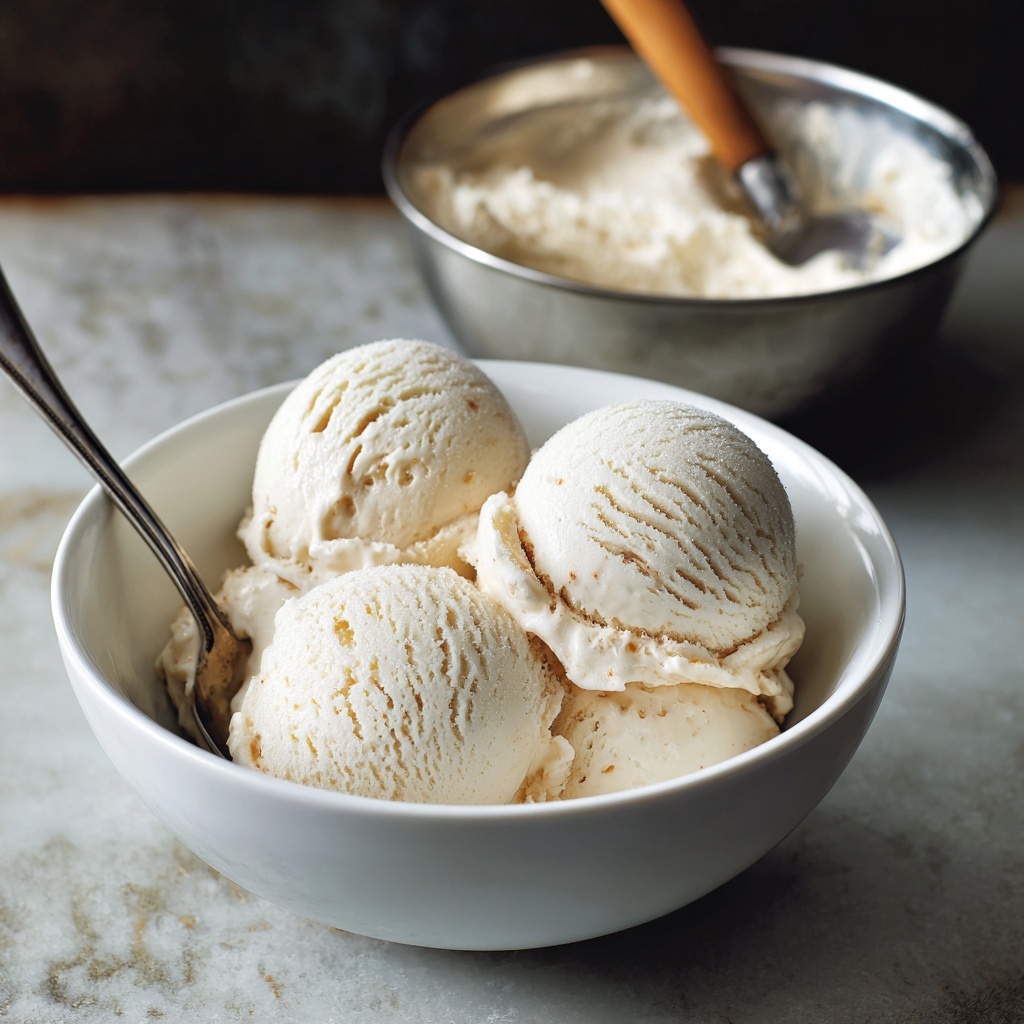
If you have been on the hunt for a luscious, creamy treat that’s entirely plant-based and feels like a real indulgence, this Vanilla Vegan Ice Cream Recipe will become your new best friend. It’s a delightful blend of rich coconut and almond milk, sweetened just right, and infused with the pure essence of vanilla. Whether you’re vegan, dairy-free, or just craving something fresh and homemade, this recipe is a total game changer that brings joy to any dessert moment.
Ingredients You’ll Need
These ingredients are refreshingly simple but each one plays a crucial role in building the smooth texture, rich flavor, and beautiful creamy color of your ice cream. Everything you need is easy to find and totally worth having in your kitchen arsenal.
- 2 cups full-fat canned coconut milk: The secret to ultra-creamy texture and rich mouthfeel that mimics traditional ice cream perfectly.
- 1 cup unsweetened almond milk: Adds lightness and subtly nutty flavor while keeping the base dairy-free.
- 3/4 cup organic cane sugar: Just the right amount of natural sweetness to balance the coconut’s richness.
- 1 tablespoon pure vanilla extract: Brings that warm, comforting vanilla aroma and flavor that’s essential in any vanilla ice cream.
- 1 teaspoon vanilla bean paste (optional): For a deeper vanilla taste and those classic little vanilla bean flecks that look fancy but are easy to add.
- 1 tablespoon cornstarch: Works like magic to thicken the mixture and give it that perfect scoopable consistency.
- 2 tablespoons warm water: To dissolve the cornstarch evenly and avoid lumps in your custard base.
- 1/8 teaspoon salt: Enhances all the flavors and balances the sweetness beautifully.
How to Make Vanilla Vegan Ice Cream Recipe
Step 1: Prepare the Cornstarch Slurry
Start by whisking together the cornstarch and the warm water in a small bowl until smooth. This slurry is your thickening agent, and making sure it’s lump-free is key for that creamy texture you’re after.
Step 2: Heat the Milk and Sugar Mixture
In a medium saucepan, combine the full-fat coconut milk, unsweetened almond milk, organic cane sugar, and salt. Warm the mixture over medium heat, stirring occasionally so the sugar dissolves completely. You want the mix warm and smooth, but never boiling, because that could affect the final texture.
Step 3: Thicken the Ice Cream Base
Once warm, slowly stir in your cornstarch slurry. Keep cooking over medium heat for about 3 to 5 minutes while stirring constantly. You’ll notice the mixture begins to thicken into a luscious custard-like consistency that’s so important for creamy vegan ice cream.
Step 4: Add the Vanilla Flavor
Remove the pan from heat and stir in the pure vanilla extract and vanilla bean paste if you’re using it. This step locks in those gorgeous vanilla flavors that make the ice cream truly special and unforgettable.
Step 5: Chill the Mixture
Let your custard cool to room temperature, then cover and refrigerate for at least 4 hours until it’s completely chilled. This resting time helps develop the flavors and ensures a better churn.
Step 6: Churn to Perfection
Pour the chilled custard base into your ice cream maker and churn according to the manufacturer’s instructions. The result should be thick, creamy, and ready to delight — just like traditional ice cream but kinder.
Step 7: Freeze for Firmness
Transfer the churned ice cream to a freezer-safe container and pop it in the freezer for 2 to 4 hours until firm. When you’re ready to serve, let it sit at room temperature for a few minutes to soften slightly before scooping.
How to Serve Vanilla Vegan Ice Cream Recipe
Garnishes
Think fresh berries like raspberries or blueberries, a sprinkle of toasted coconut flakes, or even a drizzle of dark chocolate sauce to elevate your bowl. Fresh mint adds a lovely pop of color and freshness, making every bite a little celebration.
Side Dishes
This Vanilla Vegan Ice Cream pairs wonderfully with warm fruit crisps or pies, dairy-free brownies, or alongside vegan waffles or pancakes for a decadent breakfast treat. It’s a versatile star whether for dessert or an everyday sweet moment.
Creative Ways to Present
For a fun twist, serve your vegan vanilla ice cream in hollowed-out coconuts or waffle cones. You can also layer it with crushed vegan cookies or fruit compotes for delightful parfaits that look just as good as they taste.
Make Ahead and Storage
Storing Leftovers
If you have leftovers (and you probably will), simply cover the container tightly and store in the freezer. Keep the ice cream well sealed to avoid it absorbing any freezer odors and maintain its creamy texture.
Freezing
Freeze your ice cream for up to two weeks for best flavor and texture. Going beyond that might cause ice crystals to form, but it will remain delicious for longer if stored properly.
Reheating
No need to reheat, but letting the ice cream sit at room temperature for 5 to 10 minutes before serving will soften it up, making scooping easier and enhancing that creamy mouthfeel we all love.
FAQs
Can I use other plant-based milks instead of almond milk?
Absolutely! While almond milk keeps the flavor light, oat or cashew milk are great alternatives that also add creaminess without overpowering the vanilla.
Is the coconut milk flavor very strong in this recipe?
Using full-fat coconut milk gives a subtle tropical undertone, but the strong vanilla balances it perfectly. If you’re sensitive to coconut flavor, adding the vanilla bean paste really helps mellow and enhance overall taste.
Can I make this ice cream without an ice cream maker?
You can! Freeze the mixture in a shallow container, stirring vigorously every 30 minutes to break up ice crystals until smooth. It’ll take a bit longer but the creamy result is worth the extra effort.
How do I make this recipe refined sugar-free?
Swap the organic cane sugar with pure maple syrup or agave nectar. Just remember that the texture might be slightly softer, but the natural sweetness will be just as delightful.
Can I add mix-ins to the ice cream?
Definitely! Adding dairy-free chocolate chips, crushed cookies, or chopped nuts in the last few minutes of churning makes your homemade ice cream even more fun and personalized.
Final Thoughts
This Vanilla Vegan Ice Cream Recipe truly makes enjoying a classic dessert both easy and exciting, without any dairy. It’s creamy, comforting, and full of real, honest flavors that you can feel great about. I hope you dive headfirst into making it — your taste buds will thank you, and you might just find it becoming a forever favorite in your kitchen.
Print
Vanilla Vegan Ice Cream Recipe
- Prep Time: 10 minutes
- Cook Time: 5 minutes
- Total Time: 6 hours including chilling and freezing
- Yield: 6 servings
- Category: Dessert
- Method: Churning
- Cuisine: American
- Diet: Vegan
Description
This creamy Vanilla Vegan Ice Cream is a delightful dairy-free treat made with full-fat coconut milk and almond milk. Naturally sweetened and flavored with pure vanilla, it’s churned to perfection for a smooth, rich texture that satisfies your sweet tooth while keeping things plant-based and vegan-friendly.
Ingredients
Liquid Ingredients
- 2 cups full-fat canned coconut milk
- 1 cup unsweetened almond milk
Sweeteners and Flavorings
- 3/4 cup organic cane sugar
- 1 tablespoon pure vanilla extract
- 1 teaspoon vanilla bean paste (optional)
Thickening Agent
- 1 tablespoon cornstarch
- 2 tablespoons warm water
Seasoning
- 1/8 teaspoon salt
Instructions
- Prepare the Cornstarch Slurry: In a small bowl, whisk together the cornstarch and warm water until smooth. Set aside to use later as a thickening agent.
- Heat the Milk Mixture: In a medium saucepan, combine the coconut milk, almond milk, sugar, and salt. Heat over medium heat, stirring occasionally until the sugar fully dissolves and the mixture is warm but not boiling.
- Thicken the Mixture: Stir in the cornstarch slurry into the warm milk mixture. Continue cooking for 3 to 5 minutes, stirring constantly until the mixture slightly thickens.
- Add Vanilla Flavors: Remove the saucepan from heat and stir in the pure vanilla extract and vanilla bean paste if using, to enhance the flavor.
- Chill the Mixture: Allow the mixture to cool to room temperature, then cover and refrigerate for at least 4 hours until completely chilled.
- Churn the Ice Cream: Pour the chilled mixture into an ice cream maker and churn according to the manufacturer’s instructions until the ice cream is thick and creamy.
- Freeze to Set: Transfer the churned ice cream to a freezer-safe container and freeze for 2 to 4 hours until firm.
- Serve: Let the ice cream sit at room temperature for a few minutes before scooping and serving to achieve the perfect scoopable texture.
Notes
- For extra creaminess, use only full-fat coconut milk and avoid light versions.
- You can substitute maple syrup for sugar for a refined sugar-free option, though the texture may be slightly softer.
- Add mix-ins like dairy-free chocolate chips or crushed cookies during the last few minutes of churning for extra flavor and texture.


