
If you’re looking for a delightful twist on classic cookies that combines vibrant color, irresistible flavor, and a fun surprise, the Red Velvet Blossom Cookies Recipe is your new kitchen obsession. These soft, tender cookies boast the signature deep red hue and subtle cocoa notes of red velvet, finished beautifully with a melty chocolate kiss nestled in the center of each bite. They’re perfect for sharing at parties, gifting to loved ones, or simply indulging in a sweet moment for yourself. Let me take you through every step to make these charming treats that will brighten your day and impress anyone lucky enough to try them.

Ingredients You’ll Need
This Red Velvet Blossom Cookies Recipe is wonderfully straightforward, relying on just a few essential ingredients, each one playing a crucial role in delivering that signature taste, texture, and vibrant red color. The blend of cake mix, eggs, butter, and vanilla makes for a soft and flavorful base, while the sugar adds a lovely crunch, and the chocolate kisses bring everything together with a perfect gooey finish.
- Red velvet cake mix (15.25 oz.): The foundation of the cookie that provides rich flavor and striking red color.
- Large eggs (2): Helps bind everything together and adds moisture for soft cookies.
- Unsalted butter, melted (½ cup): Adds richness and tenderness to each bite.
- Vanilla extract (1 tsp): Elevates the flavors with a lovely aromatic touch.
- Espresso powder (½ tsp, optional): A secret weapon that enhances the chocolate notes without overpowering.
- Regular or coarse sugar (1 cup): For rolling the dough balls, creating a delightful crunchy exterior.
- Hershey’s kiss candies (24): The signature melt-in-the-middle chocolate surprise that completes each cookie.
How to Make Red Velvet Blossom Cookies Recipe
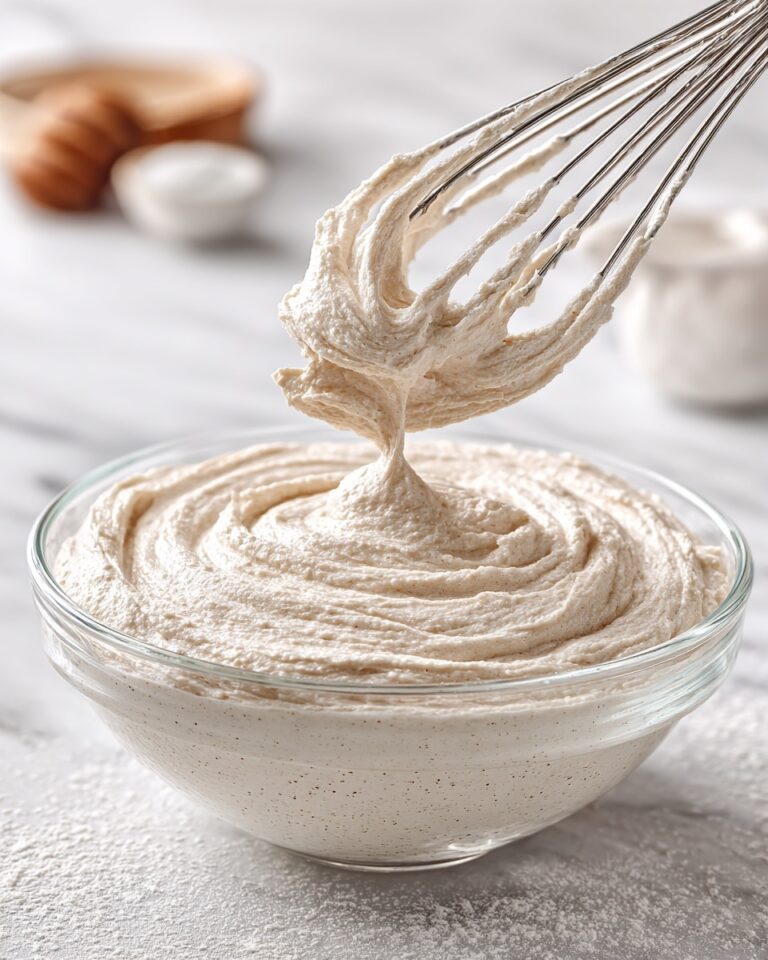
Step 1: Mix the Wet Ingredients
Begin by whisking together the two large eggs, melted unsalted butter, and a teaspoon of vanilla extract until the mixture is smooth and well combined. This step ensures your cookies will be moist and tender, setting the stage for that soft yet slightly crisp texture that red velvet fans adore.
Step 2: Incorporate the Cake Mix and Espresso Powder
Next, add the entire box of red velvet cake mix and, if you’re feeling adventurous, a half teaspoon of espresso powder. The espresso is optional but highly recommended—it subtly intensifies the chocolate flavors and lends a depth that takes these cookies to the next level. Stir everything together thoroughly until the batter is uniform and slightly thick.
Step 3: Chill the Dough
Pop the dough into the fridge for about 30 minutes. Chilling helps the dough firm up, making it easier to roll into neat balls, and it also helps the cookies hold their shape during baking. This little pause is well worth the wait for the perfect cookie texture.
Step 4: Shape and Sugar the Dough Balls
Once chilled, grab small portions of dough and roll them into 1½ inch balls. Then coat each ball generously with your sugar of choice—regular or coarse—because that sugary crust adds a lovely sparkle and a touch of crunch that contrasts the tender interior beautifully.
Step 5: Bake to Perfection
Arrange the sugar-coated dough balls on a baking sheet and pop them into a preheated oven at 350°F. Bake for 8 to 10 minutes or until you notice the cookie edges start to set, the cookies puff up, and small crinkles form on the surface. Keep an eye on them—overbaking can dry them out, so it’s all about that perfect moment of soft and slightly crisp.
Step 6: Add the Chocolate Kiss
Right after pulling the cookies from the oven, gently press a Hershey’s kiss candy into the center of each cookie. Let them cool completely before moving or eating so the chocolate can set beautifully. If you’re using Hugs kisses, remember they tend to soften and melt a bit differently, so you might want to chill the cookies in the fridge or freezer until the chocolates firm back up.
How to Serve Red Velvet Blossom Cookies Recipe

Garnishes
To elevate these cookies even further, consider dusting a bit of powdered sugar or a light sprinkle of red and white sanding sugar around the plate. You can also drizzle a small amount of white chocolate over the top for an elegant finish. These simple touches make the cookies look as special as they taste, perfect for celebrations or cozy coffee dates.
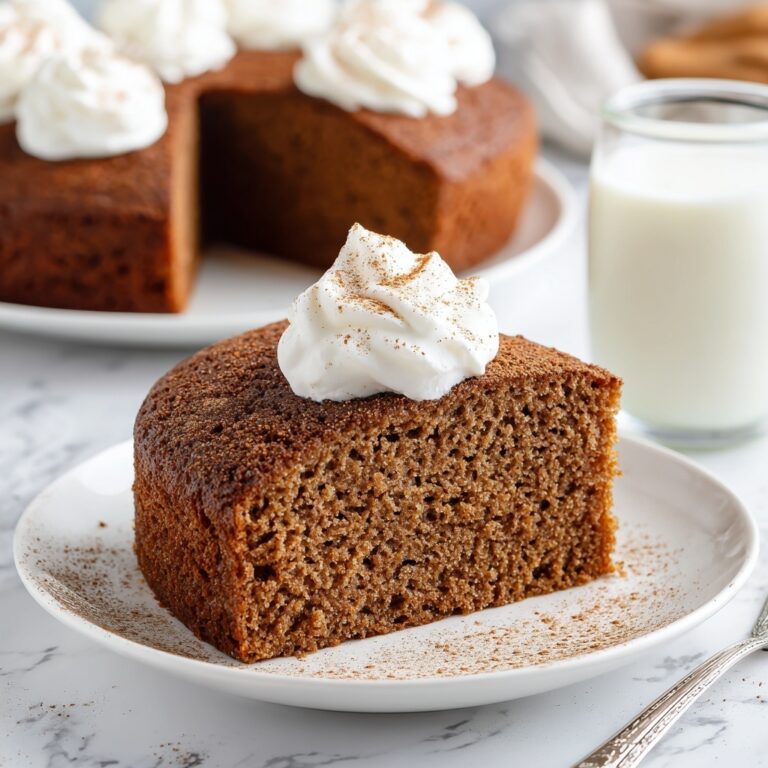
Side Dishes
These cookies pair wonderfully with a tall glass of cold milk or a frothy cappuccino, enhancing the cocoa and vanilla flavors. For a brunch or dessert spread, serve alongside creamy cheesecake or fresh berries to balance the richness with some bright fruity notes.
Creative Ways to Present
Think beyond the standard cookie plate by stacking these Red Velvet Blossom Cookies Recipe treats in festive jars tied with ribbon for gifting. Alternatively, arrange them on a tiered dessert stand for parties or serve them warm on a wooden board with a selection of chocolates, nuts, and fruit for an inviting party platter. Presentation adds to the fun and makes sharing these delicious cookies even more memorable.
Make Ahead and Storage
Storing Leftovers
If you have leftovers, store the cookies in an airtight container at room temperature for up to 3 days. The cookies remain soft and the chocolate kisses keep their signature gooey texture, making them just as delightful as when freshly baked.
Freezing
You can freeze the baked cookies for up to 2 months. Place them on a baking sheet to freeze individually, then transfer to a freezer-safe container or bag. Thaw at room temperature when ready to enjoy—this is a great way to have a sweet treat on hand whenever the craving strikes.
Reheating
To refresh your cookies and get that melty kiss effect back, warm them in the microwave for 10 to 15 seconds or in a low oven for a few minutes. This gentle reheating brings out their freshly-baked goodness without drying them out.
FAQs
Can I use other types of chocolate candy instead of Hershey’s Kisses?
Absolutely! Mini chocolate chips, peanut butter cups, or even caramel candies can be pressed into the center of the cookies. Just keep in mind that different candies will melt and set differently, so chilling the cookies after baking may be helpful.
Is it necessary to chill the dough before baking?
While you could skip chilling, it’s highly recommended for this cookie recipe because it firms up the dough, making it much easier to roll and helping the cookies keep their shape and texture during baking.
Can I make these cookies gluten-free?
To make a gluten-free version, use a gluten-free red velvet cake mix. Ensure all other ingredients are gluten-free, too. The texture may vary slightly but they will still be delicious!
What does the espresso powder add to the cookies?
The espresso powder enhances the depth of chocolate flavor without making the cookies taste like coffee. It’s a subtle but fantastic addition that makes the red velvet notes pop.
How long do these cookies stay fresh?
When stored in an airtight container at room temperature, these cookies stay fresh and soft for about 3 days. For longer storage, freezing is your best bet.
Final Thoughts
There is something undeniably joyful about making and sharing this Red Velvet Blossom Cookies Recipe. It’s a perfect blend of simplicity and showmanship—easy to make, stunning to see, and utterly delicious to eat. If you’re craving a recipe that will brighten your day and maybe even become your new favorite sweet treat, these cookies are a must-try. Grab your ingredients, put on your apron, and get ready to bake up some magic!
Print
Red Velvet Blossom Cookies Recipe
- Prep Time: 12 minutes
- Cook Time: 10 minutes
- Total Time: 50 minutes
- Yield: 24 cookies
- Category: Dessert
- Method: Baking
- Cuisine: American
Description
Delightfully soft and festive, these Red Velvet Blossom Cookies combine the rich flavors of red velvet cake with a sweet, melty chocolate center. Perfect for holiday baking or any special occasion, they feature a tender crumb, a slightly crisp sugar coating, and a classic Hershey’s kiss on top for an irresistible treat.
Ingredients
Cookie Dough
- 1 box red velvet cake mix (15.25 oz.)
- 2 large eggs
- ½ cup unsalted butter, melted
- 1 tsp vanilla extract
- ½ tsp espresso powder (optional)
Coating
- 1 cup regular or coarse sugar
Topping
- 24 Hershey’s kiss candies (or other mini chocolate candy)
Instructions
- Mix Wet Ingredients: Whisk together the eggs, melted butter, and vanilla extract in a large bowl until fully combined.
- Combine with Dry Ingredients: Add the red velvet cake mix and espresso powder (if using) to the wet mixture and stir thoroughly until a uniform dough is formed.
- Chill the Dough: Cover the dough and refrigerate for about 30 minutes to firm up, making it easier to handle and roll.
- Form and Coat Dough Balls: Once chilled, scoop and roll the dough into 1½-inch balls. Roll each ball in a cup of sugar to coat evenly.
- Bake the Cookies: Preheat your oven to 350°F (175°C). Place the sugar-coated dough balls on a baking sheet lined with parchment paper or a silicone mat and bake for 8 to 10 minutes, or until the edges begin to set and the cookies are puffed with slight crinkling on top.
- Add Chocolate Kisses: Remove the cookies from the oven and, while still warm, gently press a Hershey’s kiss candy into the center of each cookie. Allow the cookies to cool completely to set the candies.
- Optional Candy Handling: If using Hugs candy kisses, which tend to soften and melt more, transfer the cookies to the refrigerator or freezer until the chocolate firms up to prevent excessive melting into the cookie.
Notes
- Espresso powder is optional but enhances the chocolate flavor depth in the cookies.
- Using coarse sugar for coating gives a nice texture contrast on the cookie surface.
- Be careful not to overbake; cookies should be soft and slightly underdone for the best texture.
- Keep cookies stored in an airtight container to maintain freshness.
- For a festive touch, consider using colored sugar or sprinkles instead of plain sugar.


