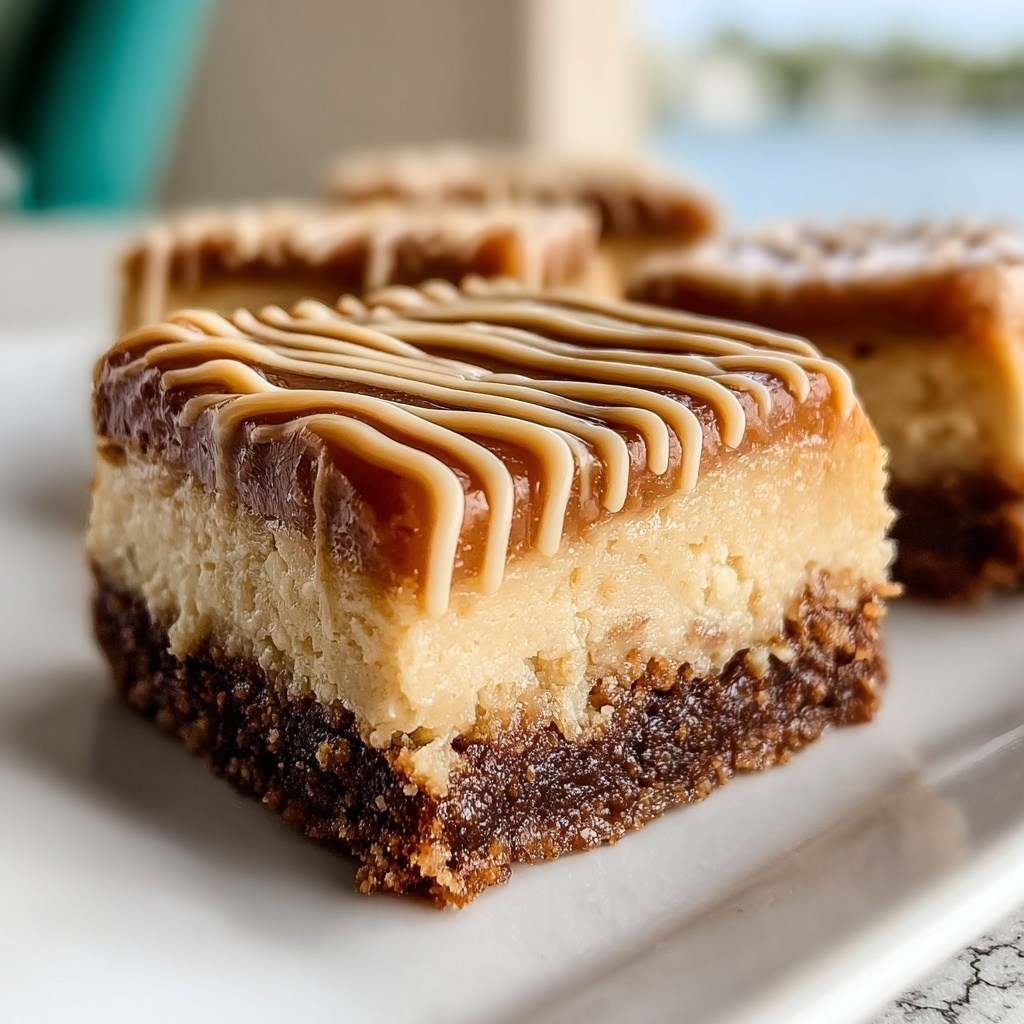
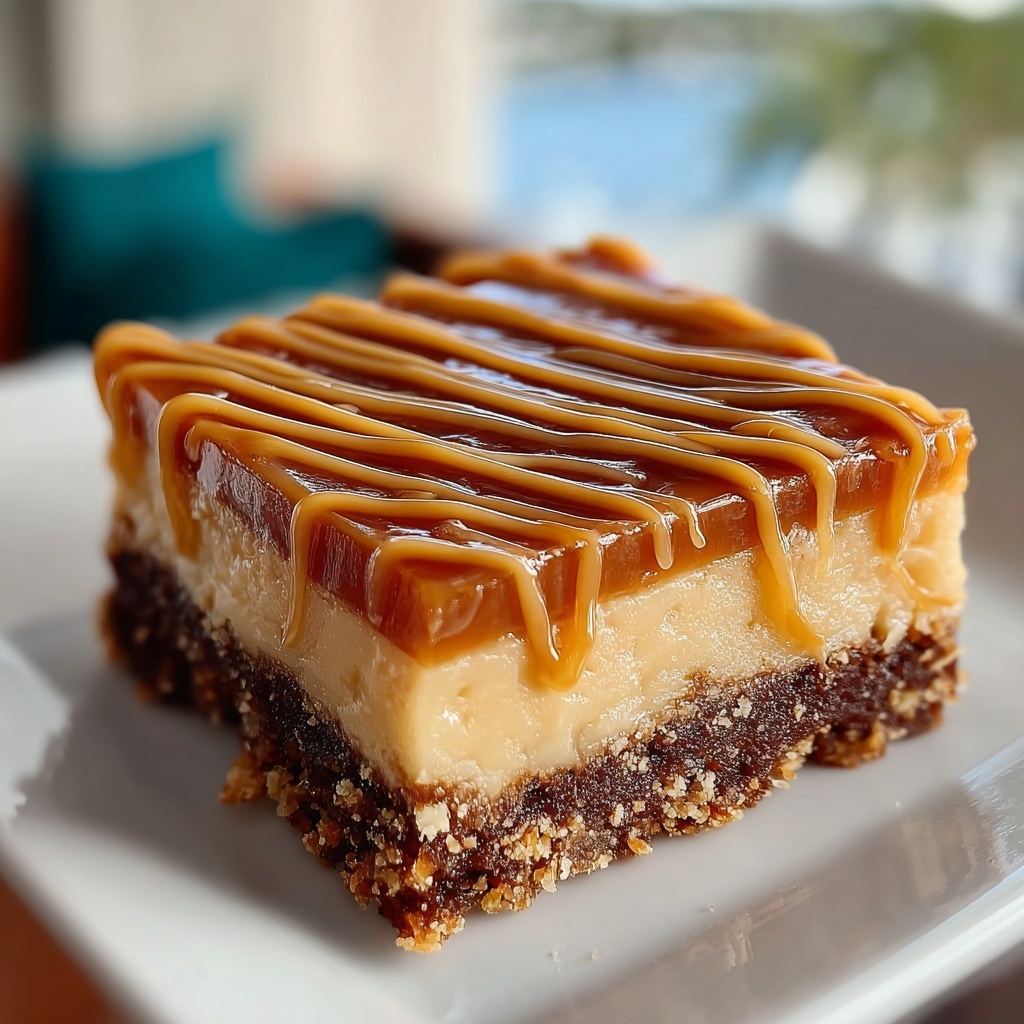
If you are searching for a nostalgic yet irresistible treat, the Peanut Butter Lunch Lady Bars Recipe is exactly what you need. These bars combine the perfect harmony of crunchy graham cracker crust, creamy peanut butter filling, and a luscious chocolate topping that will have you coming back for more. Whether you’re looking for a sweet snack to brighten your day or a crowd-pleaser for gatherings, this recipe delivers that classic lunch lady charm in every bite.

Ingredients You’ll Need
This recipe relies on simple, everyday ingredients that come together to create a symphony of flavors and textures. Each component is essential, from the buttery crust to the silky peanut butter layer and the rich chocolate topping, ensuring every element adds its unique touch.
- 1 cup unsalted butter, melted: Provides a rich base for the crust, helping it hold together with a golden crispness.
- 2 cups graham cracker crumbs: Adds a slightly sweet crunch and forms the perfect sturdy foundation.
- 1/2 cup granulated sugar: Balances the buttery crust with just the right amount of sweetness.
- 1 cup unsalted butter, softened: Essential for the creamy, dreamy peanut butter filling.
- 1 cup creamy peanut butter: Brings that unmistakable nutty flavor and smooth texture to the filling.
- 2 cups powdered sugar: Sweetens and thickens the peanut butter layer for a luscious consistency.
- 2 teaspoons vanilla extract: Enhances the peanut butter’s rich flavor with a warm, aromatic note.
- 1 cup semisweet chocolate chips: Melts down into a velvety chocolate layer that crowns the bars.
- 1/4 cup creamy peanut butter: Added to the chocolate topping for an extra hint of peanut butter goodness and silky texture.
How to Make Peanut Butter Lunch Lady Bars Recipe
Step 1: Prepare the Crust
Start by preheating your oven to 350°F, then line a 9×13-inch baking pan with parchment paper for easy removal. Mixing the melted unsalted butter, graham cracker crumbs, and granulated sugar in a large bowl creates the base layer. Press this mixture firmly into the pan, ensuring it’s evenly distributed for optimal crunch and structure. Baking it for 10 minutes sets the crust perfectly and releases that warm, inviting aroma.
Step 2: Make the Peanut Butter Filling
While the crust cools, blend the softened butter with creamy peanut butter until smooth and fluffy—a step crucial to that melt-in-your-mouth texture. Adding powdered sugar and vanilla extract gives the filling its sweet depth and creamy consistency. Spread this luscious filling evenly over the cooled crust, creating the middle layer that’s both rich and satisfying.
Step 3: Create the Chocolate Peanut Butter Topping
Melt the semisweet chocolate chips together with the quarter cup of creamy peanut butter in short 20-second bursts, stirring until silky smooth. This swirl of flavors on top pairs perfectly with the peanut butter filling beneath. Pour and evenly spread this glossy chocolate mixture over the peanut butter layer, sealing the bars with a decadent finish.
Step 4: Chill and Slice
Refrigerate the entire pan for at least one hour. This step is key as it allows the layers to set firmly, making slicing into 16 perfect bars easy and mess-free. Once chilled, cut into squares and get ready for a bite of peanut butter bliss!
How to Serve Peanut Butter Lunch Lady Bars Recipe
Garnishes
To elevate these bars visually and flavor-wise, consider a light dusting of powdered sugar or a sprinkle of crushed peanuts on top before serving. These little touches add a festive look and a pleasant crunch that complements the creamy interior.
Side Dishes
Peanut Butter Lunch Lady Bars pair beautifully with a cold glass of milk or a cup of hot coffee or tea. The creamy bars balance richness with a hint of nostalgia, making them an ideal treat alongside your favorite beverages or fresh fruit for a balanced snack.
Creative Ways to Present
Make these bars a delightful part of a dessert platter by arranging them alongside fresh berries, whipped cream, or even mini marshmallows. You can also cut them into bite-size squares and serve them on cocktail picks for a fun party appetizer that everyone will talk about.
Make Ahead and Storage
Storing Leftovers
Store any leftover Peanut Butter Lunch Lady Bars in an airtight container in the refrigerator. They will stay fresh for up to a week, allowing you to enjoy this tasty treat whenever a peanut butter craving hits.
Freezing
For longer storage, wrap individual bars tightly in plastic wrap and place them in a freezer-safe container. Frozen bars can last up to three months without losing any of their delicious texture and flavor. Just thaw in the refrigerator before serving.
Reheating
These bars are generally best enjoyed cold or at room temperature to preserve their firm layers. However, if you prefer a softer bite, let them sit out for 10-15 minutes before eating or warm gently in the microwave in 10-second bursts to avoid melting the chocolate topping.
FAQs
Can I use crunchy peanut butter instead of creamy?
Absolutely! Using crunchy peanut butter will add a delightful texture to both the filling and the topping, giving the bars an extra nutty crunch that many peanut butter lovers adore.
Is there a way to make these bars gluten-free?
Yes, simply swap the graham cracker crumbs for a gluten-free variety or substitute with finely crushed gluten-free cookies. This makes the recipe suitable for those who avoid gluten without compromising on flavor.
Can these bars be made vegan?
You can make vegan Peanut Butter Lunch Lady Bars by using dairy-free butter and ensuring your chocolate chips are vegan-friendly. Substitute regular powdered sugar for an organic option if necessary.
How long do the bars stay fresh at room temperature?
Due to the butter and peanut butter content, it’s best to keep these bars refrigerated to maintain freshness and prevent spoilage. Out of the fridge, they can last a few hours but will soften quickly.
Can I double the recipe for a larger batch?
Yes, doubling the ingredients and using a larger baking dish works well. Just adjust the baking time slightly and keep an eye on the crust to prevent over-baking.
Final Thoughts
Peanut Butter Lunch Lady Bars Recipe is a charming, indulgent treat that effortlessly blends simple ingredients into a nostalgic delight. Whether you’re making them for a special occasion or just because, these bars promise to brighten your day with their creamy, crunchy, and chocolatey layers. I encourage you to give this recipe a try and share the joy of homemade peanut butter goodness with your loved ones.
Print
Peanut Butter Lunch Lady Bars Recipe
- Prep Time: 20 minutes
- Cook Time: 10 minutes
- Total Time: 1 hour 30 minutes
- Yield: 16 bars
- Category: Dessert
- Method: Baking
- Cuisine: American
Description
Peanut Butter Lunch Lady Bars are a rich and indulgent no-bake dessert bar featuring a crunchy graham cracker crust topped with a creamy peanut butter filling and a smooth chocolate-peanut butter ganache. Perfect for satisfying sweet cravings, these bars combine classic flavors with an easy assembly and chilling process, making them a delightful treat for gatherings or an everyday snack.
Ingredients
For the Crust
- 1 cup unsalted butter, melted
- 2 cups graham cracker crumbs
- 1/2 cup granulated sugar
For the Peanut Butter Filling
- 1 cup unsalted butter, softened
- 1 cup creamy peanut butter
- 2 cups powdered sugar
- 2 teaspoons vanilla extract
For the Chocolate Topping
- 1 cup semisweet chocolate chips
- 1/4 cup creamy peanut butter
Instructions
- Preheat Oven and Prepare Pan: Preheat your oven to 350°F (177°C) and line a 9×13-inch baking pan with parchment paper to prevent sticking and make removal easier.
- Make the Crust: In a large bowl, combine 1 cup of melted unsalted butter, 2 cups of graham cracker crumbs, and 1/2 cup granulated sugar. Mix thoroughly until the ingredients are fully integrated.
- Bake the Crust: Press the crumb mixture firmly and evenly into the prepared pan to form the crust. Bake it at 350°F for 10 minutes to set, then allow it to cool completely before proceeding.
- Prepare Peanut Butter Filling: In a mixing bowl, beat together 1 cup softened unsalted butter and 1 cup creamy peanut butter until the mixture is smooth and fluffy, which usually takes a few minutes using an electric mixer.
- Add Sweeteners and Flavoring: Incorporate 2 cups powdered sugar and 2 teaspoons vanilla extract into the peanut butter mixture. Continue beating until the filling is creamy and well combined.
- Spread Filling on Crust: Evenly spread the peanut butter filling over the cooled graham cracker crust, creating a uniform layer.
- Melt Chocolate Topping: In short 20-second bursts, melt 1 cup semisweet chocolate chips together with 1/4 cup creamy peanut butter in the microwave, stirring in between to ensure a smooth, glossy chocolate-peanut butter mixture.
- Top Bars with Chocolate: Pour the melted chocolate mixture over the peanut butter filling and gently spread it evenly to cover the entire surface.
- Chill to Set: Refrigerate the assembled bars for at least 1 hour to allow the layers to set firmly.
- Serve: Remove from refrigerator, slice into 16 equal bars, and enjoy!
Notes
- Make sure the crust is completely cooled before adding the filling to prevent melting.
- Use parchment paper in the pan for easy removal and cleaner slicing.
- You can substitute natural peanut butter, but expect a slightly different texture and flavor.
- For dairy-free version, use vegan butter substitutes and dairy-free chocolate chips.
- Store leftovers in the refrigerator to keep the bars firm and fresh for up to 5 days.
