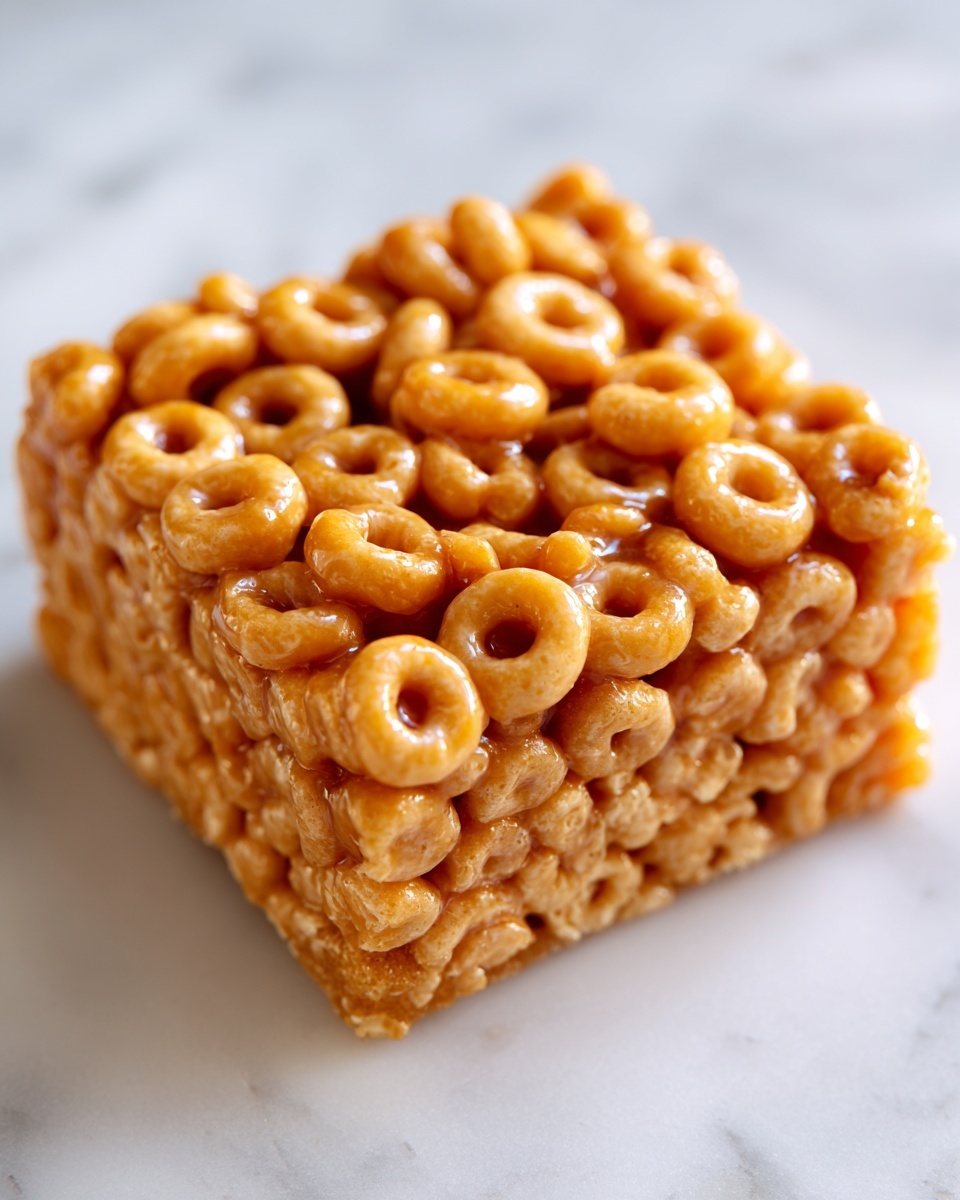
If you’re searching for a snack that’s quick to make, absolutely delicious, and perfect for kids and adults alike, the Peanut Butter Cheerio Bars Recipe is an absolute winner. This treat brings together the comforting creaminess of peanut butter and the light crunch of Cheerios, all sweetened naturally by honey. It’s a simple recipe that transforms just a few everyday ingredients into a satisfying, no-bake delight that’s perfect for lunchboxes, after-school snacks, or a sweet pick-me-up anytime you need one.
Ingredients You’ll Need
Gathering these few but essential ingredients is all it takes to whip up this irresistible snack. Each one plays a crucial role: peanut butter adds richness and protein, honey offers gentle sweetness and stickiness, and Cheerios bring that light, crunchy texture that makes these bars so uniquely tasty.
- 2/3 cup peanut butter: Choose a creamy variety for easy mixing and a smooth texture that binds everything together effortlessly.
- 1/3 cup honey: This natural sweetener ensures the bars are just sweet enough to satisfy without overpowering the peanut butter’s nutty flavor.
- 3 cups Cheerio cereal: The star crunch that keeps every bite light and crispy, providing the perfect base for the bars.
How to Make Peanut Butter Cheerio Bars Recipe
Step 1: Prepare the Dish
Start by lining an 8×8-inch square baking dish with parchment paper or giving it a good grease to ensure the bars don’t stick once they’re set. Setting this up beforehand makes the final removal of the bars super easy and mess-free.
Step 2: Melt Peanut Butter and Honey
Combine the peanut butter and honey in a large microwave-safe bowl and microwave for about 30 seconds. Be sure to stir every 15 seconds until the mixture is warm and smooth—this warming step makes it simpler to coat the cereal evenly and merge those delicious flavors.
Step 3: Coat the Cereal
Pour the Cheerios into the peanut butter and honey mixture, then gently toss with a rubber spatula until every piece of cereal is fully coated in that luscious blend. This step ensures each bite is packed with that classic peanut butter and honey combo.
Step 4: Press Into Pan
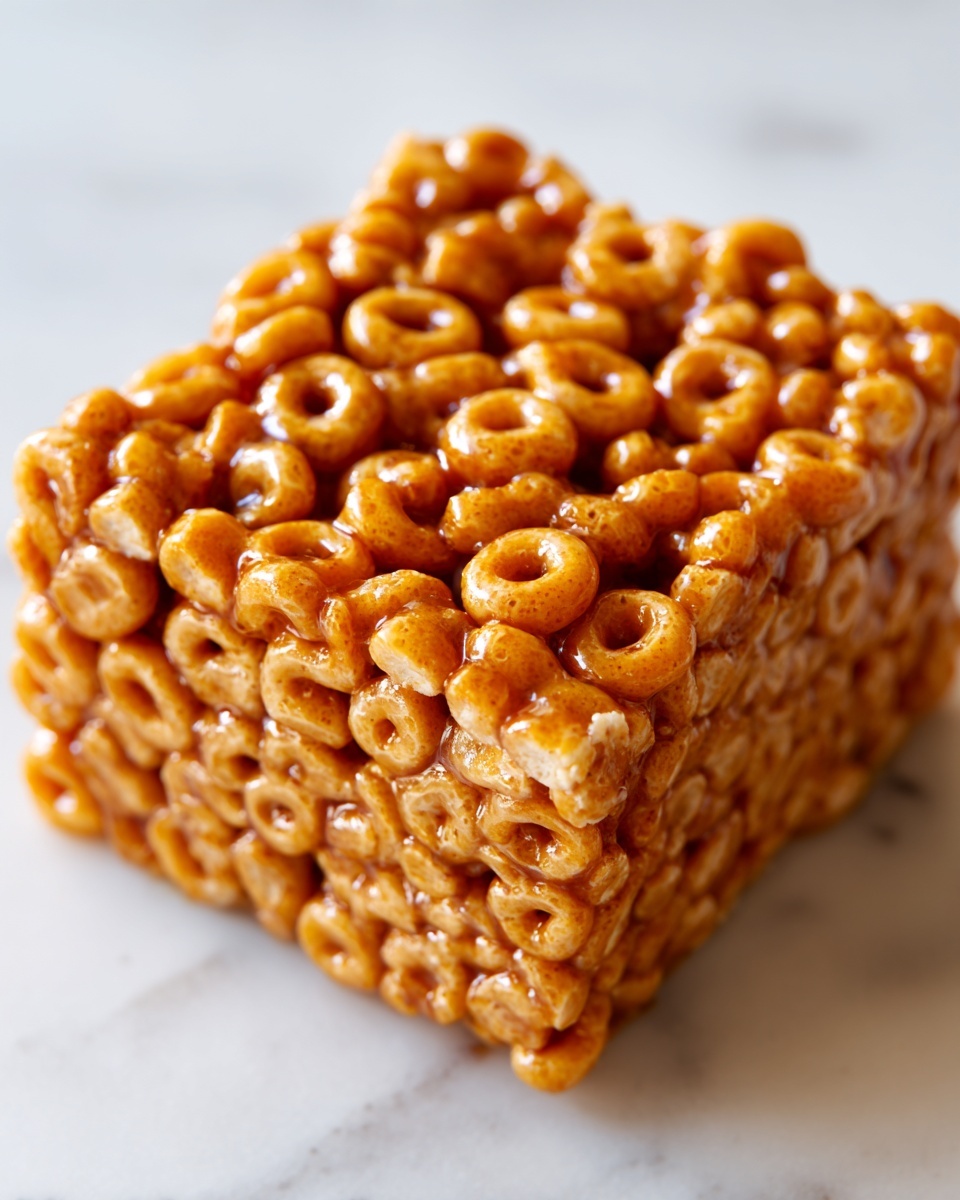
Transfer the coated cereal mixture to your prepared pan and press it down firmly with your spatula or clean hands. Firm pressing helps the bars set properly so they hold together well once chilled, while still maintaining their crunch.
Step 5: Freeze
Cover the mixture with plastic wrap, press down again to compact everything one last time, and then pop the whole thing into the freezer for about 30 minutes. This quick chill sets the bars perfectly, making them easy to cut and enjoy.
Step 6: Cut and Serve
Once the bars are firm, remove them from the freezer, lift them out using the parchment paper, and slice into nine bars. Keep them stored in the fridge to maintain their firmness and freshness—these bars always disappear fast once people taste them!
How to Serve Peanut Butter Cheerio Bars Recipe

Garnishes
While these bars are fantastic on their own, you can elevate their presentation by sprinkling a few mini chocolate chips or chopped peanuts on top before pressing the mixture into the pan. A light drizzle of melted chocolate after cutting adds a decadent finishing touch that’s perfect for special occasions or when you want to impress.
Side Dishes
Pairing your Peanut Butter Cheerio Bars Recipe with fresh fruit like crisp apple slices or juicy strawberries complements the nutty richness and adds a refreshing burst of flavor. For a heartier snack time, grab a cold glass of milk or a creamy yogurt dip to make every bite more indulgent.
Creative Ways to Present
Instead of cutting the mixture into traditional bars, try pressing smaller portions into muffin tins for individual treats or shaping clusters by hand for a grab-and-go snack. Wrapping each bar in parchment paper tied with twine creates charming, portable snacks perfect for gifting or packing in lunchboxes.
Make Ahead and Storage
Storing Leftovers
Once prepared, store your Peanut Butter Cheerio Bars in an airtight container in the refrigerator to keep them fresh and chewy. They’ll stay good for up to a week, but they rarely last that long because they’re so darn delicious!
Freezing
If you want to keep these bars around for longer, freezing is a great option. Place the bars in a single layer on a baking sheet to freeze until firm, then transfer them to a freezer-safe container or bag. When stored properly, they can last for up to three months without any loss of flavor or texture.
Reheating
Since these bars are best enjoyed slightly chilled, reheating is not usually necessary. However, if you prefer a softer texture, you can microwave a single bar for about 10 seconds. Just be careful not to overheat, or they’ll get too sticky and lose that pleasant chew.
FAQs
Can I use natural peanut butter for this recipe?
Yes, natural peanut butter works perfectly here! Just make sure to stir it well before melting, as the oil can separate. The natural flavor actually enhances the overall taste of the bars.
Are there any substitutes for Cheerios?
Absolutely! Feel free to swap Cheerios with other cereals like Rice Krispies or even granola, but keep in mind the texture and flavor will vary slightly. The key is to choose a cereal that is light and crisp.
Can I make these bars nut-free?
You can replace peanut butter with sunflower seed butter or another nut-free alternative to keep the recipe safe for those with nut allergies. Just keep the creamy consistency in mind for the best results.
How long do these bars last at room temperature?
Because of the honey and peanut butter, it’s best to keep these bars refrigerated. At room temperature, they might become too soft or sticky after a few hours, especially in warmer climates.
Is this recipe suitable for kids to make?
Definitely! The no-bake nature of the Peanut Butter Cheerio Bars Recipe makes it a safe and fun project to do with kids. They’ll love mixing and pressing the cereal, plus enjoying the tasty results afterward.
Final Thoughts
There’s something truly special about how simple ingredients come together to create pure joy in each bite of the Peanut Butter Cheerio Bars Recipe. This snack manages to be wholesome, sweet, and satisfyingly crunchy all at once. I can’t recommend it enough for anyone looking to brighten up their snack time with a homemade treat that’s both easy and endlessly delicious. So grab your peanut butter and Cheerios, and get ready to make a new favorite!
Print
Peanut Butter Cheerio Bars Recipe
- Prep Time: 10 minutes
- Cook Time: 0 minutes
- Total Time: 40 minutes
- Yield: 9 bars
- Category: Snack
- Method: No-Cook
- Cuisine: American
- Diet: Vegetarian
Description
These Peanut Butter Cheerio Bars are a quick and easy no-bake snack perfect for breakfast or a sweet treat. Combining creamy peanut butter, honey, and crunchy Cheerios, these bars deliver a delightful balance of sweetness and nuttiness in every bite. With just a few simple ingredients and minimal prep time, they are ideal for busy mornings or an on-the-go snack.
Ingredients
Ingredients
- 2/3 cup peanut butter
- 1/3 cup honey
- 3 cups Cheerio cereal
Instructions
- Prepare the Dish: Line an 8×8-inch square baking dish with parchment paper or lightly grease it to prevent sticking. Set aside for assembly.
- Melt Peanut Butter and Honey: In a large microwave-safe bowl, combine peanut butter and honey. Microwave for 30 seconds, stirring every 15 seconds until the mixture is warm and smooth, making it easier to coat the cereal.
- Coat Cereal: Add the 3 cups of Cheerios to the warm peanut butter and honey mixture. Use a rubber spatula to toss gently until all cereal pieces are fully coated.
- Press Into Pan: Transfer the coated cereal mixture into the prepared baking dish. Spread it evenly and press down firmly to ensure the bars hold together after setting.
- Freeze: Cover the mixture with plastic wrap, press firmly again, and place the dish into the freezer for 30 minutes to set the bars.
- Cut and Serve: Remove the set mixture from the freezer, lift it out using the parchment paper, and cut into 9 equal bars. Store the bars in the refrigerator to keep them firm and fresh.
Notes
- For a crunchy texture, press the mixture firmly in the pan to compact the cereal.
- You can substitute honey with maple syrup for a different flavor profile.
- Store bars in an airtight container in the refrigerator for up to one week.
- To make the bars nut-free, use sunflower seed butter instead of peanut butter.

