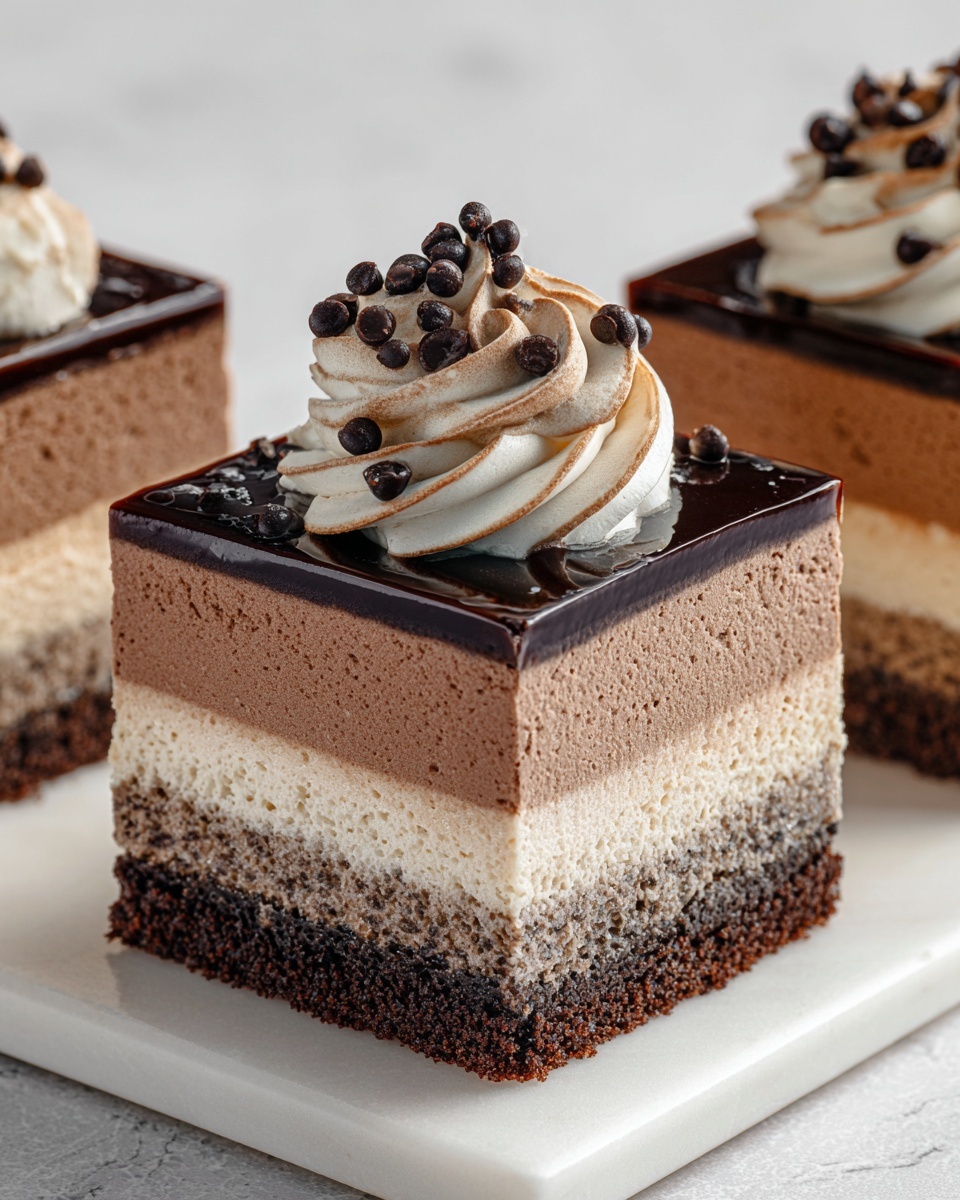
If you’re in the mood for a dessert that feels indulgent yet comes together effortlessly, this No-Bake Chocolate Mousse Bars Recipe is going to be your new best friend. Imagine a velvety smooth chocolate mousse layered on top of a crisp chocolate cookie crust, perfectly balanced with just the right amount of sweetness and richness. It’s a crowd-pleaser that requires no oven time, making it ideal for any season or occasion when you want to impress without the hassle. Whether it’s a casual family dinner or a special celebration, these bars bring all the chocolatey goodness in every bite.
Ingredients You’ll Need
The magic of these bars lies in their simple yet essential ingredients. Each one plays a vital role: from creating a firm and flavorful base, to delivering a luscious, airy mousse that practically melts on your tongue.
- Chocolate cookie crumbs: Use Oreo crumbs without filling for that classic, chocolatey crunch as the crust.
- Unsalted butter: Melted butter binds the crumbs into a sturdy crust full of rich flavor.
- Heavy whipping cream: Whipping this gives your mousse that light, fluffy texture everyone loves.
- Powdered sugar: A subtle sweetness that integrates smoothly without graininess.
- Vanilla extract: Enhances the chocolate’s deep flavors with a warm, aromatic note.
- Semisweet chocolate: The star ingredient melts into the cream cheese for a smooth, silky mousse.
- Cream cheese: Adds a slight tang and luxurious creaminess to the mousse.
- Cocoa powder (optional): For those who crave an extra punch of chocolate richness.
- Pinch of salt: A tiny touch to balance sweetness and intensify chocolate flavor.
- Chocolate shavings or cocoa powder (optional topping): For a finishing touch that makes each bar look as good as it tastes.
How to Make No-Bake Chocolate Mousse Bars Recipe
Step 1: Prepare the Crust
Start by mixing your chocolate cookie crumbs with melted butter until every crumb is evenly coated. Press this mixture firmly into the bottom of a parchment-lined 8×8-inch pan to create an even crust. This step is crucial because it forms the crunchy base that holds everything together, so don’t be shy about pressing it down well. Chill the crust in the refrigerator while you move on to the luscious filling.
Step 2: Whip the Cream
In a large bowl, beat the heavy whipping cream, powdered sugar, and vanilla extract until soft peaks form. Achieving soft peaks is important here because the whipped cream gives your mousse its airy structure and light mouthfeel. Be careful not to overbeat, as you want the cream to be fluffy, not stiff.
Step 3: Melt the Chocolate
Gently melt the chopped semisweet chocolate using a double boiler or microwave it in 30-second intervals, stirring in between until smooth. Let the melted chocolate cool slightly—that prevents it from melting the cream cheese when combined later.
Step 4: Mix the Cream Cheese and Chocolate
Beat the softened cream cheese until smooth to eliminate any lumps. Then, blend in the cooled melted chocolate until the mixture is fully combined and silky. This step creates the rich, velvety heart of your mousse.
Step 5: Fold in the Whipped Cream
Fold the whipped cream into the chocolate and cream cheese mixture in two parts, gently combining until the mousse is smooth and fluffy. Folding carefully preserves the airiness from the whipped cream, giving the mousse its signature light texture.
Step 6: Assemble and Chill
Spread the mousse evenly over the chilled cookie crust, smooth the top with a spatula, and pop the whole pan into the fridge to chill for at least 4 hours, or until firmly set. This waiting time lets all the flavors meld together while the mousse firms up to that perfect sliceable consistency.
How to Serve No-Bake Chocolate Mousse Bars Recipe
Garnishes
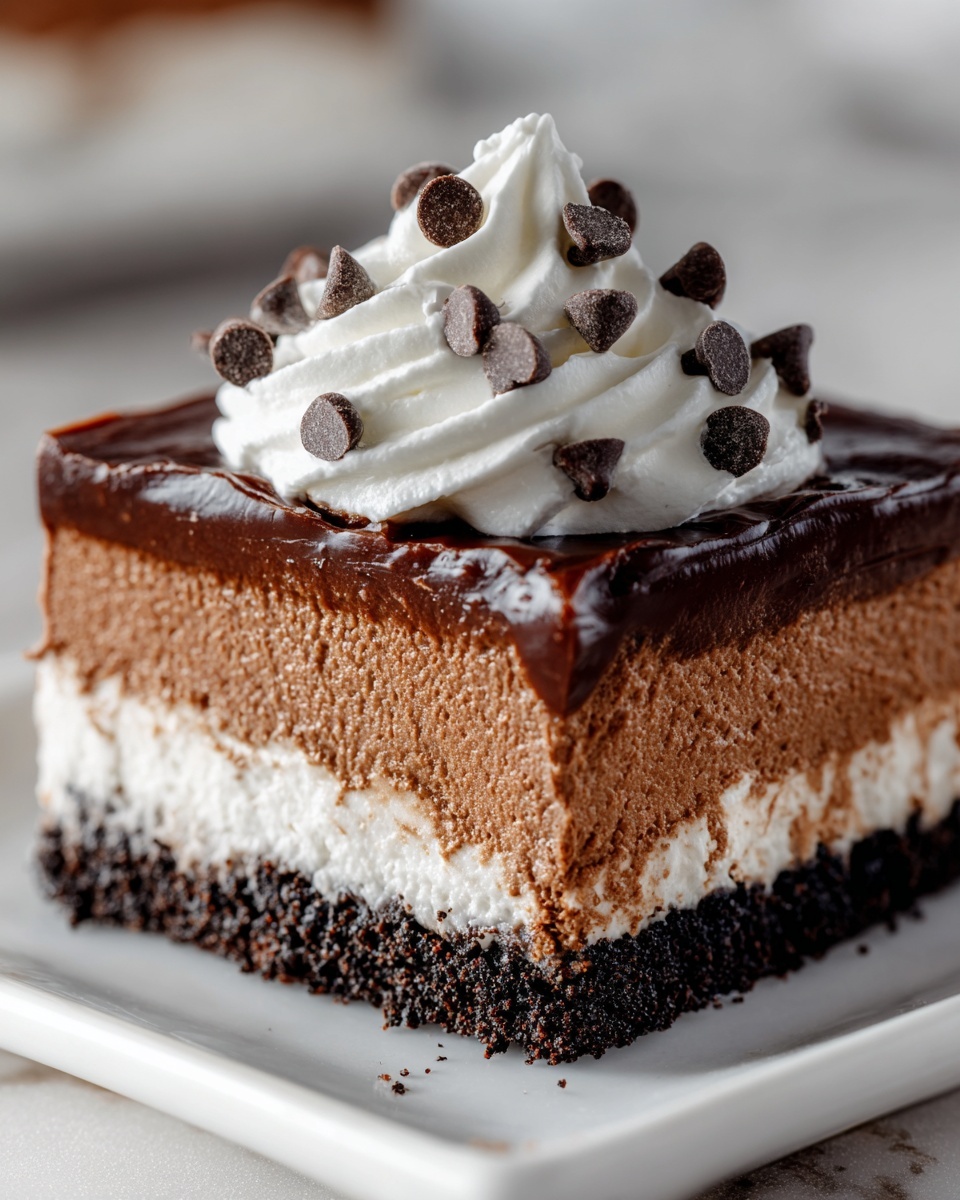
A delightful garnish can take these bars from simple to stunning. Try topping with chocolate shavings or a light dusting of cocoa powder for an elegant finish. Fresh raspberries or mint leaves also add a pop of color and a fresh contrast to the rich chocolate.
Side Dishes
These mousse bars shine as the star dessert but can be paired wonderfully with a scoop of vanilla ice cream or a drizzle of salted caramel sauce. A cup of freshly brewed coffee or a glass of robust red wine can also elevate the experience.
Creative Ways to Present
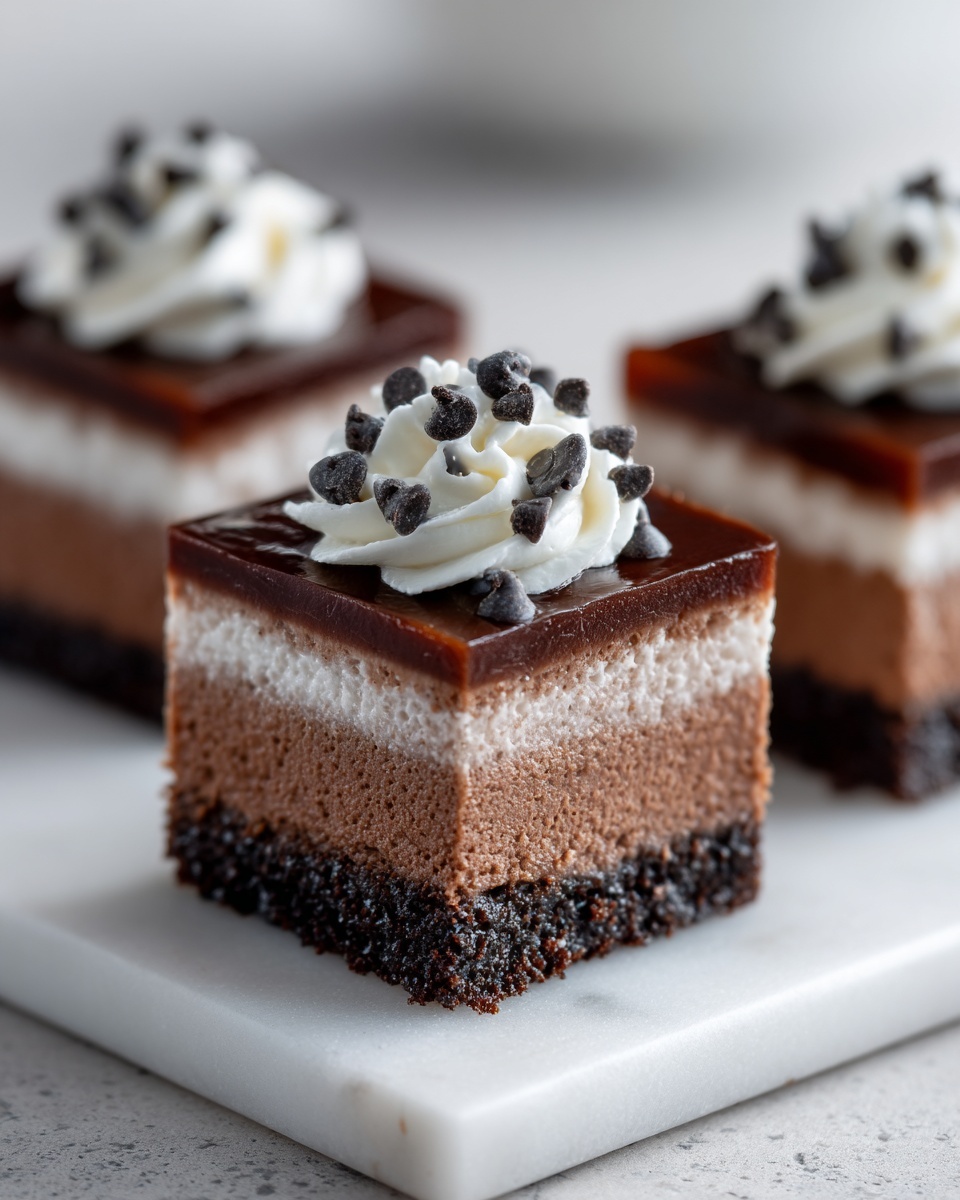
For parties or special occasions, consider cutting the bars into mini squares and serving them on a decorative platter with assorted toppings on the side. This allows guests to customize their bars with nuts, sprinkles, or fruit. Another fun idea is layering individual servings in clear glasses for a mousse parfait style presentation.
Make Ahead and Storage
Storing Leftovers
Once chilled and set, these bars store beautifully in an airtight container in the refrigerator for up to 4 days. Keeping them cold ensures the mousse maintains its perfect texture and that the crust stays firm and crisp.
Freezing
You can freeze these bars to enjoy them later—just wrap tightly in plastic wrap and place in a freezer-safe container. When you’re ready, thaw in the refrigerator overnight for the best texture and flavor retention. Avoid thawing at room temperature to preserve the mousse’s texture.
Reheating
Since this is a no-bake chilled dessert, reheating isn’t necessary or recommended. The joy is in savoring these bars cold and creamy right from the fridge.
FAQs
Can I use a different type of cookie for the crust?
Absolutely! While chocolate cookie crumbs like Oreos create a classic base, you can experiment with graham crackers, ginger snaps, or gluten-free cookies to suit your taste or dietary needs.
Is it possible to make this recipe dairy-free?
Yes, you can substitute the heavy cream and cream cheese with dairy-free alternatives like coconut cream and vegan cream cheese. Just be mindful these swaps might slightly change the texture and flavor.
What if I want these bars to be less sweet?
You can reduce the powdered sugar slightly or switch to dark chocolate with a higher cocoa content for a more intense, less sweet chocolate flavor.
How do I get perfectly smooth mousse?
The key is folding in the whipped cream gently rather than mixing vigorously. This preserves the airiness and prevents the mousse from becoming dense.
Can I make these bars ahead of a party?
Definitely! These bars actually taste even better the next day after resting in the fridge. Just make sure to cover them well to keep them fresh.
Final Thoughts
There’s something truly special about a dessert that delivers such rich, velvety flavor while being incredibly simple to make. This No-Bake Chocolate Mousse Bars Recipe is proof that you don’t need complicated techniques or hours in the kitchen to wow your guests. Give it a try and watch these luscious bars become a beloved staple in your dessert repertoire. I promise you’re going to love every creamy, chocolaty bite!
Print
No-Bake Chocolate Mousse Bars Recipe
- Prep Time: 20 minutes
- Cook Time: 0 minutes
- Total Time: 4 hours 20 minutes
- Yield: 9 bars
- Category: Dessert
- Method: No-Cook
- Cuisine: American
- Diet: Vegetarian
Description
These No-Bake Chocolate Mousse Bars combine a crunchy chocolate cookie crust with a rich, creamy chocolate mousse filling. Easy to prepare and perfect as a make-ahead dessert, they deliver indulgent chocolate flavor without the need for baking.
Ingredients
Crust
- 1 1/2 cups chocolate cookie crumbs (such as Oreo, without filling)
- 1/4 cup unsalted butter, melted
Filling
- 1 1/2 cups heavy whipping cream
- 1/4 cup powdered sugar
- 1 teaspoon vanilla extract
- 8 oz semisweet chocolate, chopped
- 4 oz cream cheese, softened
- 1 tablespoon cocoa powder (optional for extra richness)
- Pinch of salt
Topping (Optional)
- Chocolate shavings or cocoa powder for topping
Instructions
- Prepare the crust: In a medium bowl, combine the chocolate cookie crumbs and melted butter. Mix until evenly moistened. Press firmly into the bottom of a parchment-lined 8×8-inch pan to form an even crust. Chill in the refrigerator while preparing the filling.
- Make the whipped cream: In a large mixing bowl, beat the heavy whipping cream, powdered sugar, and vanilla extract until soft peaks form, creating a light and fluffy texture.
- Melt the chocolate: In a separate bowl, melt the chopped semisweet chocolate using a double boiler or microwave in 30-second intervals, stirring until smooth. Allow to cool slightly so it does not curdle the filling.
- Prepare the cream cheese mixture: In another bowl, beat the softened cream cheese until smooth. Add the melted chocolate and a pinch of salt, mixing until fully combined and silky.
- Combine mousse: Gently fold the whipped cream into the chocolate and cream cheese mixture in two parts, ensuring a smooth, airy, and fluffy mousse without deflating the whipped cream.
- Assemble the bars: Spread the mousse evenly over the chilled cookie crust, smoothing the top with a spatula.
- Chill: Refrigerate the bars for at least 4 hours, or until set firmly.
- Serve: Before serving, optionally garnish with chocolate shavings or a light dusting of cocoa powder. Slice into 9 bars and serve cold for the best texture and flavor.
Notes
- For a gluten-free version, substitute the chocolate cookie crumbs with gluten-free chocolate cookies.
- These bars can be made a day ahead and stored in the refrigerator for up to 4 days to save time.
- Use dark chocolate instead of semisweet for a more intense chocolate flavor.
- Ensure the melted chocolate has cooled slightly before mixing with cream cheese to prevent curdling.


