
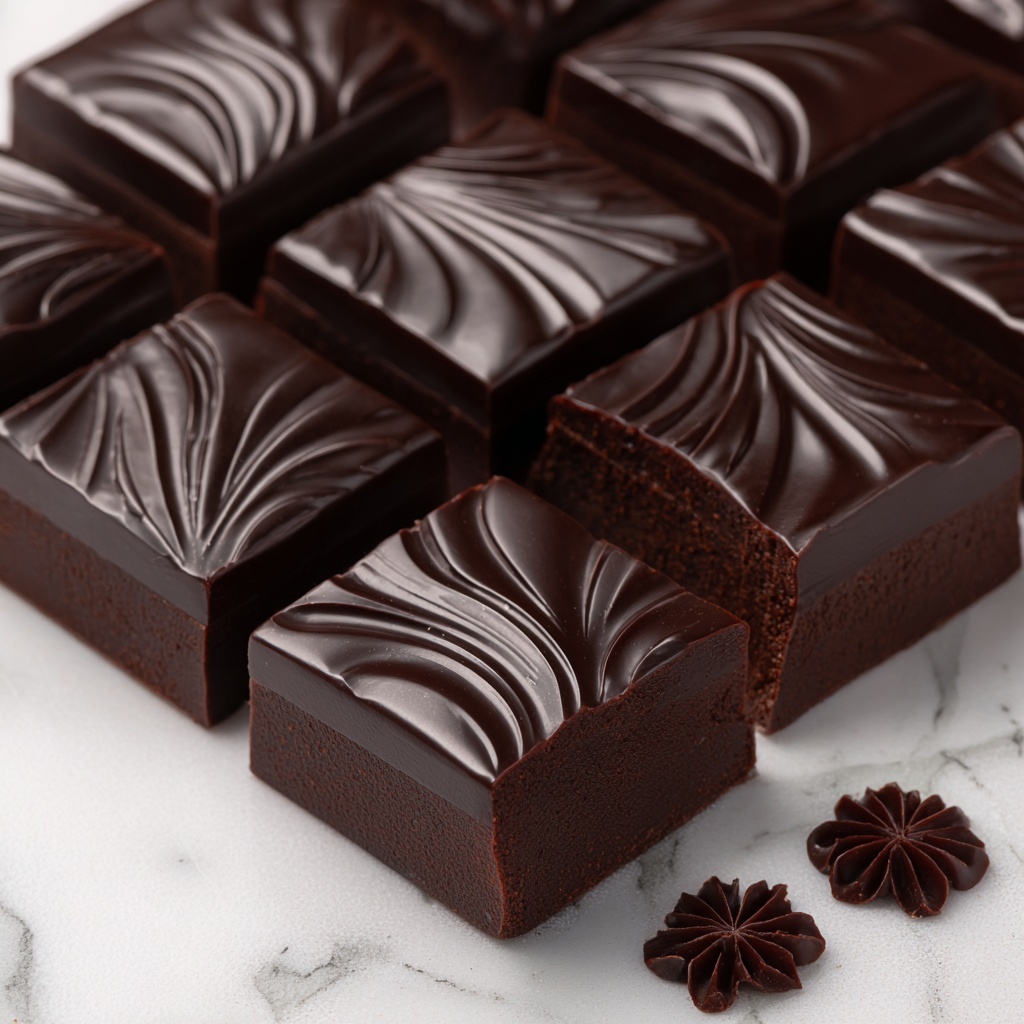
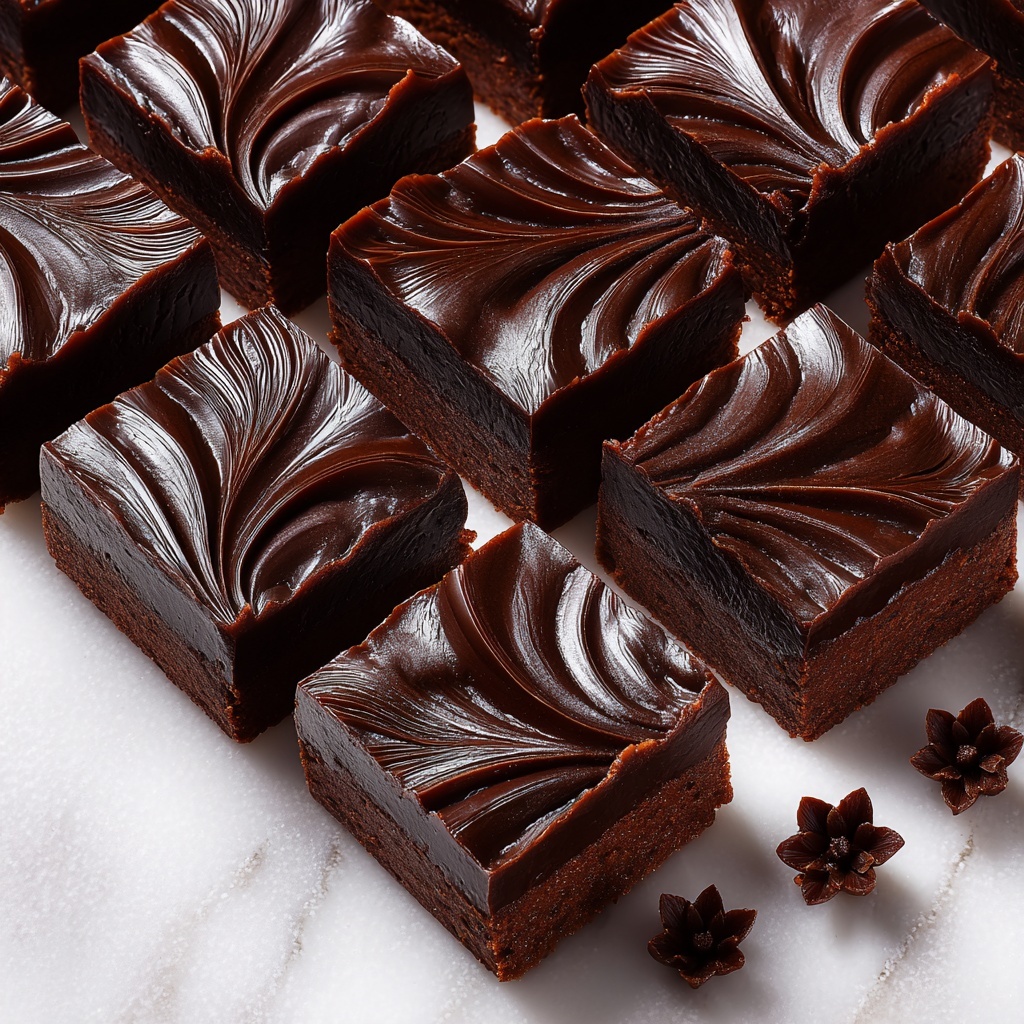
If you’re craving a rich, chocolatey treat that comes together effortlessly, you’re going to love this No-Bake Brownies Without Dates Recipe. It’s a perfect way to enjoy fudgy, decadent brownies without turning on the oven or relying on dates for sweetness. The combination of almond flour, cocoa, and maple syrup creates a moist, dense texture while offering a deep chocolate flavor that satisfies your sweet tooth anytime. Plus, this recipe is wonderfully customizable and comes together in just a little over an hour, making it a go-to option when you want a no-fuss, no-bake indulgence.
Ingredients You’ll Need
The magic of this recipe lies in its simplicity. Each ingredient plays a crucial role—from the nutty almond flour that gives body and a lovely crumb, to the cocoa powder that delivers intense chocolate flavor. Even the optional nuts and chocolate chips add delightful texture and bursts of extra sweetness, making these brownies a full sensory treat.
- Almond flour: Provides a gluten-free, nutty base that keeps the texture moist yet firm.
- Cocoa powder: Adds bold chocolate richness essential for brownie flavor.
- Maple syrup or honey: Natural sweeteners that bind ingredients and add subtle sweetness.
- Melted coconut oil: Gives a creamy texture and helps the mixture set beautifully.
- Vanilla extract: Brightens the chocolate flavor with warm, aromatic notes.
- Salt: Balances sweetness and enhances the chocolate’s depth.
- Chopped walnuts or pecans (optional): Adds crunch and a buttery contrast.
- Dark chocolate chips (optional): Melts into pockets of chocolate heaven.
- Additional dark chocolate chips and coconut oil: For a luscious chocolate topping that’s silky and shiny.
How to Make No-Bake Brownies Without Dates Recipe
Step 1: Mix Dry Ingredients
Grab a mixing bowl and whisk together the almond flour, cocoa powder, and salt until they’re fully combined. This helps spread the chocolate flavor evenly and avoids any clumps, giving you that perfectly smooth base for the brownies.
Step 2: Combine Wet Ingredients
In the same bowl, pour in the maple syrup (or honey), melted coconut oil, and vanilla extract. Stir everything until a thick dough forms, making sure all the dry ingredients are moistened. The dough might look dense, but that’s exactly what we want—it promises a fudgy, rich brownie.
Step 3: Add Mix-ins
Now’s the fun part: gently fold in your chopped nuts and optional chocolate chips. This step adds texture and little bursts of extra flavor, turning a simple brownie into a delightful bite full of surprises.
Step 4: Press into Pan
Line an 8×8-inch baking dish with parchment paper for easy removal later, then firmly press the brownie mixture evenly into the pan. A well-packed base ensures the brownies hold together when sliced and gives you that satisfying chewiness.
Step 5: Make the Chocolate Topping (Optional)
For an extra indulgence, melt the dark chocolate chips with coconut oil in a small bowl—either in the microwave in short bursts or gently over a double boiler. Pour the silky mixture over the pressed brownies and spread it evenly for a glossy, decadent finish.
Step 6: Chill
Pop the pan into the refrigerator and let it chill for at least an hour. This step is crucial as it allows the brownies to firm up, making them easy to cut and giving that satisfying bite you want in a brownie.
Step 7: Serve and Enjoy!
Once set, carefully lift the brownies from the pan using the parchment paper. Slice into squares and prepare to dig into a luscious, no-bake treat that’s sure to become a staple in your dessert rotation.
How to Serve No-Bake Brownies Without Dates Recipe
Garnishes
One of the best things about this No-Bake Brownies Without Dates Recipe is how beautifully it pairs with simple, thoughtful garnishes. Try sprinkling a pinch of flaky sea salt, a dusting of cocoa powder, or even some finely chopped toasted nuts on top for a stylish look and flavor boost.
Side Dishes
Serve these brownies alongside a scoop of creamy vanilla ice cream or a dollop of coconut whipped cream to complement the rich chocolate taste. Fresh berries, such as raspberries or strawberries, brighten up each bite with a refreshing contrast.
Creative Ways to Present
For parties or special occasions, cut these brownies into bite-sized pieces and arrange them on a decorative board with an assortment of fresh fruit, nuts, and a drizzle of chocolate or caramel sauce. You can also layer brownie squares with whipped cream and fruit in clear glasses for a striking dessert parfait.
Make Ahead and Storage
Storing Leftovers
These brownies keep beautifully when stored in an airtight container in the refrigerator for up to one week. Keeping them chilled maintains their firm, fudgy texture and ensures the chocolate topping remains glossy and intact.
Freezing
If you want to save them for longer, these brownies freeze well. Wrap them individually in plastic wrap or parchment, then store in a freezer-safe container for up to three months. When ready, thaw overnight in the fridge for the best texture.
Reheating
Since these brownies are best enjoyed chilled or at room temperature, avoid microwaving. Instead, let them sit at room temperature for 10-15 minutes after removing from the fridge or freezer to soften slightly before eating.
FAQs
Can I substitute almond flour with another flour?
Almond flour is key for the texture and moisture in this recipe. You could try cashew or hazelnut flour for a similar nutty flavor, but using standard wheat flour will alter the texture and firmness, so it’s not recommended.
Is it necessary to use maple syrup, or can I use another sweetener?
Maple syrup or honey works best to keep the brownies moist and naturally sweet. You could try agave nectar or brown rice syrup, but avoid granulated sugar since it won’t bind the ingredients properly.
What if I don’t want to use chocolate chips?
Chocolate chips add lovely melt-in-your-mouth pockets but aren’t mandatory. You can omit them or swap in chopped dried fruit or shredded coconut for texture and flavor variations.
How important is chilling time? Can I cut them sooner?
Chilling is essential to achieve the right fudgy firmness, so it’s best to wait at least an hour. Cutting sooner might result in crumbly bars that don’t hold their shape well.
Can I make these brownies vegan?
Absolutely! Simply use a plant-based sweetener like maple syrup and ensure your chocolate chips are dairy-free. Coconut oil is naturally vegan, making this recipe very easy to adapt.
Final Thoughts
I hope you’re as excited as I am about this delicious No-Bake Brownies Without Dates Recipe. Its simplicity, rich chocolate flavor, and luscious texture make it a wonderful treat to whip up anytime. Whether you’re looking for a quick dessert, a snack to share with friends, or a healthier alternative to traditional brownies, this recipe has you covered. Give it a try—you might just find a new favorite to keep in your recipe arsenal forever!
Print
No-Bake Brownies Without Dates Recipe
- Prep Time: 15 minutes
- Cook Time: 0 minutes
- Total Time: 1 hour 15 minutes
- Yield: 9 servings
- Category: Dessert
- Method: No-Cook
- Cuisine: American
- Diet: Gluten Free
Description
These no-bake brownies are a delicious and healthy alternative to traditional brownies, combining almond flour and cocoa powder with natural sweeteners like maple syrup or honey. They require no oven time, just chilling, making them perfect for a quick and easy treat packed with rich chocolate flavor and optional crunchy nuts.
Ingredients
Dry Ingredients
- 1 ½ cups almond flour
- ½ cup cocoa powder
- ¼ teaspoon salt
Wet Ingredients
- ¼ cup maple syrup or honey
- ¼ cup melted coconut oil
- 1 teaspoon vanilla extract
Mix-ins (Optional)
- ½ cup chopped walnuts or pecans
- ¼ cup dark chocolate chips
Chocolate Topping (Optional)
- ½ cup dark chocolate chips
- 1 tablespoon coconut oil
Instructions
- Mix Dry Ingredients: In a mixing bowl, whisk together the almond flour, cocoa powder, and salt until well combined to create the base of your brownie dough.
- Combine Wet Ingredients: Add the maple syrup or honey, melted coconut oil, and vanilla extract to the dry mixture. Stir thoroughly until a thick and sticky dough forms.
- Add Mix-ins: Fold in chopped walnuts or pecans and the ¼ cup of dark chocolate chips to add texture and extra chocolate bursts, if using.
- Press into Pan: Line an 8×8-inch baking dish with parchment paper. Transfer the brownie dough into the dish and press it down evenly with your hands or a spatula to form a compact layer.
- Make the Chocolate Topping (Optional): Melt the ½ cup dark chocolate chips together with 1 tablespoon of coconut oil in a double boiler or microwave. Pour this melted chocolate over the pressed brownie layer and spread it evenly to create a smooth topping.
- Chill: Place the pan in the refrigerator and chill for at least 1 hour until the brownies firm up and are easy to slice.
- Serve: Once set, remove from the fridge, slice into squares, and enjoy your no-bake brownies!
Notes
- Use almond flour for a gluten-free base and a nutty flavor.
- Maple syrup or honey can be substituted based on dietary preference.
- Optional nuts add crunch and extra nutrition but can be omitted for a smoother texture.
- The chocolate topping is optional but adds a rich, glossy finish.
- Store leftovers covered in the refrigerator for up to 5 days.
- For a firmer texture, chill the brownies longer before serving.


