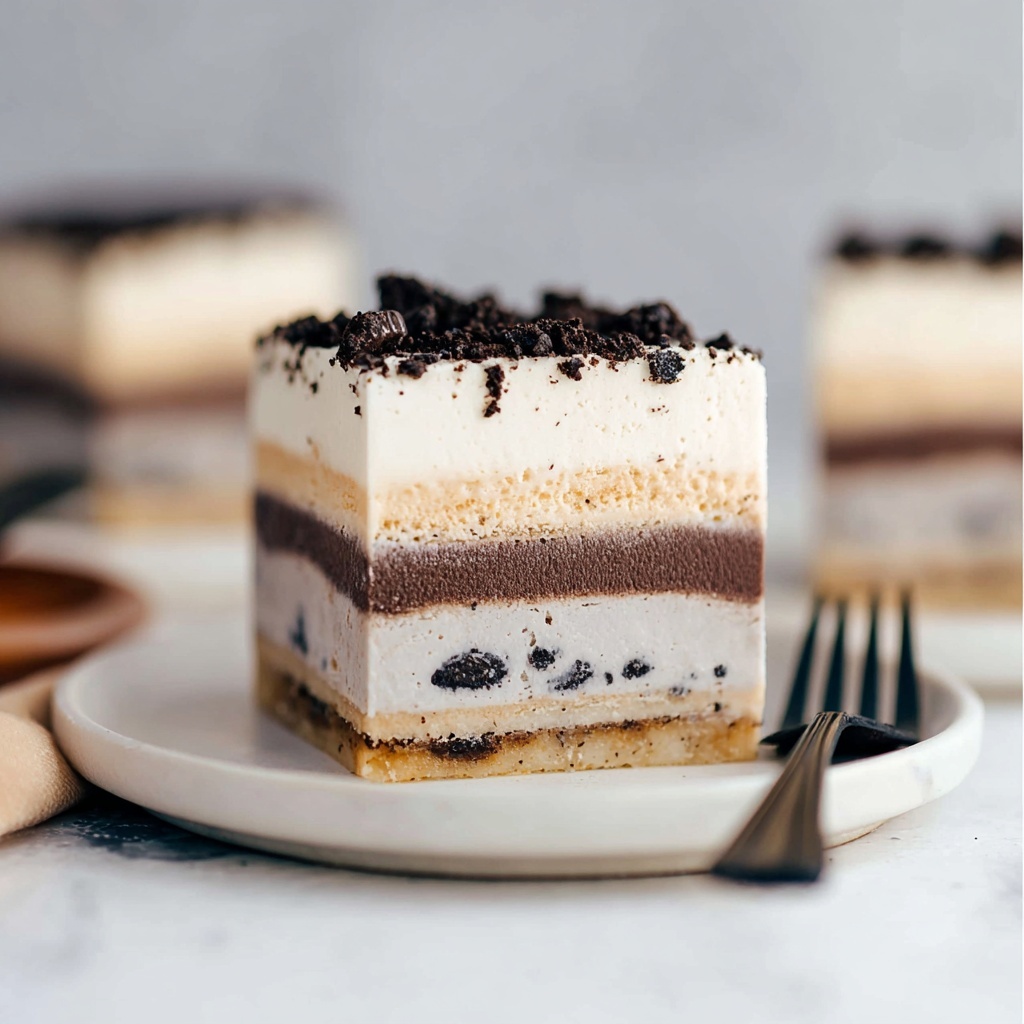
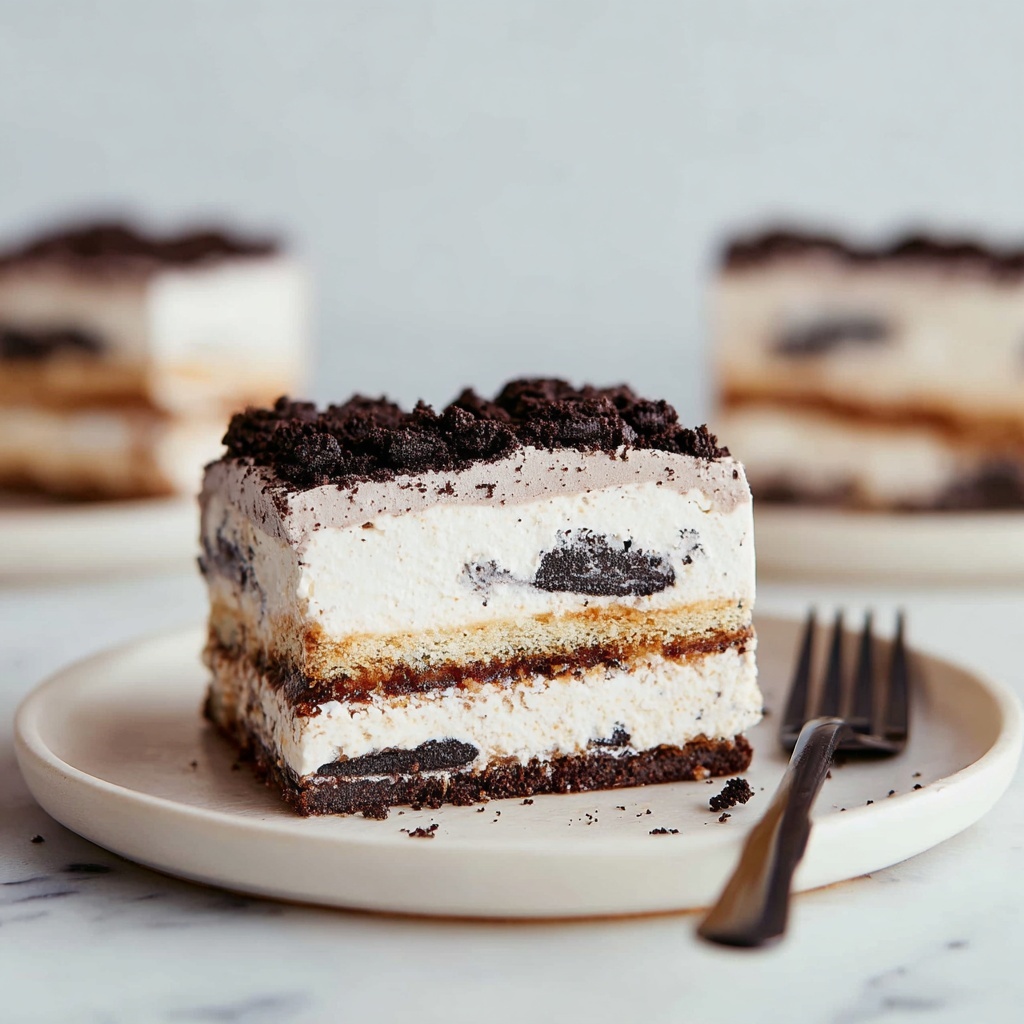
If you’re craving a dessert that’s as fun to make as it is to eat, this Ice Cream Sandwich Cake Recipe is about to become your new go-to favorite. Picture layers of creamy cookies and cream ice cream, classic vanilla ice cream sandwiches, and a fluffy whipped topping crowned with crunchy Oreo crumbs all melded into one irresistible frozen cake. It’s the perfect treat to wow your family or friends, and it’s surprisingly simple to put together! Whether it’s a birthday bash, a summer party, or just a laid-back weekend indulgence, this cake promises delightful flavors and textures that everyone will adore.
Ingredients You’ll Need
Gathering your ingredients for this Ice Cream Sandwich Cake Recipe is a breeze, and each one plays a vital role in creating the perfect balance of creaminess, crunch, and sweetness. These few simple items combine to give you a dessert that’s beautiful, delicious, and incredibly satisfying.
- 18 regular vanilla ice cream sandwiches: These form the sturdy, creamy base and middle layers that are nostalgic and satisfying.
- 1 (48-ounce) container cookies and cream ice cream: Adds rich, smooth creaminess with delightful cookie chunks mixed throughout.
- 1 (8-ounce) container frozen whipped topping (thawed): Provides a light, airy finish to the cake and helps hold everything together.
- 6–8 regular Oreos: Crushed on top for added crunch and visual appeal, plus that extra chocolatey goodness.
How to Make Ice Cream Sandwich Cake Recipe
Step 1: Prepare Your Pan and Ice Cream
Start by lining a 9×9-inch pan with parchment paper. Make sure to leave an overhang so you can easily lift the cake out later. If your ice cream sandwiches are extra firm, let them sit at room temperature for about 5 minutes—but don’t let them get too soft or they’ll be tricky to work with.
Step 2: Create the First Layer of Ice Cream Sandwiches
Next, unwrap your ice cream sandwiches and press 9 of them into the bottom of the pan. You might need to trim 2 sandwiches slightly to fit perfectly—don’t worry, this is part of the fun process and ensures a neat layer every time!
Step 3: Spread the Cookies and Cream Ice Cream
Use a large spoon to spread half of the cookies and cream ice cream evenly over the first layer of sandwiches. Press down gently but firmly to create a smooth, even layer. This layer is where that creamy, dreamy texture really starts to shine.
Step 4: Add the Second Layer of Ice Cream Sandwiches
Firmly press the remaining 9 ice cream sandwiches on top of the ice cream layer. Spread the rest of the cookies and cream ice cream over these sandwiches, pressing down again. Cover the pan tightly and pop it into the freezer for about an hour until the layers are firm.
Step 5: Top with Whipped Topping and Oreos
Once your cake layers have set, remove the pan from the freezer and spread the thawed whipped topping over everything for a light, fluffy cover. Crush the Oreos and sprinkle them generously on top, then carefully return the cake to the freezer to firm up completely before serving.
Step 6: Slice and Serve
When you’re ready to impress your guests, use the parchment overhang to lift the cake out of the pan. To achieve clean, gorgeous slices, run a sharp knife under hot water for a few seconds, wipe it dry, and slice through. Repeat this warming step for each cut. Serve immediately and watch your Ice Cream Sandwich Cake Recipe disappear fast!
How to Serve Ice Cream Sandwich Cake Recipe

Garnishes
While the crushed Oreos on top are a natural choice, feel free to get creative with additional garnishes like a drizzle of hot fudge, rainbow sprinkles, or even some fresh berries for a pop of color and a hint of tartness. It’s these little touches that make every bite exciting and utterly delightful.
Side Dishes
This Ice Cream Sandwich Cake Recipe pairs wonderfully with simple accompaniments. A glass of cold milk, a scoop of fresh fruit sorbet, or even coffee for adult guests can perfectly complement this rich, indulgent dessert without stealing the spotlight.
Creative Ways to Present
If you want to dress up your serving style, try cutting the cake into fun shapes using cookie cutters or layering it in clear glass containers for a beautiful parfait-like presentation. You can also serve it on chilled plates to keep the cake firm longer during parties.
Make Ahead and Storage
Storing Leftovers
Any leftover cake should be tightly covered and returned to the freezer as soon as possible to maintain its texture and prevent freezer burn. The parchment paper overhang makes it easy to re-cover and store without mess.
Freezing
This recipe freezes beautifully, making it an ideal make-ahead dessert. Keep it covered well in the freezer for up to a week. When you’re ready to serve again, just thaw for a few minutes at room temperature for the perfect sliceable consistency.
Reheating
Since this is a frozen dessert, reheating isn’t necessary or recommended. Instead, let it sit for a few minutes at room temperature before slicing for easier cutting and a more enjoyable creamy texture.
FAQs
Can I use different flavors of ice cream sandwiches in this recipe?
Absolutely! While vanilla works beautifully, you can experiment with chocolate or mint ice cream sandwiches to put a unique twist on the classic Ice Cream Sandwich Cake Recipe. Just make sure the flavors complement your cookies and cream ice cream.
What if I don’t have a 9×9-inch pan?
You can use a slightly larger or smaller pan, but keep in mind that you might need to adjust the number of ice cream sandwiches accordingly. Just ensure the layers are compact and even for the best texture and appearance.
Can I use homemade whipped cream instead of frozen whipped topping?
Definitely! Freshly whipped cream adds a lovely richness, but it’s best to keep it stable with a bit of gelatin or powdered sugar so it holds up well on top of the cake and withstands freezing.
How far in advance can I make this cake?
This Ice Cream Sandwich Cake Recipe can be assembled up to a day before your event. Just keep it covered and frozen until serving time to keep it fresh and delicious.
What’s the best way to cut the cake neatly?
For clean, pretty slices, dip your knife in hot water, dry it off, then cut through the cake. Wiping and reheating the knife between slices helps maintain neat edges without smudging the layers.
Final Thoughts
If you’re looking for a crowd-pleasing, show-stopping dessert that’s genuinely easy to make, this Ice Cream Sandwich Cake Recipe is pure magic. It’s fun, flavorful, and perfect for any occasion where you want to bring smiles and happy taste buds to the table. Trust me, once you try it, this cake will become a beloved staple in your recipe collection.
Print
Ice Cream Sandwich Cake Recipe
- Prep Time: 15 minutes
- Cook Time: 0 minutes
- Total Time: 1 hour 15 minutes
- Yield: 16 servings
- Category: Dessert
- Method: No-Cook
- Cuisine: American
Description
This Ice Cream Sandwich Cake is a delightful no-bake layered dessert combining classic vanilla ice cream sandwiches, creamy cookies and cream ice cream, smooth whipped topping, and crunchy Oreo cookies. Perfect for parties or summery indulgences, it offers a delicious frozen treat that’s easy to assemble and sure to impress.
Ingredients
Main Ingredients
- 18 regular vanilla ice cream sandwiches (unwrapped)
- 1 (48-ounce) container cookies and cream ice cream (3 pints)
- 1 (8-ounce) container frozen whipped topping (thawed to room temperature)
- 6–8 regular Oreos, crushed
Instructions
- Prepare the Pan: Line a 9×9-inch pan with parchment paper, ensuring there is an overhang on the sides to make removal easier later. If the ice cream is extremely firm, let it soften at room temperature for about 5 minutes but avoid letting it get too soft.
- Add Ice Cream Sandwiches: Unwrap all ice cream sandwiches. Arrange 9 sandwiches evenly on the bottom of the prepared pan. You may need to trim 2 of the sandwiches slightly to make them fit snugly – this ensures a flat base layer.
- Spread Ice Cream: Using a large spoon, scoop half of the cookies and cream ice cream and spread it evenly over the layer of ice cream sandwiches. Press down gently but firmly to create a smooth, even layer.
- Layer More Sandwiches: Place the remaining 9 ice cream sandwiches firmly on top of the ice cream layer, creating a second solid layer of sandwiches.
- Add Remaining Ice Cream: Spread the remaining half of the cookies and cream ice cream over the second layer of ice cream sandwiches. Press down firmly to compact the layers.
- Freeze Layers: Cover the pan tightly with plastic wrap or foil and place it in the freezer. Allow the layers to freeze and set for about 1 hour until firm.
- Top with Whipped Topping and Oreos: Remove the pan from the freezer and spread the thawed whipped topping evenly over the top surface. Crush 6–8 Oreos and sprinkle them generously over the whipped topping for added texture and flavor.
- Freeze Until Firm: Return the assembled dessert to the freezer and let it chill until it is very firm, ideal for at least another hour or overnight for best results.
- Remove from Pan and Slice: Using the parchment paper overhang, lift the cake out of the pan. For clean slicing, dip a sharp knife in hot water, wipe it dry, make one slice, and repeat this warming process between cuts.
- Serve and Store: Serve immediately after slicing. Any leftovers should be covered tightly and returned to the freezer to maintain freshness.
Notes
- To achieve neat slices, warm your knife under hot water before each cut.
- You can customize the cake by using different flavors of ice cream or sandwich cookies.
- Allow ice cream sandwiches to soften slightly so spreading layers is easier but avoid melting.
- Use parchment paper to help remove the cake cleanly from the pan.


