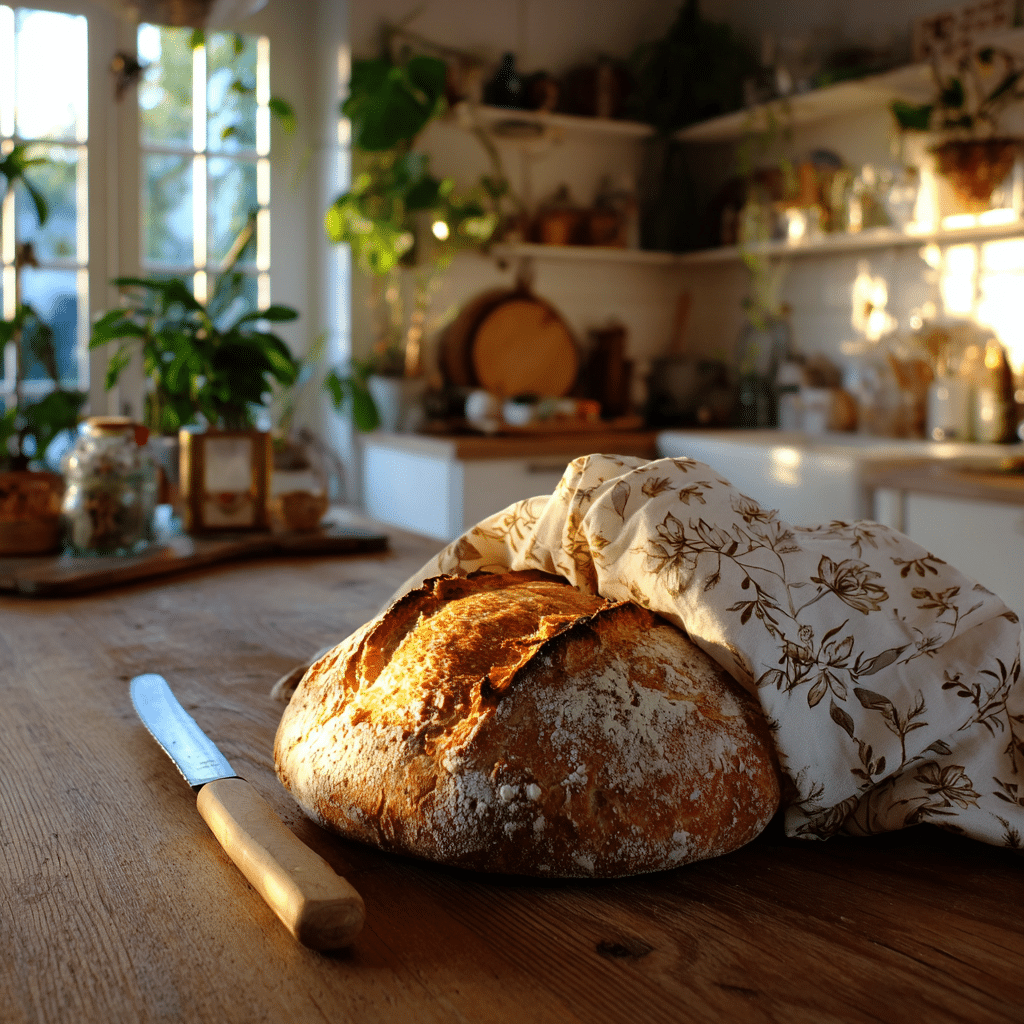
Reusable bread bags are a sustainable and stylish way to store homemade or store-bought bread while reducing plastic waste. These fabric bags help keep your bread fresh and are machine washable for easy maintenance.
Why You’ll Love This Project

This sewing project is beginner-friendly, customizable in size and fabric, and perfect for eco-conscious bakers. Whether you’re gifting bread or storing your sourdough, a reusable bread bag is both practical and charming.
materials
(Tip: Choose natural, breathable fabrics like cotton or linen for best results.)
fabric (cotton or linen recommended)threadsewing needle or sewing machinefabric scissorsmeasuring tapepins orsafety pincord or ribbon for drawstring
directions
Cut your fabric into a rectangle approximately 18″ x 28″ (adjust size as needed for your loaves).
Fold the fabric in half lengthwise with right sides facing each other, creating a shape roughly 18″ x 14″.
Pin or clip the sides in place, leaving the top open.
Sew along both sides using a ½” seam allowance. Finish seams with a zigzag stitch or pinking shears to prevent fraying.
Turn the bag right side out and press flat.
Fold the top edge of the bag down ½”, then fold again 1″ to create a drawstring channel. Press and pin.
Sew around the bottom edge of the fold, leaving a 1″ gap unsewn to insert the drawstring.
Attach a safety pin to one end of the cord or ribbon and feed it through the channel.
Once the cord is threaded all the way through, knot the ends together.
Optional: Add a second drawstring on the opposite side for a double-pull closure.
dimensions and timing
Finished bag size: approximately 17″ x 13″Preparation time: 10 minutesSewing time: 20-30 minutesTotal time: 30-40 minutes
variations
Use patterned fabric or fabric scraps for a colorful look.
Add a lining for extra durability.
Customize with embroidery or iron-on labels.
Make smaller versions for rolls or baguettes.
care and cleaning
Wash your reusable bread bag in cold or warm water on a gentle cycle.Air dry or tumble dry on low. Avoid high heat to prevent shrinkage or damage to the drawstring.
FAQs
Can I use any fabric for a bread bag?
Natural, breathable fabrics like cotton or linen are best. Avoid synthetics as they don’t allow airflow.
How long will bread stay fresh in this bag?
Homemade bread typically stays fresh for 2-3 days. For longer storage, place the bag inside a bread box or freeze the bread.
Can I use this bag for store-bought bread?
Yes, it works well for storing store-bought loaves and reducing plastic use.
Is a drawstring necessary?
A drawstring helps keep the bread covered and protected but isn’t strictly necessary.
Can I machine wash the bag?
Yes, these bags are fully machine washable and reusable.
Can I freeze bread in this bag?
It’s best to wrap the bread in foil or plastic before freezing to prevent freezer burn.
Conclusion
Sewing a reusable bread bag is a simple, eco-friendly project that adds charm to your kitchen and helps reduce waste. With minimal materials and time, you can create a custom solution for keeping your bread fresh and your baking routine more sustainable.
Print
How to Sew a Reusable Bread Bag
- Prep Time: 15 minutes
- Cook Time: N/A
- Total Time: 30 minutes
- Yield: One bread bag (fits a standard loaf)
- Category: Storage & Kitchen Accessory
- Method: Sewing
- Cuisine: N/A
- Diet: Vegan
Description
A practical, eco-friendly sewing project to create a reusable fabric bread bag for storing or gifting loaves of bread.
Ingredients
- 1 yard cotton or linen fabric (food-safe, breathable)
- 1/2 yard lightweight cotton lining (optional)
- 20″ cotton drawstring or twill tape or ribbon
- Matching thread
- Bias tape or hem allowance for top finish (optional)
Instructions
- Wash, dry, and press your fabric to pre-shrink and sterilize it.
- Cut fabric into two rectangles: main fabric 14″×16″ and lining same if using.
- Place main fabric pieces right sides together; pin the sides and bottom edges.
- Sew a 1/2″ seam allowance along both sides and the bottom; backstitch at ends.
- If you want a boxed bottom, measure 2″ from the corner, draw a line across, fold so seam meets, sew across, then trim the triangle.
- Repeat the same steps with the lining fabric if using lining.
- Press seams open and turn main bag right side out; leave lining inside out.
- Insert lining into main bag with wrong sides together and align top edges; pin around the top.
- Fold the top edge down 1/2″ toward the lining, then fold again another 1″ or to accommodate drawstring casing; press and pin.
- Sew around the top edge to create the channel, leaving a 2″ opening your drawstring can slide through.
- Press bias tape and sandwich over the channel edge (optional) to neaten the interior; topstitch in place.
- Using a safety pin, thread your drawstring through the casing all the way around, exit at the opening.
- Tie the ends of the drawstring or knot each end to prevent fraying and slipping in the channel.
- Turn the lining inside the bag so it’s hidden, press the top edge flat, and your bread bag is done!
Notes
- Choose 100% cotton or linen for breathability and food safety.
- Wash and dry the bag before first use to remove manufacturing finishes.
- Size can be adjusted to fit different loaf shapes—just measure your bread and add seam allowances.
- Optionally add a label or window patch to personalize or mark contents.
- To clean, machine wash cold and line dry to maintain shape and fabric longevity.