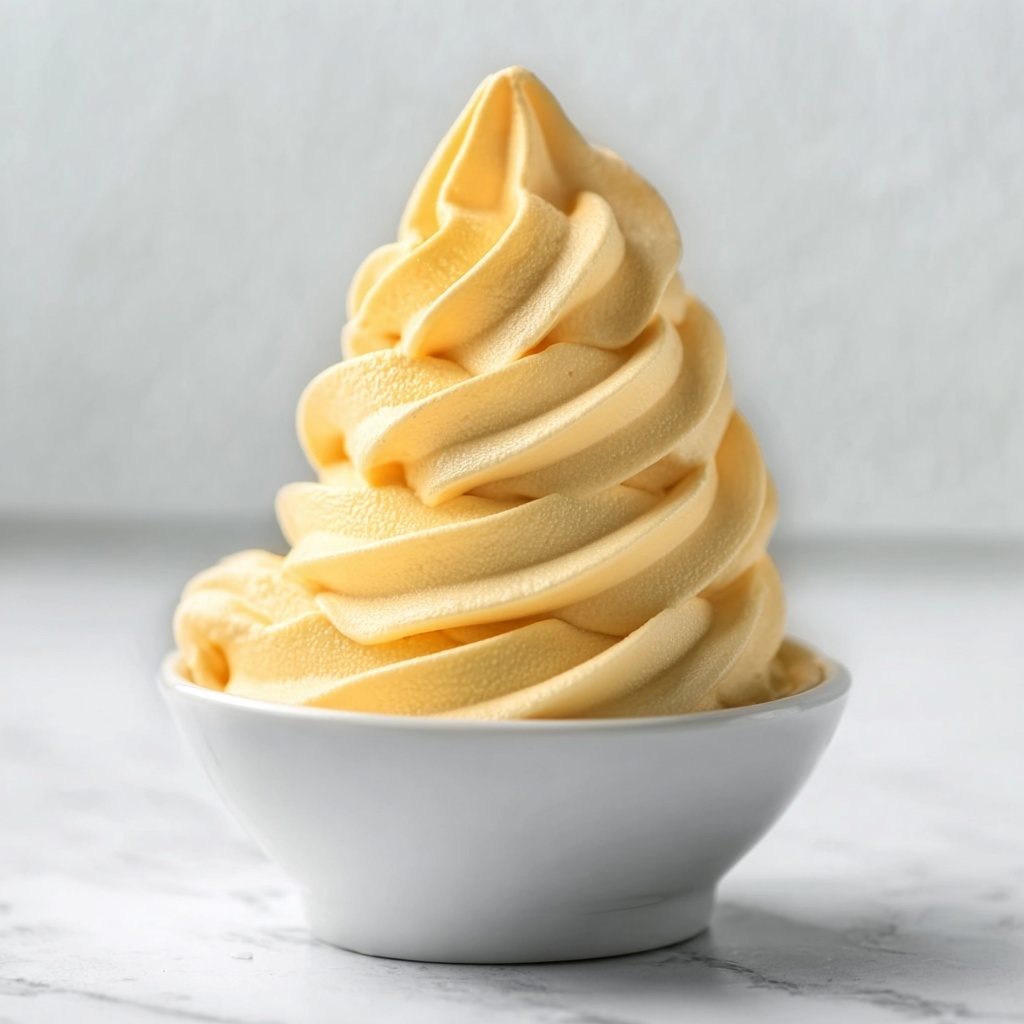
If you are craving a sweet, refreshing treat that feels like a tropical vacation in every bite, this Homemade Pineapple Soft Serve Ice Cream Recipe is exactly what you need. Bursting with the natural sweetness and tang of ripe pineapple, combined with a silky smooth texture, this ice cream is incredibly easy to whip up in just minutes. Whether you’re cooling down on a warm day or looking for a wholesome dessert that everyone can enjoy, this recipe is a delightful way to satisfy your sweet tooth without any guilt. The vibrant flavor and creamy softness make it a standout dessert that feels like a tropical escape from your own kitchen.
Ingredients You’ll Need
When it comes to this Homemade Pineapple Soft Serve Ice Cream Recipe, the ingredients are remarkably simple, yet each one plays a crucial role in creating that perfect balance of flavor, creaminess, and a little hint of tropical magic. Freshness, natural sweetness, and a touch of creaminess come together beautifully here.
- Frozen pineapple chunks: The star ingredient that provides natural sweetness, tropical flavor, and a thick, creamy texture when blended frozen.
- Coconut milk: Adds luscious creaminess and subtle coconut flavor; you can substitute with any milk of your choice to suit your preference.
- Honey or maple syrup (optional): A little natural sweetness boost that can be adjusted depending on your taste and the pineapple’s ripeness.
- Lemon juice: Brightens the flavors and adds a fresh zing that makes the pineapple pop even more.
- Vanilla extract (optional): Introduces a warm undertone that enhances the overall depth of the soft serve.
- Pinch of salt: Just a touch to balance the sweetness and bring all the flavors together harmoniously.
How to Make Homemade Pineapple Soft Serve Ice Cream Recipe
Step 1: Prep Your Ingredients
Start by gathering all your ingredients and making sure your pineapple chunks are well frozen. Using frozen pineapple is absolutely crucial to achieving that thick, creamy “soft serve” texture without needing an ice cream machine. It’s so much simpler than you’d think!
Step 2: Blend Everything Together
Add the frozen pineapple chunks, coconut milk, honey or maple syrup if you’re using it, lemon juice, vanilla extract, and a pinch of salt into a high-speed blender or food processor. Blend the mixture until it becomes smooth and creamy. You’ll want to stop occasionally to scrape down the sides, ensuring every bit of pineapple gets blended in evenly.
Step 3: Adjust Consistency
If you find the texture a bit too thick to blend smoothly, don’t panic! Simply add a splash more coconut milk or your preferred milk a little at a time until you get that luscious soft serve consistency that’s perfect for swirling. This step is essential because it lets you customize how thick or creamy you want your ice cream.
Step 4: Serve or Freeze
At this point, your Homemade Pineapple Soft Serve Ice Cream Recipe is ready to enjoy immediately if you love a softer, velvety texture that’s just like freshly churned soft serve. Alternatively, transfer it to a freezer-safe container and freeze for 1 to 2 hours to get a firmer, scoopable texture that holds its shape beautifully.
Step 5: Scoop and Enjoy
Use an ice cream scooper or simply a spoon to dish out your tropical delight into bowls or cones. Every bite is a creamy, fruity sensation that’s sure to brighten your day.
How to Serve Homemade Pineapple Soft Serve Ice Cream Recipe
Garnishes
Enhance your soft serve by adding fun and fresh garnishes! Try sprinkling shredded toasted coconut or chopped fresh mint leaves on top to boost the tropical vibe. For an extra pop of color and flavor, fresh pineapple chunks or a drizzle of passion fruit syrup work beautifully as well. These additions not only add visual appeal but also introduce complementary flavors and textures.
Side Dishes
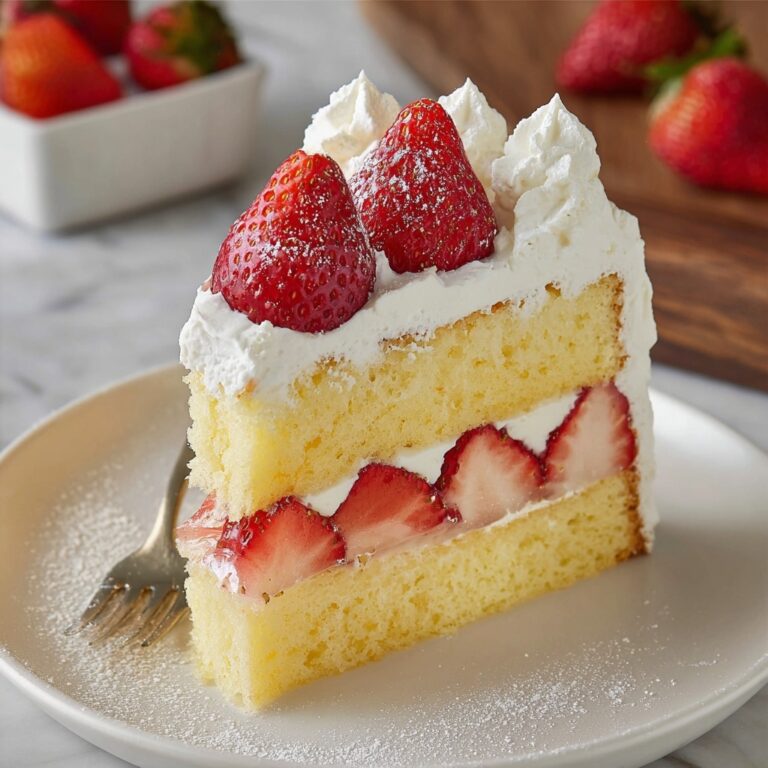
This ice cream pairs wonderfully with light, fresh side dishes to keep your meal feeling summery and bright. Think along the lines of a crisp fruit salad, a simple green salad with citrus vinaigrette, or even a warm slice of freshly baked coconut cake. The contrast between chilled soft serve and warm baked treats can be absolutely heavenly.
Creative Ways to Present
For special occasions, serve your Homemade Pineapple Soft Serve Ice Cream Recipe in hollowed-out pineapple halves or coconuts – talk about a fun tropical presentation! You can also layer it in parfait glasses with granola and fresh berries for a stunning dessert that’s as beautiful as it is delicious. These creative ideas can turn a simple recipe into a memorable experience.
Make Ahead and Storage
Storing Leftovers
If you happen to have leftovers, store the soft serve in an airtight container in the freezer. Remember to press a piece of parchment paper or plastic wrap directly on the surface before sealing to prevent ice crystals from forming. This will help keep the texture as close to fresh as possible.
Freezing
Freezing this ice cream longer than 1–2 hours will make it too hard to scoop nicely straight from the freezer. To restore a creamy texture after longer freezing, allow the ice cream to thaw at room temperature for about 10 minutes before scooping. This little patience pays off big time in texture!
Reheating
No need to reheat soft serve ice cream! Instead, simply leave it out at room temperature for a short bit to soften before serving. If you are feeling adventurous, you can give it a quick blitz in the blender to refresh the creamy texture, especially if it’s been sitting in the freezer for a while.
FAQs
Can I make this Homemade Pineapple Soft Serve Ice Cream Recipe without a blender?
A high-speed blender or food processor is really the best tool to get that creamy, smooth texture. Without one, it’s tough to break down the frozen pineapple chunks properly, so investing in a good blender or food processor is definitely worth it.
Is this recipe suitable for vegans and those with dairy allergies?
Absolutely! Using coconut milk or any other plant-based milk makes this recipe perfect for vegans and anyone avoiding dairy. Plus, it’s naturally gluten-free and refined sugar-free when you skip the honey and use maple syrup instead.
Can I substitute the pineapple for other fruits?
Yes, you can experiment with other tropical fruits like mango or papaya, but keep in mind the flavor and texture will change. Pineapple offers a uniquely bright and tangy profile that makes this Homemade Pineapple Soft Serve Ice Cream Recipe so special.
How sweet is the ice cream without adding honey or syrup?
If your pineapple chunks are ripe and sweet, you may not need any additional sweetener at all. The lemon juice adds a nice balance, so taste the mixture before adding honey or maple syrup and adjust based on your preference.
What’s the best way to scoop the ice cream if it’s frozen too hard?
Let it sit at room temperature for about 10 minutes to soften slightly, then use a warmed ice cream scoop (dip in hot water and dry) to make scooping easier and smoother.
Final Thoughts
I genuinely cannot recommend this Homemade Pineapple Soft Serve Ice Cream Recipe enough if you love quick, wholesome, and utterly delicious treats with a tropical twist. It’s one of those recipes that feels like a little celebration in every bite, and it’s bound to become a staple in your dessert repertoire. Whether you’re serving it at a summer gathering or enjoying a quiet moment of indulgence, this recipe brings sunshine to your kitchen and joy to your taste buds. Give it a whirl — your summer just got a lot sweeter!
Print
Homemade Pineapple Soft Serve Ice Cream Recipe
- Prep Time: 5 minutes
- Cook Time: 0 minutes
- Total Time: 5 minutes
- Yield: 2 servings
- Category: Dessert
- Method: Blending
- Cuisine: American, Tropical
- Diet: Vegan
Description
This Homemade Pineapple Soft Serve Ice Cream is a refreshing, tropical dessert made with simple, wholesome ingredients. Naturally dairy-free and vegan, it’s a healthy alternative to traditional ice cream, blending frozen pineapple with creamy coconut milk for a smooth, soft-serve texture that you can enjoy immediately or freeze for a firmer scoop.
Ingredients
Soft Serve Base
- 2 cups frozen pineapple chunks
- ½ cup coconut milk (or any milk of choice)
- 1 tablespoon honey or maple syrup (optional)
- 1 teaspoon lemon juice
- ½ teaspoon vanilla extract (optional)
- Pinch of salt
Instructions
- Prepare Ingredients: Gather all ingredients including frozen pineapple chunks, coconut milk, honey or maple syrup if using, lemon juice, vanilla extract, and a pinch of salt.
- Blend Ingredients: Add the frozen pineapple chunks, coconut milk, optional sweetener, lemon juice, vanilla extract, and salt into a high-speed blender or food processor.
- Process Mixture: Blend until the mixture becomes smooth and creamy, stopping occasionally to scrape down the sides of the blender to ensure even blending. If the mixture is too thick to blend smoothly, add a splash more milk to help achieve the perfect consistency.
- Serve or Freeze: Once the mixture reaches a soft-serve consistency, serve immediately for a soft, swirlable texture. Alternatively, transfer it to a container and freeze for 1 to 2 hours to achieve a firmer, scoopable ice cream texture.
- Enjoy: Scoop the pineapple soft serve into bowls or cones and enjoy a fresh, tropical, and healthy dessert anytime.
Notes
- For extra tropical flavor, add a few chunks of frozen mango or sprinkle shredded coconut into the blend.
- Use dairy-free milk like coconut or almond milk to keep the recipe vegan.
- The optional honey or maple syrup can be adjusted or omitted depending on your preferred sweetness.
- Serving immediately will give you a soft-serve texture, while freezing longer will create a more traditional ice cream hardness.
- Use a high-powered blender or food processor for best texture results.


