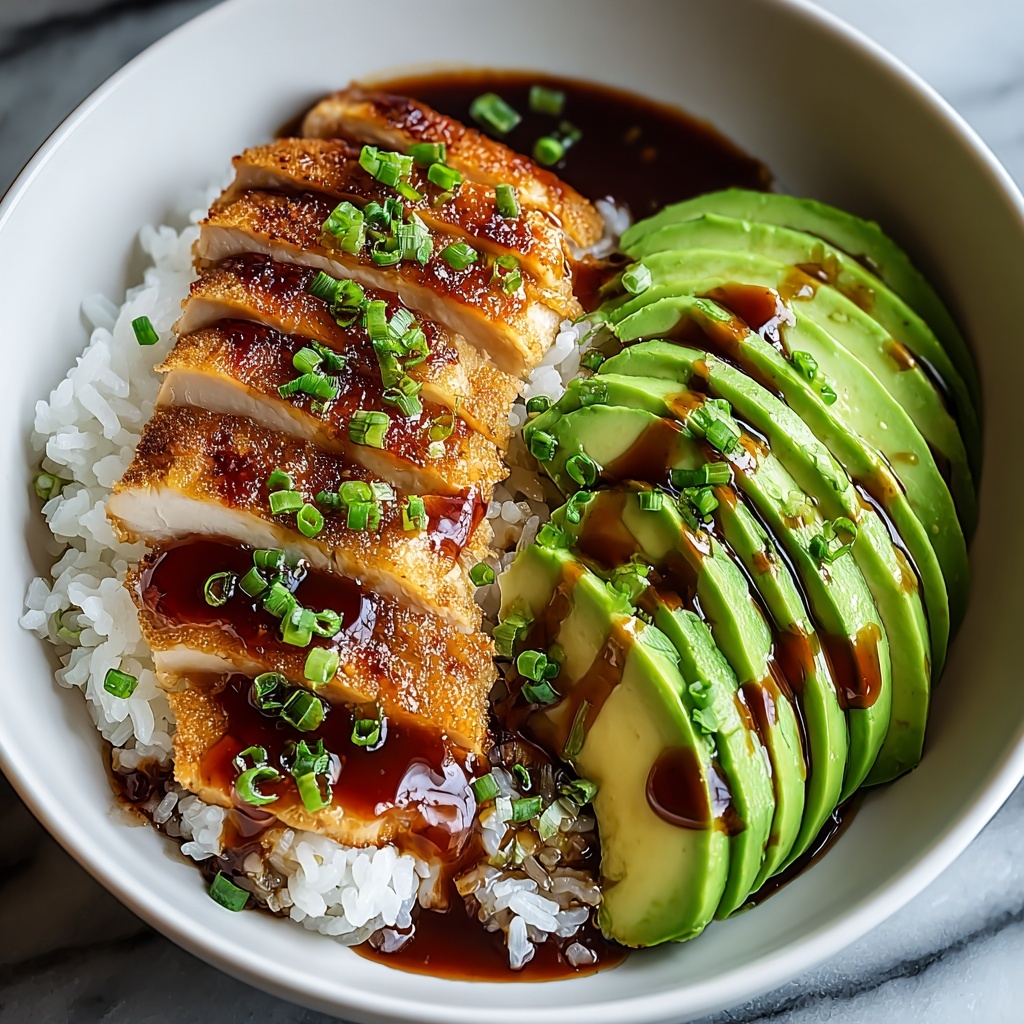
Nothing warms the soul quite like a comforting, wholesome meal that feels homemade yet delightfully special. This Easy Sticky Chicken Rice Bowl Recipe combines tender, flavorful chicken with perfectly cooked rice and a sticky glaze that makes every bite irresistibly delicious. It’s a go-to dish when you want something satisfying but fuss-free, making it an absolute favorite to share with friends and family any day of the week.
Ingredients You’ll Need
Ingredients You’ll Need
For this recipe, you’ll only need a handful of simple ingredients, each playing a key role in creating the perfect balance of taste, texture, and inviting color. Let’s break down the essentials that make this dish shine.
- Chicken thighs or breasts: Tender cuts absorb the sticky glaze beautifully, keeping the meat juicy.
- Jasmine or basmati rice: Fluffy, fragrant rice is essential as the cozy bed for the sticky chicken.
- Soy sauce: Adds that umami-rich saltiness that anchors the glaze.
- Honey or brown sugar: For the perfect sticky sweetness that clings to the chicken.
- Garlic and ginger: Freshly minced to give a zesty punch and depth to the flavor profile.
- Sesame oil: A drizzle brings a nutty aroma and silky finish.
- Green onions and sesame seeds: For a fresh, crisp garnish that adds texture and a pop of color.
- Rice vinegar or lime juice: A splash for brightness and balance in the glaze.
How to Make Easy Sticky Chicken Rice Bowl Recipe
Step 1: Prepare the Rice Perfectly
Start by cooking your jasmine or basmati rice according to package instructions. For the best texture, rinse the rice under cold water before cooking to remove excess starch. Once cooked, fluff it gently with a fork so it stays light and airy as the foundation of your bowl.
Step 2: Make the Sticky Sauce
While the rice cooks, whisk together soy sauce, honey or brown sugar, minced garlic, grated ginger, a splash of rice vinegar or lime juice, and a touch of sesame oil. This sticky, flavorful glaze is the heart of your Easy Sticky Chicken Rice Bowl Recipe, melding sweet, salty, and tangy notes into one irresistible sauce.
Step 3: Cook the Chicken
Heat a bit of oil in a large skillet over medium heat. Add the chicken thighs or breasts and cook until golden and nearly cooked through, about 4-5 minutes per side depending on thickness. Pour the sauce over the chicken, let it simmer and thicken while spooning it continuously onto the meat, creating a glossy, sticky coating that will make your taste buds sing.
Step 4: Assemble the Bowl
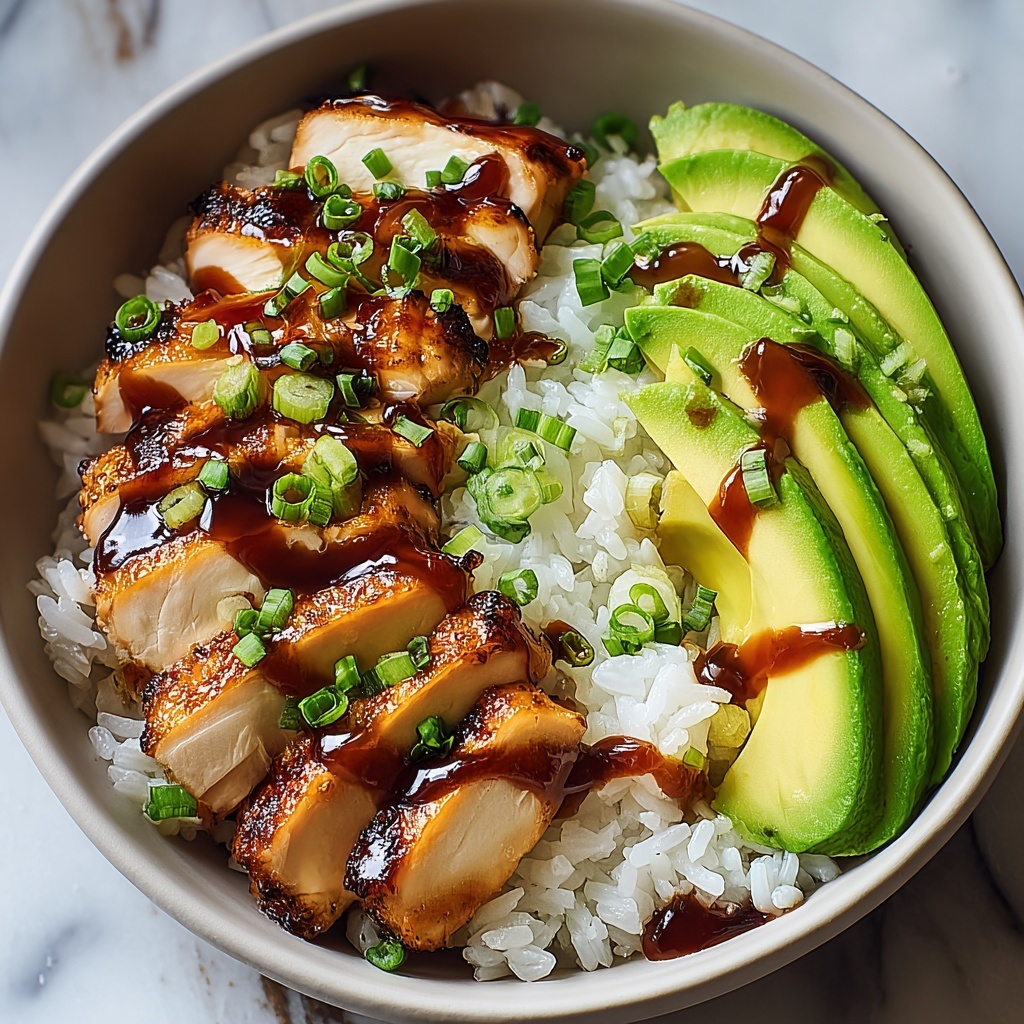
To build your bowl, spoon a generous portion of fluffy rice into your serving dish. Nestle the sticky glazed chicken pieces on top, then drizzle any extra sauce from the pan over the rice for extra flavor. Don’t forget the finishing touches that elevate the dish to restaurant quality.
How to Serve Easy Sticky Chicken Rice Bowl Recipe
Garnishes
Sprinkle a handful of toasted sesame seeds and finely chopped green onions to brighten the dish visually and add a lovely crunch. If you like a bit of heat, a few thin slices of fresh chili or a drizzle of sriracha perfectly complement the sweet stickiness of the chicken.
Side Dishes
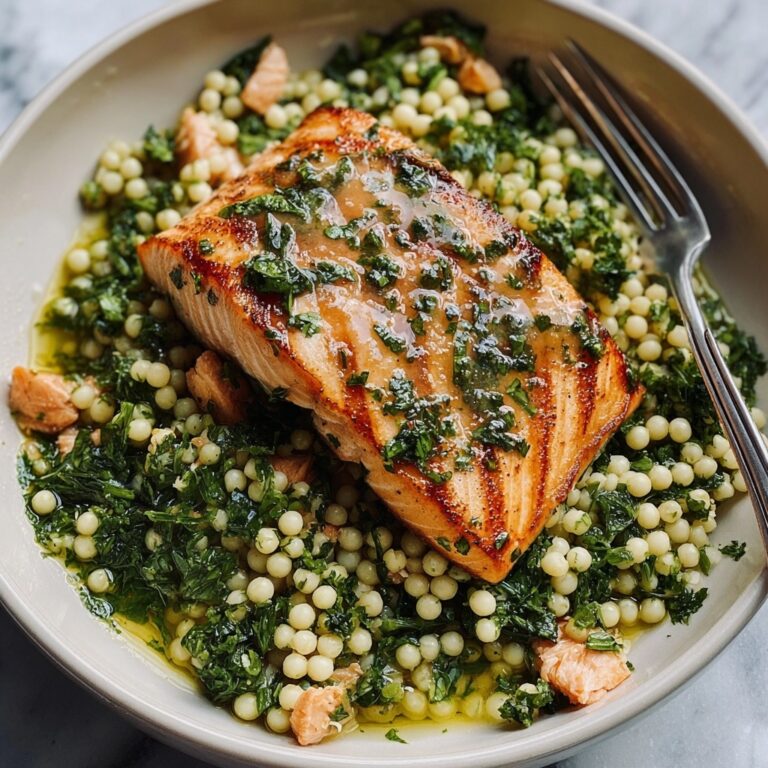
Light, crisp sides such as steamed broccoli, sautéed snap peas, or a refreshing cucumber salad pair wonderfully with the rich flavors of your chicken rice bowl. These sides add balance, color, and boost the meal’s freshness.
Creative Ways to Present
Want to impress guests? Serve your Easy Sticky Chicken Rice Bowl Recipe in colorful, shallow bowls to showcase the glossy chicken and vibrant garnishes. You can also add a soft boiled egg or avocado slices next to the chicken for an extra layer of texture and luxury.
Make Ahead and Storage
Storing Leftovers
Place any leftover sticky chicken and rice in an airtight container and store it in the refrigerator for up to 3 days. Keeping the components separate can help maintain the best texture upon reheating.
Freezing
This recipe freezes well if stored properly. Freeze the chicken and rice separately in freezer-safe containers or bags for up to 2 months. Thaw overnight in the fridge before reheating to enjoy that fresh taste.
Reheating
Reheat your leftovers gently either in the microwave or on the stovetop with a splash of water or broth to restore moisture. Warm the chicken slowly to keep the sticky glaze intact and the meat tender.
FAQs
Can I use chicken breasts instead of thighs for this recipe?
Absolutely! Chicken breasts work well if you prefer leaner meat, though thighs tend to stay juicier and soak up the sticky sauce more effectively.
Is it possible to make this recipe gluten-free?
Yes, just swap regular soy sauce for tamari or a gluten-free soy sauce alternative, and ensure other condiments are gluten-free to enjoy this recipe safely.
How long does the sticky chicken sauce keep?
The sauce can be made ahead and stored in the fridge for up to one week. Reheat gently and coat the chicken just before serving for the best flavor.
Can I prepare this recipe without a stovetop?
If you have a microwave or an oven, you can cook the chicken by baking it in the oven at 375°F for about 20-25 minutes after coating it with the sauce, though stovetop cooking helps achieve that vibrant glaze.
What rice is best for this recipe?
Jasmine or basmati rice is ideal for this Easy Sticky Chicken Rice Bowl Recipe because of their fluffy texture and delightful aroma, which complements the sticky glaze beautifully.
Final Thoughts
This Easy Sticky Chicken Rice Bowl Recipe is a wonderful way to create a crowd-pleasing meal that feels like a warm hug on a plate. Once you try it, you’ll see why it’s a fast favorite — with its perfect harmony of flavors and textures, it brings comfort and joy to any table. So go ahead and treat yourself and those you love to this delightful feast!
Print
Easy Sticky Chicken Rice Bowl Recipe
- Prep Time: 30 minutes
- Cook Time: 30 minutes
- Total Time: 2 hours 15 minutes
- Yield: 1 braided loaf (serves approximately 8-10 slices)
- Category: Baking
- Method: Baking
- Cuisine: American Easter/Traditional European
- Diet: Vegetarian
Description
This traditional braided Easter bread features a soft, slightly sweet dough braided and shaped into a circular loaf, adorned with colorful dyed hard-boiled eggs nestled securely within the braid. The bread has a tender crumb with a golden crust thanks to an egg wash, making it a festive and visually appealing centerpiece perfect for Easter celebrations or any springtime gathering.
Ingredients
Dough Ingredients
- 4 cups all-purpose flour, plus extra for kneading
- 1/2 cup granulated sugar (divided, 1 tablespoon for yeast mixture, the rest for dough)
- 1 packet (2 1/4 teaspoons) active dry yeast
- 1 teaspoon salt
- 1/2 cup milk, warmed to 110°F
- 1/2 cup water, warmed to 110°F
- 1/4 cup unsalted butter, softened
- 2 large eggs
- 1 teaspoon vanilla extract
- 1 teaspoon orange zest (optional, for flavor)
Additional Ingredients
- 1/4 cup sugar (for sprinkling)
- 4–6 hard-boiled eggs (dyed in pastel colors for Easter)
- 1 egg yolk (for egg wash)
- 1 tablespoon water (for egg wash)
Instructions
- Prepare the Dough: In a large bowl, combine the warm milk, warm water, and 1 tablespoon of sugar. Sprinkle the yeast over the mixture and let it sit for about 5-10 minutes until it becomes frothy, indicating the yeast is active.
- Mix the Ingredients: In a separate large bowl, whisk together the flour, remaining sugar, and salt. Add the yeast mixture, softened butter, eggs, vanilla extract, and optional orange zest. Mix everything until the dough begins to come together, forming a shaggy mass.
- Knead the Dough: Turn the dough onto a floured surface and knead for 5-8 minutes until smooth and elastic. Add more flour if it feels too sticky. Place the dough in a greased bowl, cover with a clean towel, and let it rise in a warm place for 1 to 1.5 hours, or until doubled in size.
- Shape the Bread: Punch down the risen dough and divide into 3 equal portions. Roll each portion into a long rope about 12-15 inches long. Twist the ropes together into a braid and shape into a circle, pinching the ends to secure the loaf shape.
- Add the Dyed Eggs: Gently press the hard-boiled, dyed eggs into the dough braid evenly, ensuring they are snugly nestled so they remain secure during baking. Place the eggs symmetrically around the braid or in any desired pattern.
- Let the Dough Rise Again: Cover the braided loaf loosely with a clean towel and let it rise for about 30-45 minutes until puffed and slightly risen.
- Prepare the Egg Wash: Whisk together the egg yolk and a tablespoon of water in a small bowl. Brush this mixture all over the loaf to give it a rich, golden color and shine after baking.
- Bake the Bread: Preheat the oven to 350°F (175°C). Place the loaf on a parchment-lined baking sheet and bake for 25-30 minutes until golden brown and hollow-sounding when tapped on the bottom.
- Cool and Serve: Remove the bread from the oven and allow it to cool completely on a wire rack. Slice and serve. The dyed eggs can be eaten alongside the bread or kept for decoration.
Notes
- Warming the milk and water to 110°F is important to activate the yeast without killing it.
- If dough feels sticky when kneading, add flour sparingly to avoid a dense loaf.
- Optional orange zest adds a subtle citrus aroma but can be omitted.
- Use pastel food coloring to dye eggs several days ahead to allow color to set.
- Allow the bread to cool completely before slicing to preserve the texture.
- The dyed eggs pressed into the dough become festive focal points and can also be eaten if desired.

