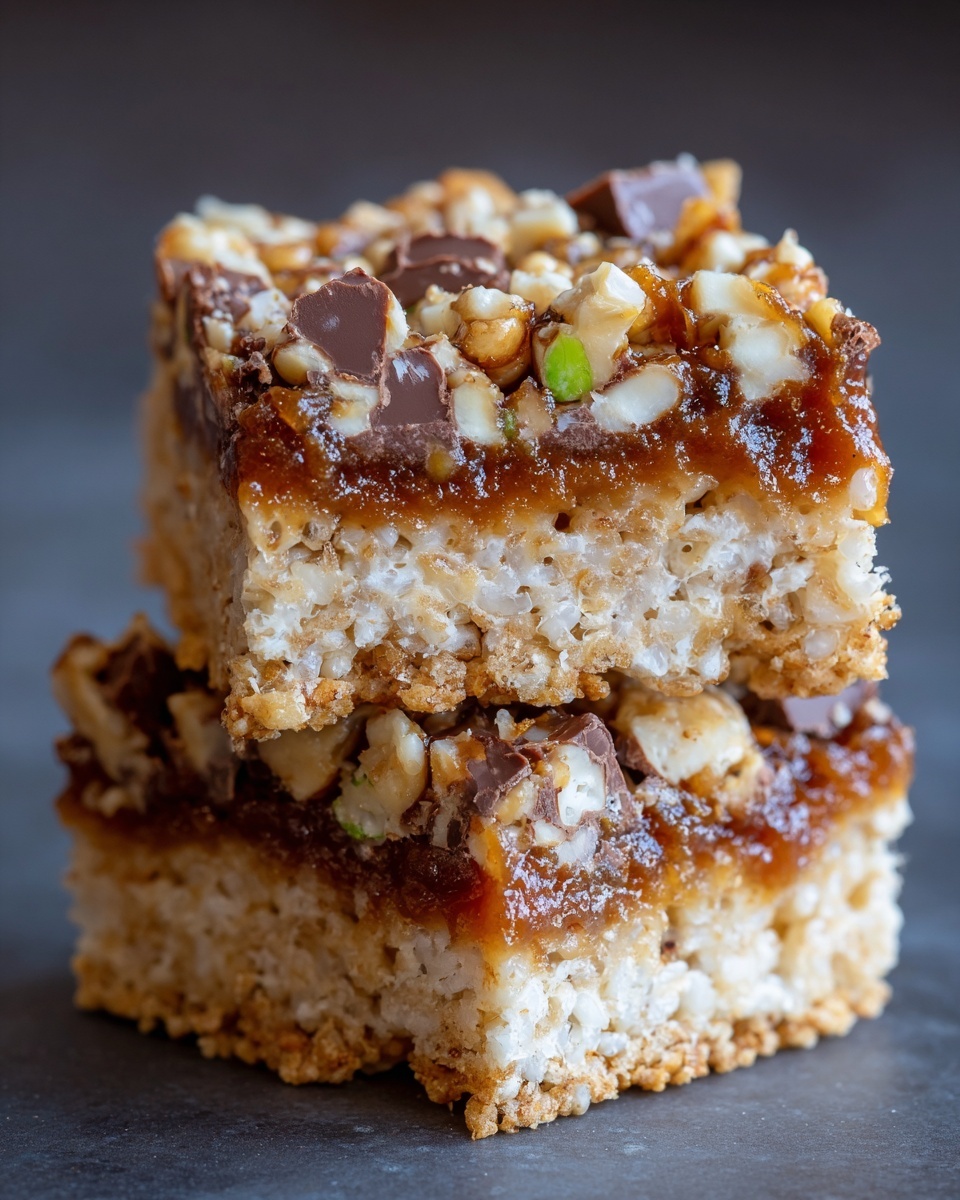
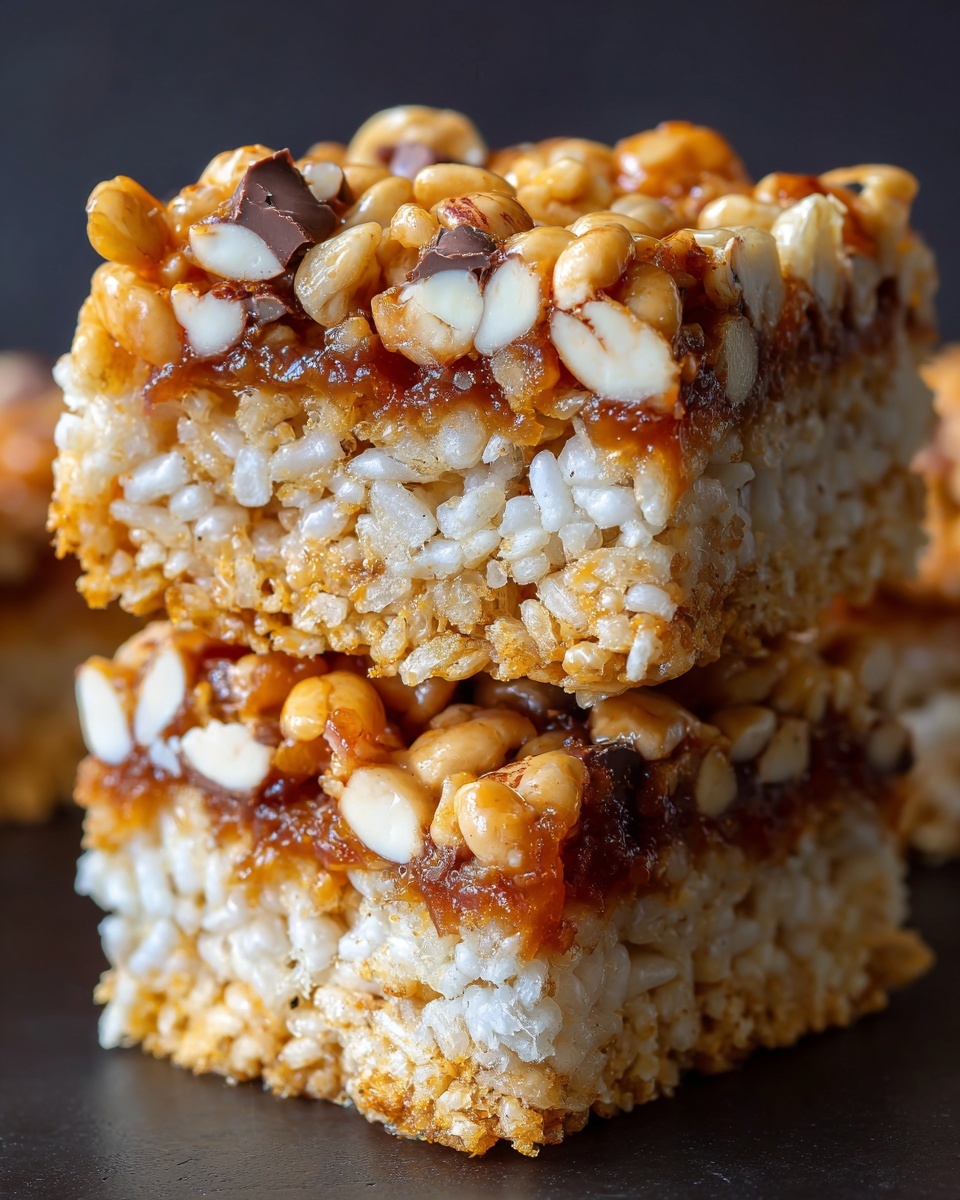
There is something absolutely magical about the combination of crunchy cereal, luscious caramel, toasted coconut, and a glossy chocolate drizzle, all wrapped up into one irresistible treat. This Samoa Rice Krispie Treats Recipe captures the beloved flavors of the classic Samoa cookie in a fun and easy-to-make dessert that’s perfect for sharing or sneaking a sweet bite anytime. With simple pantry staples transformed into a mouthwatering layered delight, these treats bring warmth, nostalgia, and a bit of island-inspired sweetness to your kitchen in under 30 minutes.
Ingredients You’ll Need
Gathering your ingredients for this Samoa Rice Krispie Treats Recipe is a breeze because each one plays a key role in delivering that iconic flavor and texture that make these bars so special. From the buttery marshmallow base to the toasted coconut topping, every element works in harmony to create a truly satisfying treat.
- 6 cups Rice Krispies cereal: This classic cereal gives you that perfect crispy and airy crunch that’s essential for Rice Krispie treats.
- 3 tablespoons unsalted butter: Adds richness and helps melt the marshmallows smoothly for that cohesive, chewy texture.
- 1 package (10 oz) marshmallows: The sweet, gooey binder that holds the cereal together with a luscious softness.
- 1/2 teaspoon vanilla extract: Enhances the sweetness and brings a subtle hint of warmth to the mix.
- 1 1/2 cups sweetened shredded coconut: Toasted to golden perfection, it adds a nutty flavor and chewy texture reminiscent of Samoa cookies.
- 1/2 cup caramel sauce: The silky, sweet layer that makes these bars absolutely decadent.
- 1/2 cup chocolate chips: For that melty, glossy finish that contrasts beautifully with the chewy coconut and caramel.
- 1 tablespoon coconut oil (for the chocolate drizzle): Helps the chocolate melt smoothly and gives it a shiny, professional-looking coating.
How to Make Samoa Rice Krispie Treats Recipe
Step 1: Melt Butter and Marshmallows
Start by gently melting the butter over low heat in a large pan. Once melted, add the marshmallows and stir constantly until they’ve completely melted into a smooth, glossy mixture. This step is crucial because it forms the gooey base that holds your treats together.
Step 2: Add Vanilla Extract
Remove the pan from heat and stir in the vanilla extract. This simple addition elevates the flavor with a cozy, aromatic touch that perfectly complements the sweetness of the marshmallows and caramel.
Step 3: Mix in Rice Krispies
Slowly add the Rice Krispies cereal into the melted marshmallow mixture. Stir gently but thoroughly to coat every crisp with that luscious marshmallow magic. This ensures every bite has the perfect balance of crunch and chew.
Step 4: Press Into Baking Dish
Transfer the mixture to a greased 9×13-inch baking dish and press it down evenly and gently. This step helps the treats set with clean edges and makes it easier to cut into perfect squares once cooled.
Step 5: Toast the Shredded Coconut
In a dry skillet over medium heat, toast the shredded coconut for about 3 to 4 minutes, stirring often until it turns a beautiful golden brown. Toasting enhances the coconut’s natural flavor and adds a pleasant crunch that truly makes these bars special.
Step 6: Layer Coconut and Caramel
Evenly spread the toasted coconut over the Rice Krispie layer, then drizzle the caramel sauce generously on top. The caramel adds that signature gooey sweetness that takes the flavor profile close to the classic Samoa cookie taste.
Step 7: Let Bars Set
Allow the layers to set at room temperature for approximately 15 minutes. This resting period helps the caramel and coconut meld beautifully with the crispy base without making it too sticky to handle.
Step 8: Melt Chocolate for Drizzle
In a small microwave-safe bowl, combine the chocolate chips and coconut oil. Heat in 30-second bursts, stirring between each interval, until the mixture is completely melted and silky smooth.
Step 9: Drizzle Chocolate and Cool
Drizzle the melted chocolate evenly over the top of the caramel-coconut layer. Let everything cool and firm up completely before slicing into squares. This final chocolate drizzle adds a beautiful finishing touch that completes the Samoa Rice Krispie Treats Recipe perfectly.
How to Serve Samoa Rice Krispie Treats Recipe

Garnishes
If you want to take your presentation up a notch, feel free to sprinkle a few extra toasted coconut flakes or even a pinch of sea salt on top of the chocolate drizzle. This little extra detail adds a lovely textural contrast and a hint of sophistication.
Side Dishes
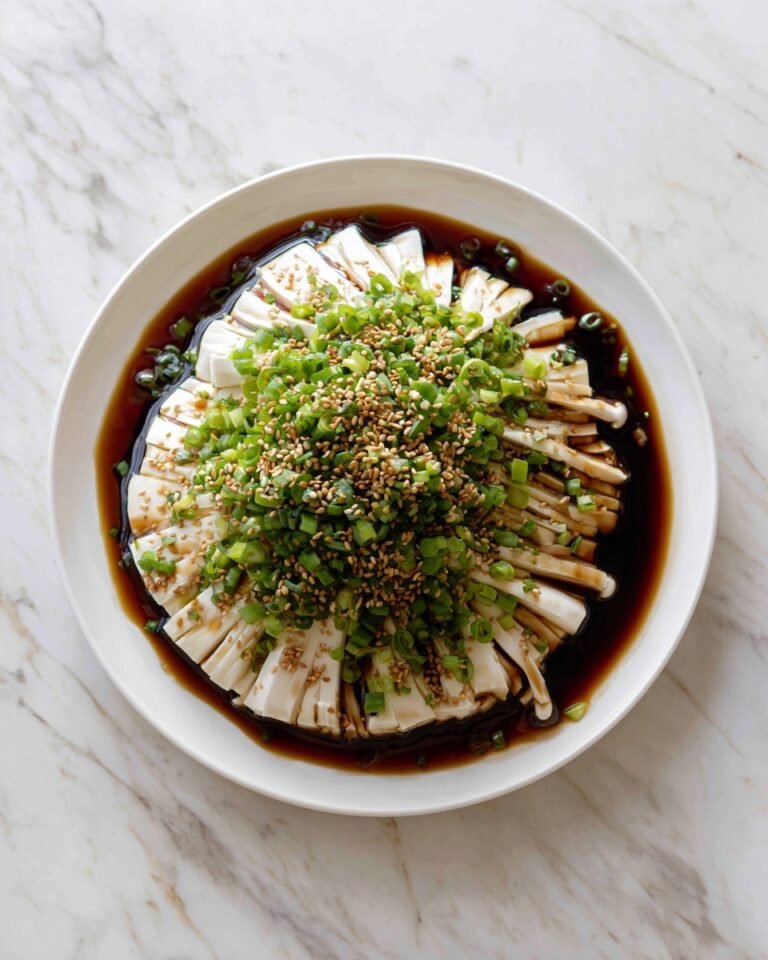
These treats are sweet and rich, so pairing them with a light, refreshing side like fresh berries, a citrus fruit salad, or a dollop of whipped cream can balance the flavors wonderfully. For a cozy gathering, a cup of hot coffee or creamy milk makes the perfect companion.
Creative Ways to Present
Consider cutting the treats into fun shapes with cookie cutters for themed parties or gifting. Wrapping individual squares in parchment paper tied with twine adds a charming, homemade touch if you’re sharing these with friends and family. You can even serve them alongside scoops of vanilla ice cream for an indulgent dessert.
Make Ahead and Storage
Storing Leftovers
Keep any leftover Samoa Rice Krispie Treats in an airtight container at room temperature for up to 3 days. This keeps them chewy and fresh without drying out, making them just as delightful the next day.
Freezing
If you want to make them ahead of time or save extras, wrap each treat individually in plastic wrap and place them in a freezer-safe bag or container. Frozen, they’ll keep for up to 2 months. Just thaw at room temperature before enjoying.
Reheating
While these treats are best eaten at room temperature or chilled, if you prefer them warmed slightly, a quick 10-15 second zap in the microwave can soften the chocolate and caramel for a gooier experience. Just be careful not to overheat or the texture may become too sticky.
FAQs
Can I use a different cereal instead of Rice Krispies?
While Rice Krispies give the classic crunch and lightness, you can try puffed wheat or cornflakes for a twist. Keep in mind the texture and flavor will vary, but it can be a fun experiment!
How do I prevent the coconut from burning?
Toasting coconut requires attention and constant stirring over medium heat. Remove it from the skillet as soon as it becomes golden and aromatic to avoid burning and bitterness.
Is there a vegan option for this recipe?
Yes! Use vegan marshmallows and butter substitutes, and make sure your caramel and chocolate chips are dairy-free. This way, you can still enjoy the Samoa Rice Krispie Treats Recipe with a plant-based twist.
Can I make these gluten-free?
Absolutely! Rice Krispies cereal is naturally gluten-free, but double-check the packaging as some brands may contain gluten. Using certified gluten-free cereal and ingredients ensures the entire treat is safe for gluten-sensitive diets.
What’s the best way to cut the bars cleanly?
Use a sharp knife and refrigerate the bars for about 30 minutes before slicing. Wiping the knife blade with a warm, damp cloth between cuts helps maintain clean edges without ripping the layers.
Final Thoughts
Trust me when I say this Samoa Rice Krispie Treats Recipe will quickly become a go-to for satisfying your sweet tooth with a nostalgic yet fresh twist. It’s easy to make, fun to share, and utterly delicious from the first crunchy bite to the last chocolaty drizzle. Go ahead, gather your ingredients, and bring a little sunshine and sweetness into your day!
Print
Samoa Rice Krispie Treats Recipe
- Prep Time: 10 minutes
- Cook Time: 10 minutes
- Total Time: 20 minutes
- Yield: 12 servings
- Category: Dessert
- Method: Stovetop
- Cuisine: American
Description
Samoa Rice Krispie Treats are a delightful twist on the classic treat, layered with toasted coconut, gooey caramel, and a rich chocolate drizzle inspired by the famous Samoa cookies. These easy-to-make bars combine the crispy texture of Rice Krispies with indulgent flavors, perfect for a sweet snack or dessert.
Ingredients
Base
- 6 cups Rice Krispies cereal
- 3 tablespoons unsalted butter
- 1 package (10 oz) marshmallows
- 1/2 teaspoon vanilla extract
Toppings
- 1 1/2 cups sweetened shredded coconut
- 1/2 cup caramel sauce
- 1/2 cup chocolate chips
- 1 tablespoon coconut oil (for the chocolate drizzle)
Instructions
- Melt the Butter and Marshmallows: In a large pan over low heat, melt the butter. Add the marshmallows and stir continuously until they are completely melted and the mixture is smooth.
- Add Vanilla Extract: Remove the pan from heat and stir in the vanilla extract to infuse flavor evenly.
- Combine with Rice Krispies: Gradually add the Rice Krispies cereal into the marshmallow mixture, stirring gently to coat all the cereal thoroughly without crushing them.
- Press into Baking Dish: Spread the coated cereal mixture into a greased 9×13-inch baking dish, pressing lightly to create an even and compact layer.
- Toast Coconut: In a dry skillet over medium heat, toast the shredded coconut for about 3 to 4 minutes, stirring frequently to achieve a golden brown color without burning.
- Layer Toasted Coconut: Once toasted, evenly sprinkle the coconut over the pressed Rice Krispies layer.
- Add Caramel Sauce: Drizzle the caramel sauce evenly over the coconut layer, then let the entire treat set at room temperature for approximately 15 minutes to allow the layers to meld slightly.
- Melt Chocolate Drizzle: In a small microwave-safe bowl, melt the chocolate chips together with coconut oil in 30-second intervals, stirring well between each interval until the chocolate is smooth and glossy.
- Drizzle Chocolate: Drizzle the melted chocolate over the caramel and coconut layer in a decorative pattern, then allow the bars to fully set before slicing into squares.
Notes
- Use a greased baking dish or line with parchment paper for easier removal of bars.
- Be careful not to over-toast the coconut to prevent bitterness.
- Caramel sauce can be homemade or store-bought for convenience.
- Store treats in an airtight container to keep them fresh for several days.
- For a vegan variation, substitute marshmallows with vegan marshmallows and use dairy-free butter.

