Why You’ll Love This Recipe
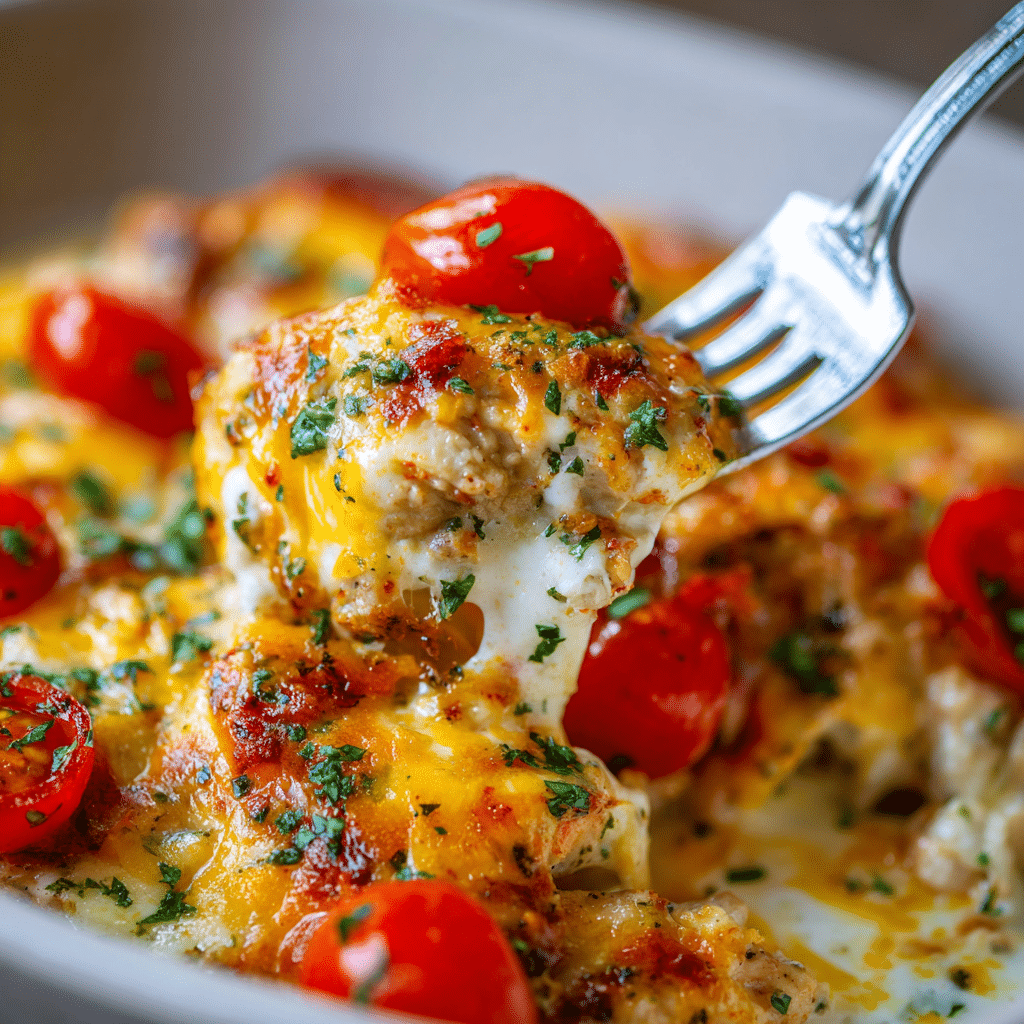
Cheesy Taco Chicken Casserole is a bold and comforting dish that brings together the spicy flavors of tacos with creamy, cheesy goodness. Packed with tender chicken, zesty taco seasoning, and melted cheese, it’s a family-friendly favorite that’s easy to prep and perfect for busy weeknights. It’s hearty, flavorful, and delivers all the Tex-Mex satisfaction in one pan.
ingredients

(Tip: You’ll find the full list of ingredients and measurements in the recipe card below.)
cooked shredded chickencream cheese (softened)sour creamtaco seasoningdiced tomatoes with green chilies (like Rotel)shredded cheddar or Mexican blend cheesecooked rice or crushed tortilla chips (optional base or topping)chopped green onions or cilantro (for garnish)
directions
Preheat oven to 375°F (190°C) and lightly grease a 9×13-inch baking dish.
In a large bowl, mix cream cheese, sour cream, and taco seasoning until smooth.
Add diced tomatoes with green chilies and stir to combine.
Fold in the shredded chicken and half of the shredded cheese.
Layer cooked rice or crushed tortilla chips in the bottom of the baking dish, if using.
Spread the chicken mixture evenly over the base.
Top with the remaining shredded cheese.
Bake for 20–25 minutes, or until hot and bubbly.
Garnish with chopped green onions or cilantro before serving.
Servings and timing
This recipe yields approximately 6 servings.Preparation time: 10 minutesBaking time: 25 minutesTotal time: 35 minutes
Variations
Add black beans or corn for extra texture and flavor.
Swap chicken for ground beef or turkey.
Use pepper jack or a spicy cheese blend for more heat.
Top with jalapeños, olives, or diced avocado before serving.
Serve with tortilla chips for scooping or wrap in tortillas for taco-style servings.
storage/reheating
Store leftovers in an airtight container in the refrigerator for up to 4 days.Reheat in the oven at 350°F or microwave individual portions until hot.Freeze for up to 2 months and thaw overnight in the fridge before reheating.
FAQs
Can I use rotisserie chicken?
Yes, it’s a great shortcut for this recipe.
Is it spicy?
Mild if using standard taco seasoning and tomatoes—adjust heat to taste.
Can I make it low-carb?
Skip the rice or chips and serve over cauliflower rice.
Can I prep it ahead?
Yes, assemble and refrigerate up to 24 hours before baking.
Can I add veggies?
Yes, sautéed peppers, onions, or zucchini work well.
Is this gluten-free?
Yes, if your taco seasoning and ingredients are certified gluten-free.
Can I use Greek yogurt instead of sour cream?
Yes, it works well and adds protein.
What’s a good side dish?
Serve with a side salad, refried beans, or Mexican street corn.
Can I make this in a slow cooker?
Yes, cook on low for 2–3 hours or until heated through and cheese is melted.
Can I double the recipe?
Absolutely—just use a larger baking dish or two pans.
Conclusion
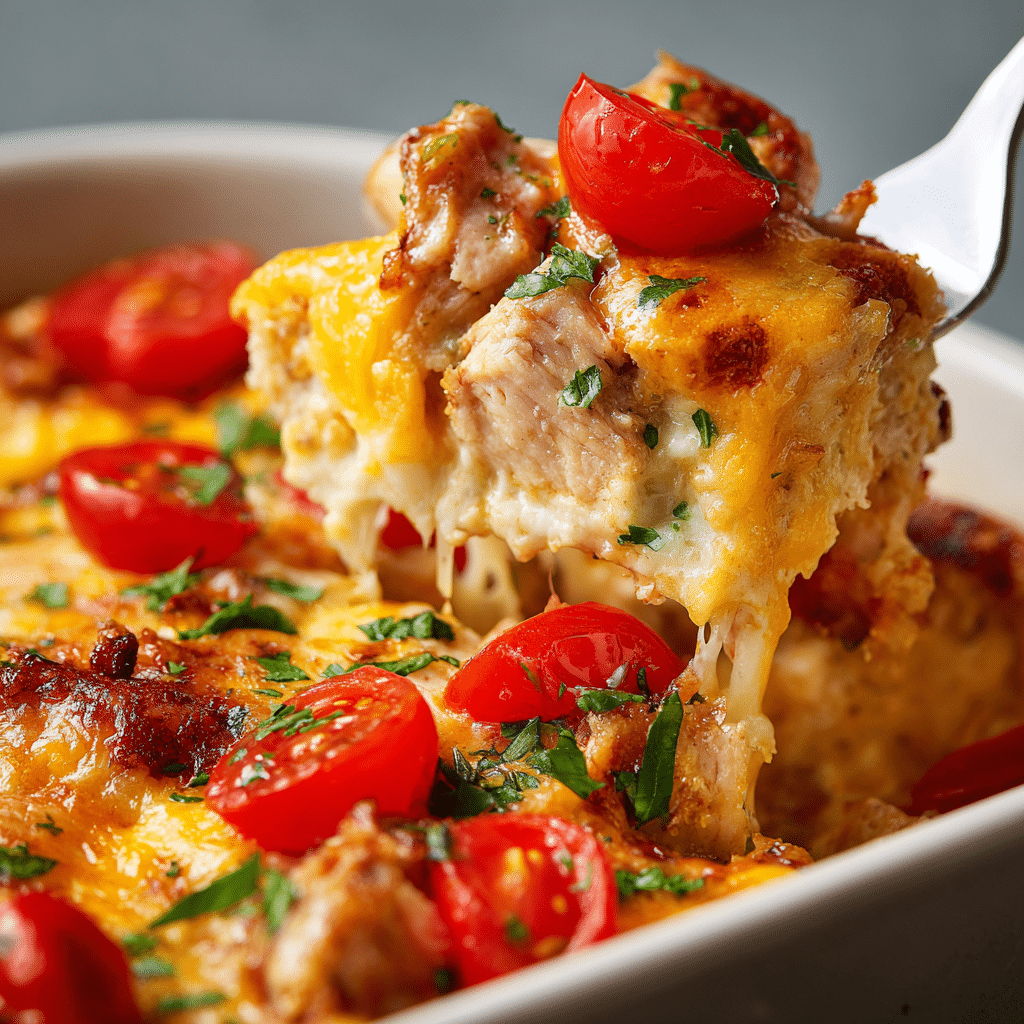
Cheesy Taco Chicken Casserole is the ultimate weeknight comfort food, full of bold taco flavor and creamy, melty goodness. With simple ingredients and minimal prep, it’s perfect for feeding a crowd or enjoying as leftovers. Whether you’re craving something cozy or planning a Tex-Mex dinner, this dish is always a cheesy, satisfying hit.
Print
Cheesy Taco Chicken Casserole
- Prep Time: 10 minutes (plus chilling)
- Cook Time: 0 minutes
- Total Time: 30 minutes
- Yield: 20–24 cookies
- Category: Dessert / Snack
- Method: No‑Bake
- Cuisine: American
- Diet: Vegetarian
Description
Crunchy wafer cookies sandwiched with sweet filling and coated in chocolate—simple, festive treats perfect for gifting or snacking.
Ingredients
- 20–24 sugar wafer cookies (single-layer)
- ¼ cup Nutella or other chocolate-hazelnut spread
- 1 cup dark or semi‑sweet melting chocolate
- Sprinkles or crushed nuts for decoration (optional)
Instructions
- Separate wafer cookies and chill for 10 minutes to firm up :contentReference[oaicite:0]{index=0}.
- Spread a thin layer of Nutella on one wafer, top with a second to form a sandwich.
- Chill assembled sandwiches for 15–20 minutes :contentReference[oaicite:1]{index=1}.
- Melt chocolate in a double boiler or microwave (in 15–20 sec intervals, stirring between), keeping it smooth :contentReference[oaicite:2]{index=2}.
- Dip each sandwich cookie into melted chocolate, coating bottom and sides. Let set on parchment.
- Once the bottom sets, dip the top if desired, then decorate with sprinkles while chocolate is still wet.
- Let cookies fully set at room temperature (avoid fridge to prevent bloom) :contentReference[oaicite:3]{index=3}.
- Store at room temperature in an airtight container for up to 5 days :contentReference[oaicite:4]{index=4}.
Notes
- Chilling the wafers and sandwiches ensures clean spreading and dipping.
- Use quality melting wafers or chips (e.g. Ghirardelli) to avoid seizing :contentReference[oaicite:5]{index=5}.
- Keep water away from melting chocolate to prevent seizing :contentReference[oaicite:6]{index=6}.
- Customize toppings seasonally—sprinkles, colored sugars, or crushed nuts.