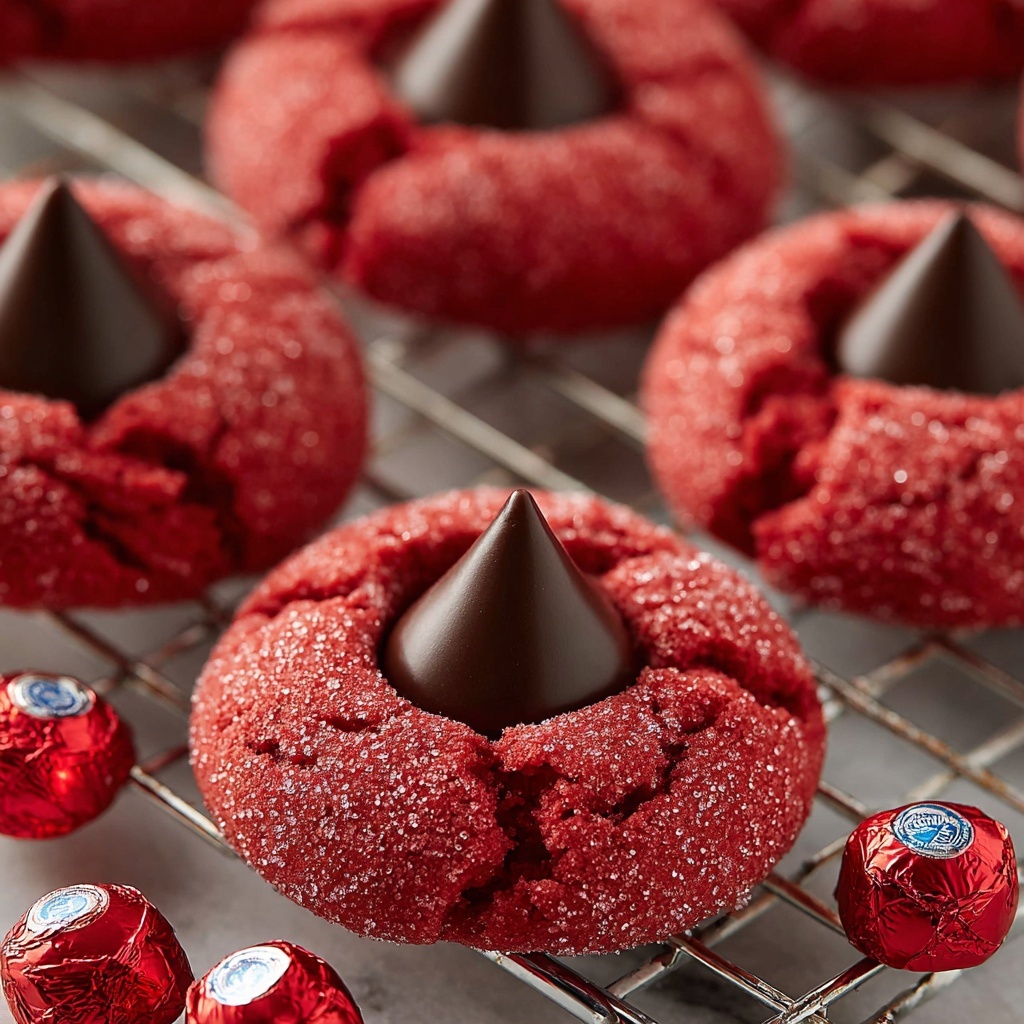
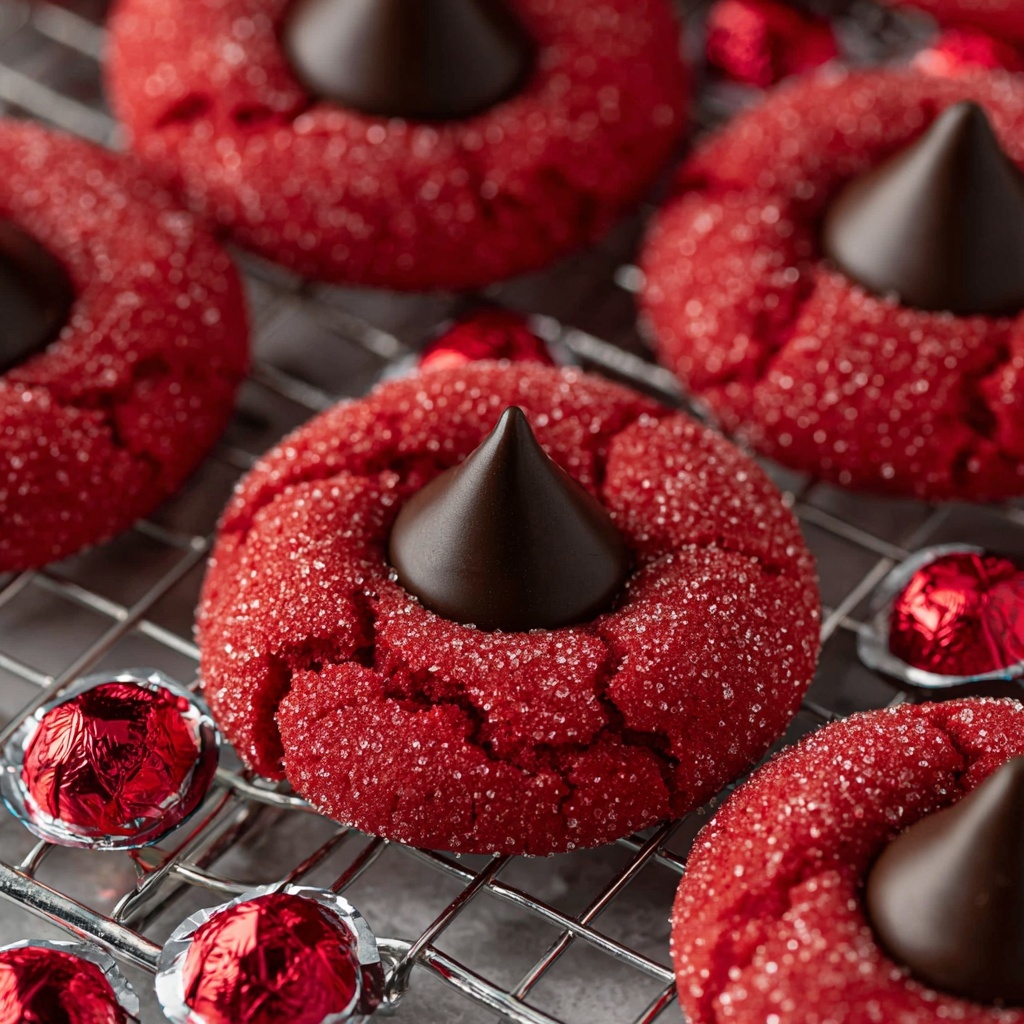
There is something truly magical about the crunchy sugar coating combined with the soft, rich texture of these treats — that is the heart of the Red Velvet Blossom Cookies Recipe. This delightful twist on classic red velvet cake brings that signature cocoa flavor and vibrant color into a perfectly bite-sized cookie. Each one is crowned with a luscious chocolate kiss, creating an irresistible little blossom of sweetness and charm. Whether you’re baking for a holiday, a special occasion, or just to satisfy a craving, these cookies are guaranteed to impress and become a beloved classic in your kitchen.
Ingredients You’ll Need
These ingredients are wonderfully simple but absolutely essential to nail the perfect texture, flavor, and appearance of your Red Velvet Blossom Cookies Recipe. Each item plays a key role, from the rich cake mix to the delicate espresso powder that deepens the cocoa notes.
- Red velvet cake mix (15.25 oz): The base that provides moistness, vibrant color, and signature flavor.
- Large eggs (2): Bind everything together while adding structure and moisture.
- Unsalted butter (½ cup, melted): Adds richness and buttery softness to the dough.
- Vanilla extract (1 tsp): Enhances the overall flavor and brings out the subtle sweetness.
- Espresso powder (½ tsp, optional): Elevates the cocoa flavor with a mild coffee kick that balances sweetness perfectly.
- Regular or coarse sugar (1 cup): Creates the signature crunchy coating and adds a delightful texture contrast.
- Hershey’s kiss candies (24): The iconic finishing touch, giving each cookie a luscious chocolate blossom center.
How to Make Red Velvet Blossom Cookies Recipe
Step 1: Mix the Wet Ingredients
Start by whisking the eggs, melted butter, and vanilla extract together until they’re fully blended. This ensures a smooth base that will combine flawlessly with the dry ingredients, setting the stage for rich and tender cookies.
Step 2: Add the Cake Mix and Espresso
Now, add your red velvet cake mix along with the espresso powder if you’re using it. Stir everything until the mixture is fully incorporated. The espresso is optional but totally worth it if you want that extra depth in flavor—it really awakens the cocoa without overpowering the sweet notes.
Step 3: Chill the Dough
Pop the dough into the refrigerator for about 30 minutes. This step is crucial because chilling firms up the dough, making it easier to roll into perfect balls and ensuring a terrific texture when baked.
Step 4: Form and Sugar-Coat the Dough Balls
Once chilled, roll the dough into approximately 1½ inch balls. Then generously roll each ball in sugar until fully coated. This sugary crust is what creates the delightful, crisp outer shell against the soft interior everyone loves.
Step 5: Bake the Cookies
Place your coated balls on a baking sheet and bake them in your oven preheated to 350°F. Bake for about 8 to 10 minutes, watching for the edges to set and the tops to puff slightly and begin to crinkle. This signals they are perfectly baked and ready for their signature finishing touch.
Step 6: Add the Chocolate Kiss Blossoms
Immediately after removing the cookies from the oven, gently press one Hershey’s kiss into the center of each cookie. Let the cookies cool completely to allow the chocolate to set perfectly. For Hugs candy kisses, a fridge or freezer chill helps keep their shape instead of melting into the cookie.
How to Serve Red Velvet Blossom Cookies Recipe
Garnishes
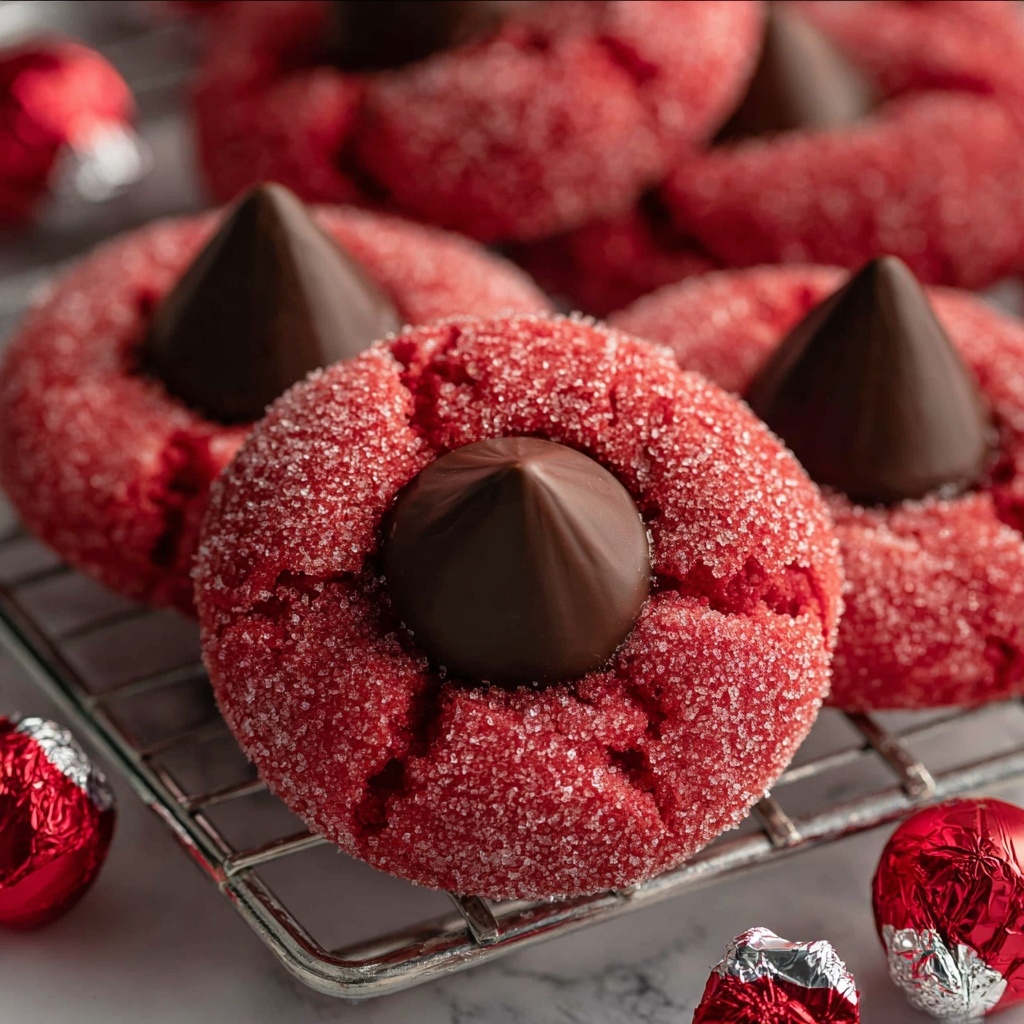
These cookies are a showstopper just on their own, but if you want to take that presentation up a notch, sprinkle a tiny pinch of powdered sugar on top for an elegant snowy effect. Fresh berries or edible flowers on the side can also add a pop of color that complements the vibrant red.
Side Dishes
Pair these cookies with a tall glass of cold milk or a cup of rich hot chocolate for an indulgent treat. They’re also fabulous served alongside a light bowl of whipped cream or cream cheese frosting to echo the classic red velvet flavors in a fresh way.
Creative Ways to Present
Arrange your Red Velvet Blossom Cookies recipe display on a festive platter lined with parchment paper, creating little clusters or layers to wow your guests. They also work beautifully stacked with thin layers of frosting for a mini cookie cake effect. Tucking each cookie into a small decorative cupcake liner can add a whimsical touch perfect for gifting.
Make Ahead and Storage
Storing Leftovers
Store your leftover cookies in an airtight container at room temperature for up to 3 days. This keeps the sugar crust intact and the centers moist. Avoid refrigeration unless necessary, as it can sometimes dry out the cookies.
Freezing
If you want to freeze these beauties, place them on a baking sheet first to harden the frosting or chocolate kisses. Then transfer them to a freezer-safe container with parchment layers between. They’ll keep well for up to 2 months and thaw beautifully at room temperature.
Reheating
To bring back the fresh-baked warmth, pop your cookies in a preheated 300°F oven for 5 minutes or microwave them for about 10 seconds. This softens the cookie and slightly melts the chocolate for a gooey treat.
FAQs
Can I use a different type of cake mix?
While classic red velvet cake mix creates the iconic flavor and color, you could experiment with chocolate or devil’s food cake mix. Just know the cookies won’t have that bright red hue or the exact flavor profile of the Red Velvet Blossom Cookies Recipe you love.
Is the espresso powder necessary?
Not at all! It’s an optional ingredient that enhances the cocoa flavor, but the cookies will still be delicious without it. If you’re caffeine-sensitive or making these for kids, you can safely leave it out.
What’s the best sugar to roll the dough in?
Both regular granulated sugar and coarse sugar work well. Coarse sugar will create a more textured crunch, while regular sugar gives a finer, subtle crunch. Choose based on the texture you prefer.
Can I substitute the Hershey’s kisses with something else?
Absolutely! You can use mini chocolate chips, peanut butter kisses, or even your favorite small candy. Just keep in mind that size and melting properties might affect the final look and texture.
How do I prevent the chocolate from melting into the cookie?
Press the kisses into the cookies right after baking and then let the cookies cool completely before handling. For Hugs candies or any softer chocolates, placing the cookies in the fridge or freezer until set helps keep the shape intact.
Final Thoughts
There is nothing quite like sharing a batch of warm, freshly baked Red Velvet Blossom Cookies Recipe with family and friends. The combination of that soft red velvet center, crunchy sugar coating, and melty chocolate kiss on top is pure joy in every bite. Give these cookies a try—you might just find yourself adding them to your go-to recipe list for every festive occasion and beyond!
Print
Red Velvet Blossom Cookies Recipe
- Prep Time: 15 minutes
- Cook Time: 10 minutes
- Total Time: 50 minutes
- Yield: 24 cookies
- Category: Dessert
- Method: Baking
- Cuisine: American
Description
These Red Velvet Blossom Cookies are a delightful twist on the classic cookie, featuring a moist and tender red velvet dough rolled in sugar and topped with a chocolate kiss. Perfect for festive occasions or as a sweet treat, they combine the rich flavor of red velvet cake mix with a hint of espresso powder for depth, baked to perfection with a soft center and a slightly crisp edge.
Ingredients
Cookie Dough
- 1 box red velvet cake mix (15.25 oz.)
- 2 large eggs
- ½ cup unsalted butter, melted
- 1 tsp vanilla extract
- ½ tsp espresso powder (optional)
- 1 cup regular or coarse sugar, for rolling
Topping
- 24 Hershey’s Kiss candies (or other mini chocolate candies)
Instructions
- Prepare the Dough: In a large bowl, whisk together the eggs, melted unsalted butter, and vanilla extract until smooth and fully combined. Add the red velvet cake mix and espresso powder (if using) to the bowl, stirring until the mixture forms a uniform dough with no dry spots.
- Chill the Dough: Cover the dough and place it in the refrigerator to chill for about 30 minutes. This helps the dough firm up, making it easier to handle and shape into balls.
- Form and Coat Cookies: Once chilled, remove the dough from the refrigerator. Roll the dough into 1½ inch diameter balls. Then, roll each ball in the sugar to coat it thoroughly, giving the cookies a sweet, slightly crunchy exterior.
- Bake the Cookies: Preheat your oven to 350°F (177°C). Place the sugar-coated dough balls on a baking sheet lined with parchment paper or a silicone mat, spacing them evenly. Bake for about 8-10 minutes, or until the edges have set, the cookies puff up, and they begin to show a slight crinkle.
- Add Chocolate Kiss Topping: Immediately after removing the cookies from the oven, gently press a Hershey’s Kiss candy into the center of each warm cookie. This will slightly melt the candy, helping it adhere to the cookie.
- Cool and Set: Allow the cookies to cool completely on the baking sheet. If using Hugs candy kisses which tend to melt more, transfer the cookies to the refrigerator or freezer until the chocolate sets firmly, preventing the candy from melting into the cookie too much. Regular chocolate kisses will set adequately at room temperature if left undisturbed.
Notes
- For an extra flavor boost, espresso powder is optional but recommended as it enhances the chocolate flavor in the cookies.
- You can use other mini chocolate candies in place of Hershey’s Kisses if preferred.
- Store cookies in an airtight container at room temperature for up to 5 days or refrigerate for longer freshness.
- If you prefer a less sweet coating, substitute the coarse sugar with fine sugar or omit rolling the dough in sugar altogether.


