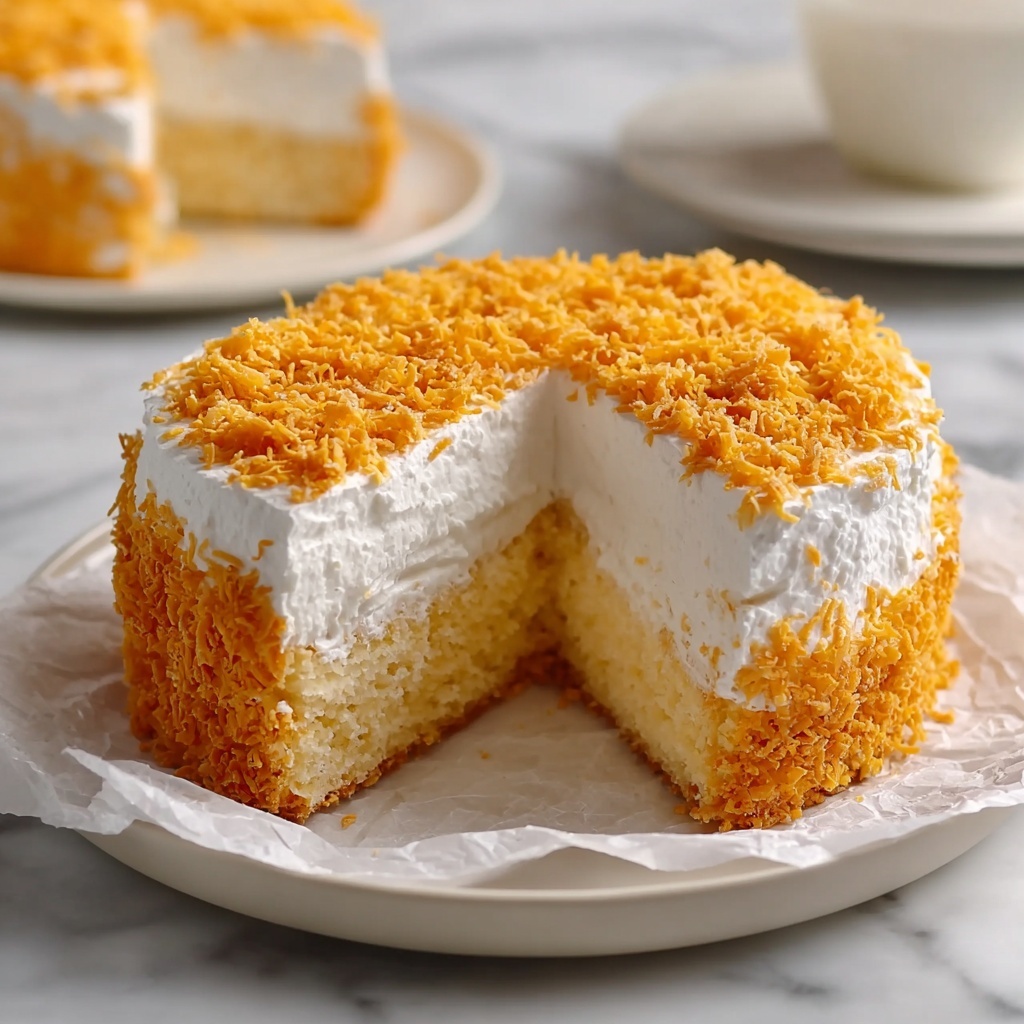
If you are a fan of tropical flavors and crave a delightfully moist dessert, this Sticky Coconut Cake Made Easy for Coconut Lovers Recipe is going to become one of your favorites in no time. It boasts a wonderfully sticky texture paired with the rich, creamy essence of coconut that feels like a gentle hug in every bite. This dessert is not only irresistibly tasty but also surprisingly simple to prepare, making it perfect for cozy weekends or impressing guests with minimal fuss. Let’s dive into this luscious cake that highlights coconut in the most charming and accessible way.
Ingredients You’ll Need
This recipe shines in its beautiful simplicity. Each ingredient plays a crucial role, creating a balance of flavor, texture, and color that comes together effortlessly, yet delivers show-stopping results.
- 3 large Eggs (separated): Eggs provide structure and lightness, and if you want a vegan twist, aquafaba is a fantastic substitute for the egg whites.
- 1 cup Granulated Sugar: Adds just the right sweetness and helps develop that lovely syrupy glaze on top.
- 1 cup Full Fat Canned Coconut Milk: Makes the cake wonderfully moist and adds a creamy depth of coconut flavor—don’t forget to shake the can well!
- 1 cup Shredded Sweetened Coconut: Infuses texture and extra coconut goodness; sweetened or unsweetened works depending on your preference.
- 1 cup Glutinous Rice Flour: This unusual but essential ingredient gives the cake its signature sticky, chewy texture—mochiko flour is a handy alternative.
- 1 teaspoon Vanilla Extract (optional): Brings warmth and enhances all the other flavors beautifully.
How to Make Sticky Coconut Cake Made Easy for Coconut Lovers Recipe
Step 1: Preheat and Prepare Your Pan
Start by setting your oven temperature to 350°F (175°C) so it’s nice and ready to bake your cake to perfection. Grab an 8×8-inch baking pan and get it prepped by lightly greasing or lining it with parchment paper—this ensures your sticky coconut cake will release smoothly.
Step 2: Whisk Egg Whites and Sugar
In a mixing bowl, whisk together the egg whites and granulated sugar until the mixture is combined and slightly frothy. This step incorporates air, which brings lightness to your cake without compromising its sumptuous stickiness.
Step 3: Mix in Coconut Milk and Remaining Ingredients
Add the full-fat coconut milk into the egg and sugar mix, stirring gently but thoroughly. Next, fold in the shredded coconut and glutinous rice flour, ensuring no lumps remain. Finally, stir in the vanilla extract, if using, to add that extra layer of aromatic sweetness.
Step 4: Bake the Cake
Pour your smooth batter into the prepared pan, spreading it evenly to promote uniform baking. Slide it into the oven and bake for about 45 minutes, or until the top turns a golden hue and the edges appear set. This is where your kitchen will start to smell like a tropical paradise.
Step 5: Broil with Egg Yolks for a Beautiful Finish
Brush the cake surface with the reserved egg yolks to give that gorgeous golden glaze. Then, place the cake under the broiler for 5 to 10 minutes—keep a watchful eye as it can brown quickly. This final step adds a lovely caramelized texture that contrasts perfectly with the tender inside.
Step 6: Chill and Set the Cake
Once the broiling is done, let the cake cool completely on a wire rack at room temperature. To achieve the legendary sticky texture, refrigerate the cake for at least 8 hours. This resting period allows the flavors to meld wonderfully, creating that signature moist and dense coconut experience.
How to Serve Sticky Coconut Cake Made Easy for Coconut Lovers Recipe
Garnishes
For an extra touch, sprinkle toasted coconut flakes on top just before serving. A dollop of whipped cream or a drizzle of coconut cream complements the sweet, sticky richness beautifully and adds a fresh contrast that makes each bite even more indulgent.
Side Dishes
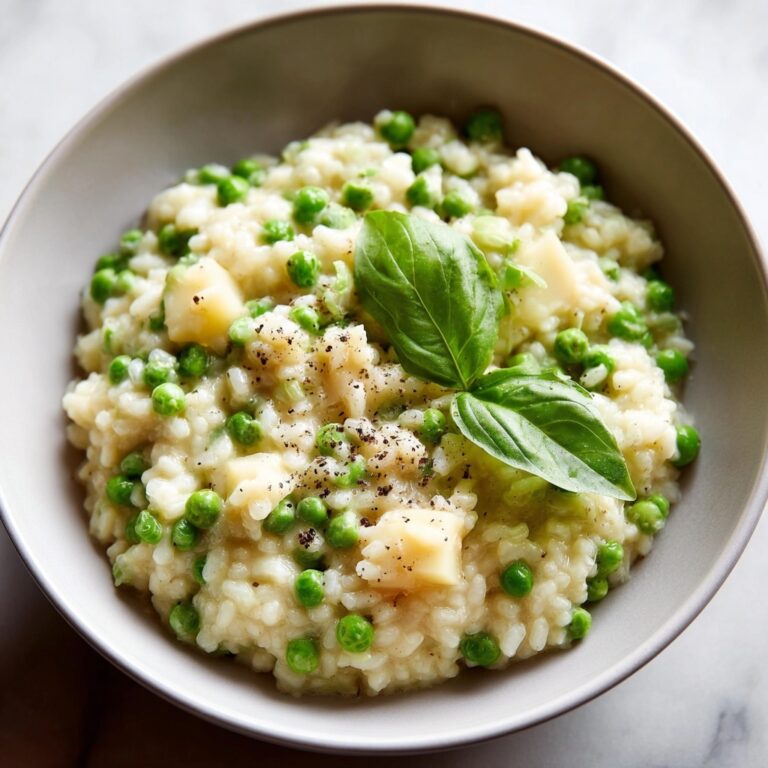
This coconut cake pairs wonderfully with fresh tropical fruits like mango slices, pineapple chunks, or passion fruit pulp. The bright acidity of the fruit balances the cake’s sweetness and keeps the dessert experience light and vibrant.
Creative Ways to Present
Try serving small squares of the cake on colorful plates with edible flowers or mint leaves for a festive look. You could also transform slices into mini layered trifles by alternating with coconut custard and toasted coconut bits for a show-stopping presentation that still captures the magic of the Sticky Coconut Cake Made Easy for Coconut Lovers Recipe.
Make Ahead and Storage
Storing Leftovers
After enjoying your cake, wrap any leftovers tightly with plastic wrap or store in an airtight container and keep them in the refrigerator. This will maintain the texture and flavor, so even the next day, the cake tastes fresh and just as inviting.
Freezing
If you want to save the cake for longer, slice it into portions and freeze individually wrapped in plastic wrap and foil. When frozen, these sticky delights can last up to one month without losing their charm. Remember to thaw overnight in the fridge for best results.
Reheating
Bring slices to room temperature or warm gently in a microwave for a few seconds to soften the texture while maintaining the sticky coconut goodness. Avoid overheating to prevent drying out this delicate cake.
FAQs
Can I make this cake vegan?
Absolutely! Use aquafaba (the liquid from canned chickpeas) as an egg white substitute, and skip the egg yolk glaze or replace it with a plant-based brush-on like coconut cream mixed with a pinch of turmeric for color.
What makes this cake sticky?
The secret lies in the glutinous rice flour combined with the rich coconut milk and the refrigeration step, which all work together to create a moist, chewy, sticky texture unique to this cake.
Is shredded sweetened or unsweetened coconut better?
Either option works beautifully! Sweetened coconut adds extra sweetness and moisture, while unsweetened coconut offers a more natural, textured coconut flavor. Choose based on your sweetness preference.
Can I use regular rice flour instead of glutinous rice flour?
Regular rice flour won’t provide the same sticky, chewy texture. For authentic results, stick with glutinous rice flour or mochiko.
How long should the cake refrigerate before serving?
At minimum, refrigerate the cake for 8 hours to allow it to set properly and develop the signature sticky texture. Overnight chilling often yields the best flavor and consistency.
Final Thoughts
There is something truly comforting and joyful about a cake that feels like a tropical escape wrapped in every bite, and this Sticky Coconut Cake Made Easy for Coconut Lovers Recipe delivers just that. It’s a straightforward recipe with ingredients that come together to enchant the senses, making it perfect for coconut enthusiasts everywhere. I can’t wait for you to try it, share it, and make unforgettable memories with this charming cake at your next gathering.
Print
Sticky Coconut Cake Made Easy for Coconut Lovers Recipe
- Prep Time: 15 minutes
- Cook Time: 45 minutes baking + 5-10 minutes broiling
- Total Time: 9 hours 1 hour
- Yield: 9 servings
- Category: Dessert
- Method: Baking
- Cuisine: Asian-inspired
Description
This Sticky Coconut Cake is a delectable treat for coconut lovers, combining the rich flavors of coconut milk and shredded coconut with the chewy texture of glutinous rice flour. Baked to a golden perfection and finished with a broiled egg yolk glaze, this cake is wonderfully moist and sticky, perfect for a unique dessert experience. The refrigerating step allows the cake to set perfectly, resulting in a tender yet sticky bite that coconut enthusiasts will adore.
Ingredients
Eggs
- 3 large Eggs (separated) (Substitute with aquafaba for a vegan option)
Dry Ingredients
- 1 cup Granulated Sugar (Any granulated sugar works beautifully)
- 1 cup Shredded Sweetened Coconut (Choose sweetened or unsweetened as per preference)
- 1 cup Glutinous Rice Flour (Mochiko is a great alternative)
Wet Ingredients
- 1 cup Full Fat Canned Coconut Milk (Ensure to shake well before use)
- 1 teaspoon Vanilla Extract (Optional but recommended)
Instructions
- Preheat the oven: Set your oven to 350°F (175°C) to prepare it for baking the cake.
- Whisk egg whites and sugar: In a clean bowl, whisk the separated egg whites together with granulated sugar until the mixture is combined and slightly frothy, which will help create a light texture.
- Add wet and dry ingredients: Gently mix in the full-fat coconut milk, then fold in the shredded coconut, glutinous rice flour, and vanilla extract. Stir everything until the batter is smooth and well incorporated.
- Pour and bake: Transfer the batter into an 8×8-inch baking pan, spreading it evenly. Bake for about 45 minutes or until the top turns golden brown.
- Broil with egg yolk glaze: Brush the top of the cake with the reserved egg yolks, then place it under the broiler for 5-10 minutes. Watch carefully to ensure it doesn’t burn, adding a glossy finish.
- Cool and refrigerate: Allow the cake to cool completely on a wire rack at room temperature. Once cooled, refrigerate it for at least 8 hours to let the sticky texture set beautifully.
Notes
- For a vegan version, substitute eggs with aquafaba (chickpea brine).
- Sweetened shredded coconut will add more sweetness, so you may adjust sugar accordingly.
- Ensure the coconut milk is well shaken before measuring for consistent richness.
- Broiling requires close attention to avoid burning the egg yolk glaze.
- Allowing the cake to chill overnight enhances the sticky texture and flavor melding.


