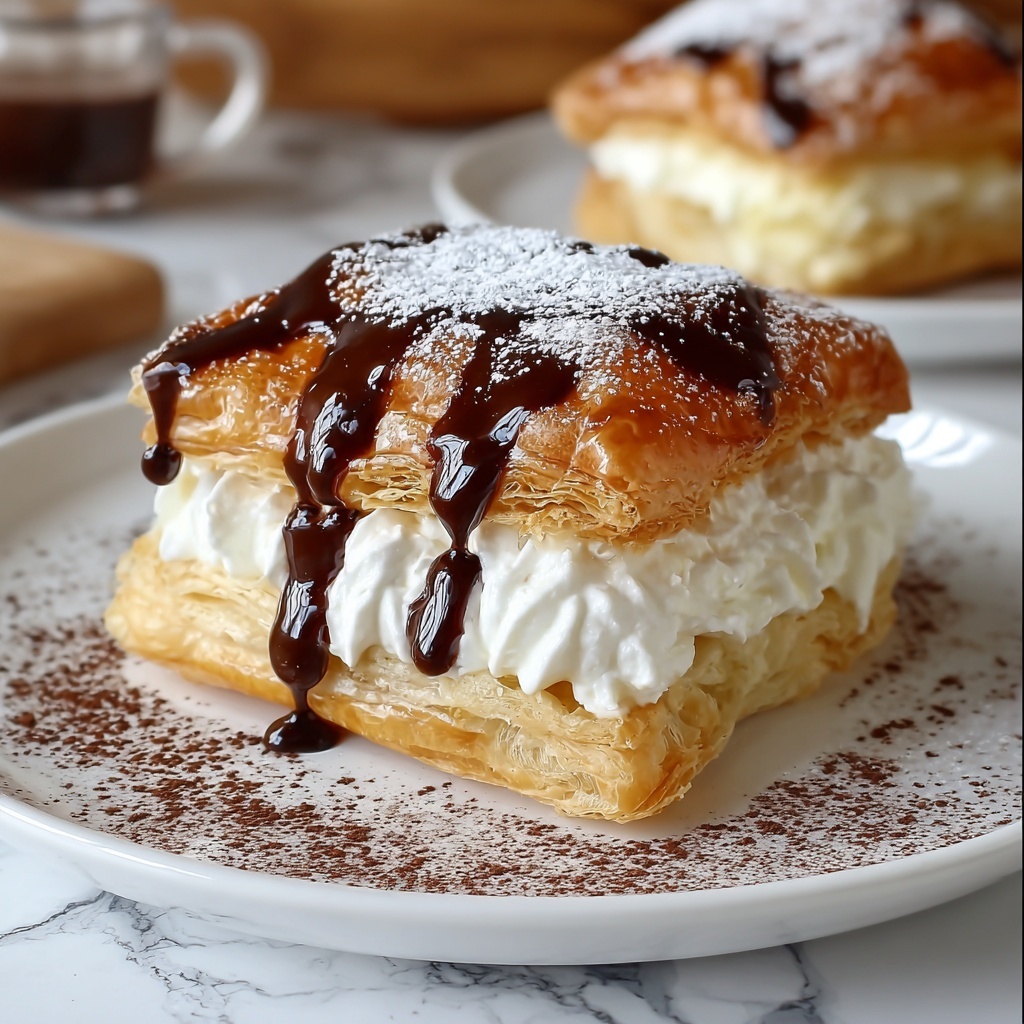
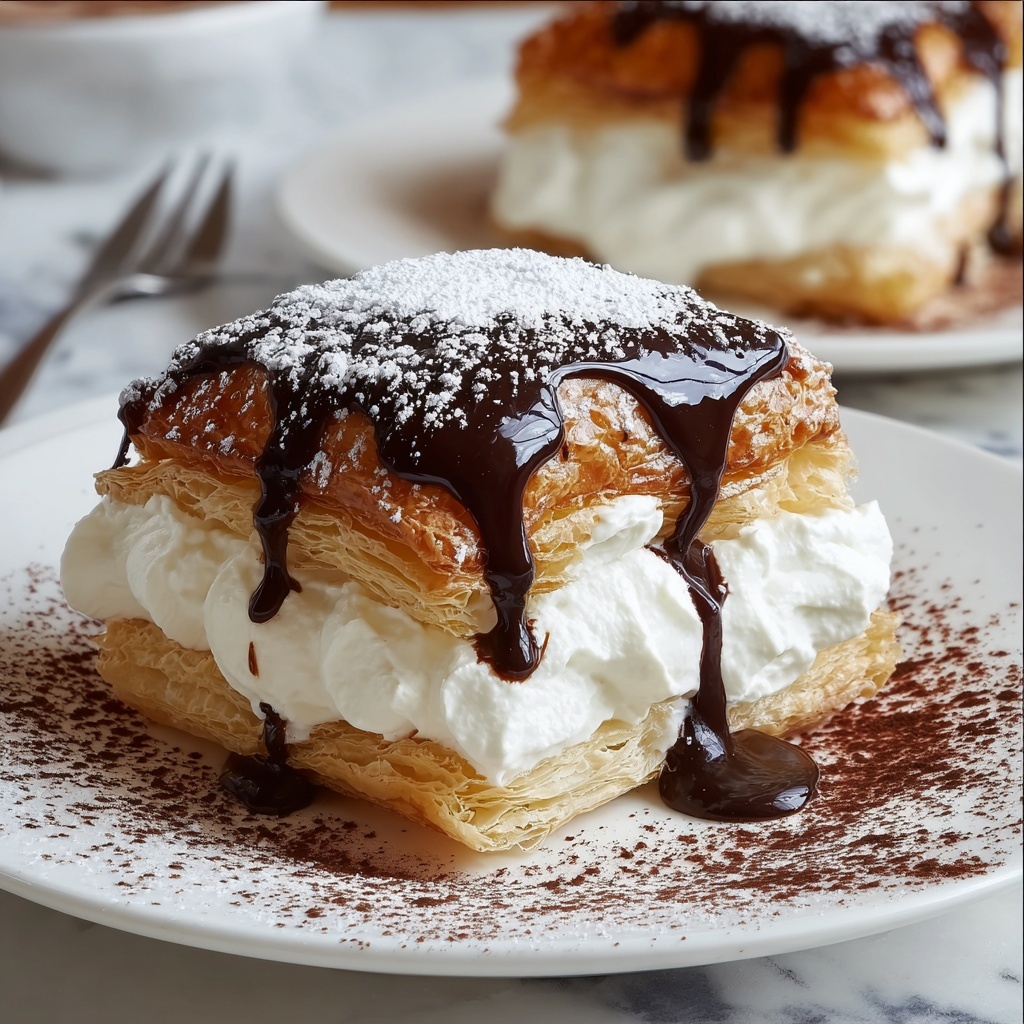
If you’re searching for a show-stopping dessert that combines light, airy texture with irresistible creaminess, you’ve just found your next favorite — the Cream Puff Cake Recipe is an absolute treasure. This delightfully layered treat features a delicate, puffed pastry base topped with a luscious cream cheese and pudding filling, all crowned with fluffy whipped topping and a drizzle of chocolate syrup. Every bite is a dreamy harmony of crispy, smooth, and sweet that feels like a celebration in your mouth. Once you try this Cream Puff Cake Recipe, it’s guaranteed to become a beloved classic on your dessert table.
Ingredients You’ll Need
You’ll be amazed how just a handful of simple, essential ingredients come together to create such a luscious and elegant dessert. Each ingredient plays a key role in delivering the perfect balance of texture and flavor you’re craving in this Cream Puff Cake Recipe.
- 1 cup water: Brings moisture and helps create the airy pastry shell.
- 1/4 teaspoon salt: Balances sweetness and enhances flavor.
- 1/2 cup butter: Adds richness and a tender crumb to the crust.
- 1 cup all-purpose flour: The backbone providing structure for your puffy crust.
- 4 eggs: Essential for that glossy, airy texture in the pastry layer.
- 2 (3.9 oz) boxes instant vanilla pudding: Creates a creamy, smooth filling with just the right sweetness.
- 8 ounces cream cheese, very soft: Gives the filling a luscious tang and velvety texture.
- 3 1/2 cups milk: Needed to prepare the pudding perfectly creamy and smooth.
- 8 ounces whipped topping, defrosted: Adds lightness and decadent fluff to the cake’s top layer.
- 1/4 cup chocolate syrup: The final flourish that gives each slice a touch of indulgence.
How to Make Cream Puff Cake Recipe
Step 1: Prepare Your Oven and Pan
Start by heating your oven to a hot 450°F and greasing a 9×13-inch baking pan. This high temperature is crucial for creating that beautiful puff in the pastry crust layer that forms the cake’s delightful foundation.
Step 2: Boil the Base Ingredients
In a saucepan, combine the water, butter, and salt. Bring this mixture to a boil—this step ensures the butter melts smoothly and the water provides enough steam to puff up your dough later on.
Step 3: Mix in the Flour
Quickly transfer your boiling mixture to a mixing bowl and add the flour all at once, mixing vigorously until a ball of dough forms. This technique cooks the flour slightly and creates the sturdy yet light base necessary for your cream puff crust. After mixing, allow the dough to cool for about 10 minutes so the eggs won’t cook upon addition in the next step.
Step 4: Incorporate Eggs One by One
Add the eggs individually to your dough ball, beating well between each addition. This is the secret to that smooth, glossy finish and the airy texture of your pastry — be patient and ensure each egg is fully integrated before the next goes in.
Step 5: Bake the Pastry Base
Press your dough evenly into the prepared baking pan. Bake for 15 minutes at 450°F so the pastry can rise dramatically. Then use a fork or skewer to poke holes gently in the puffed center—this prevents sogginess and helps the cake bake evenly. Reduce the oven temperature to 350°F and bake for another 20 minutes. Once done, cool the pastry for 30 to 45 minutes, giving a sturdy crust to hold the creamy layers.
Step 6: Prepare the Creamy Filling
Beat the softened cream cheese until smooth and creamy. In a separate bowl, whisk together the instant vanilla pudding mix and milk until thick and fully combined. Fold the pudding mixture into the cream cheese until you have a luscious, velvety filling that’s ready to layer on your cooled pastry.
Step 7: Assemble and Chill
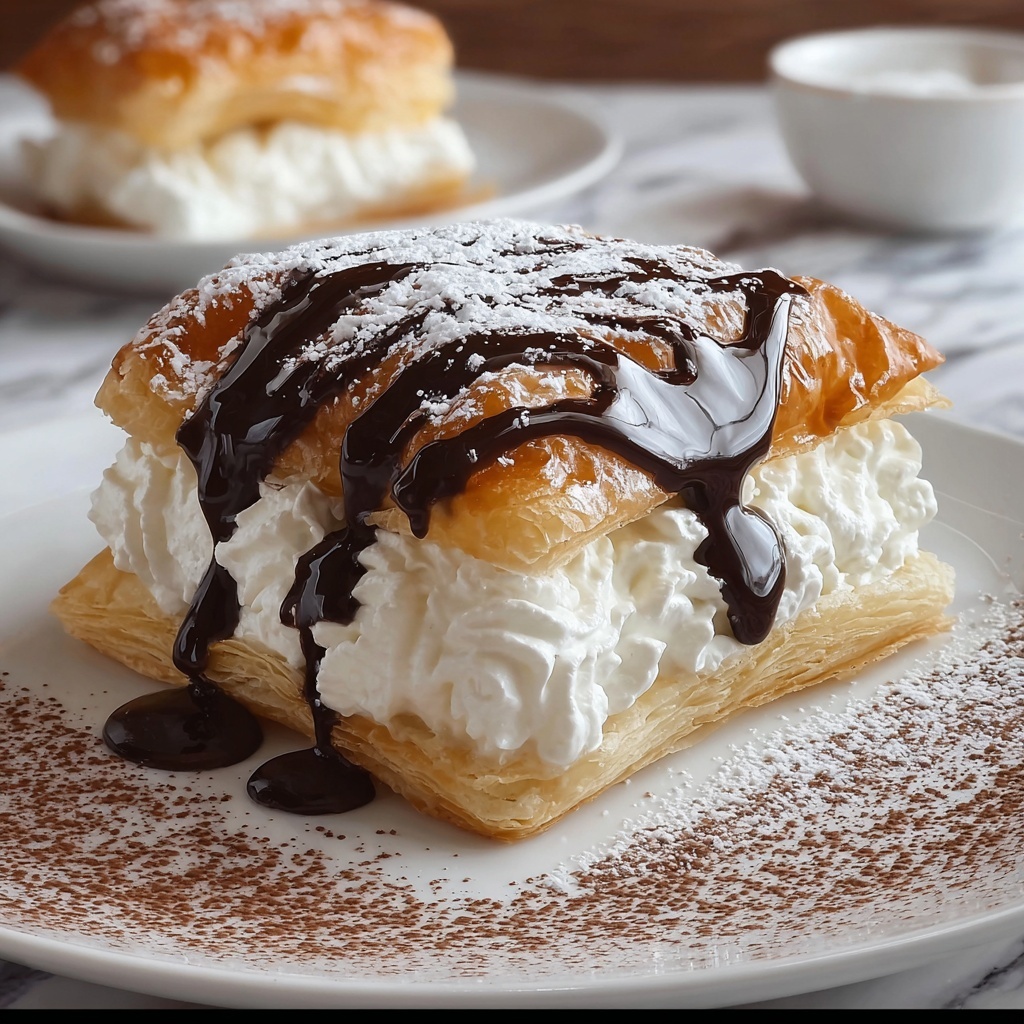
Spread the luscious cream cheese and pudding mixture evenly over the cooled pastry base. Next, top it all off with the defrosted whipped topping, giving it a cloudlike finish. Finally, drizzle chocolate syrup over the top for that irresistible touch of decadence. Refrigerate until you’re ready to serve, allowing flavors to meld beautifully.
How to Serve Cream Puff Cake Recipe
Garnishes
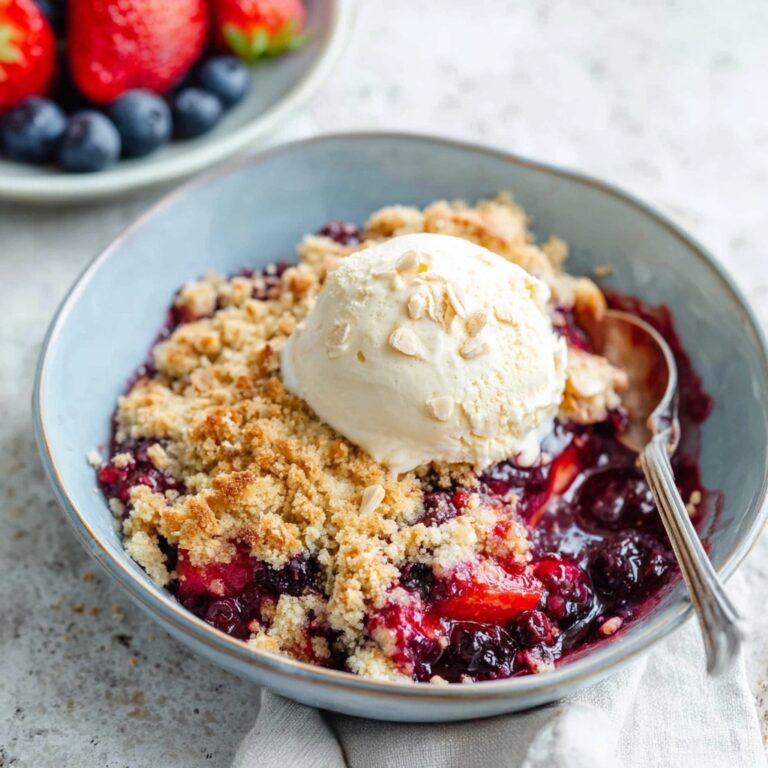
To elevate your Cream Puff Cake Recipe even more, consider adding fresh berries or a sprinkle of finely chopped nuts over the chocolate drizzle. These garnishes bring a pop of color and extra texture, making each slice a feast for the eyes and palate.
Side Dishes
This dessert pairs wonderfully with a cup of rich coffee or a creamy herbal tea. A side of vanilla ice cream also complements the light creaminess, especially if you want a cooler, more refreshing contrast on warm days.
Creative Ways to Present
For a fun twist, try serving this cake in individual glass jars for a charming, layered dessert parfait look. Another idea is to dust a little cocoa powder or powdered sugar atop the whipped topping before adding chocolate syrup, providing a delicate, elegant finish perfect for dinner parties.
Make Ahead and Storage
Storing Leftovers
Leftover Cream Puff Cake Recipe can be stored covered in the refrigerator for up to 3 days. Keeping it chilled preserves the whipped topping and creamy filling’s freshness while maintaining that light puffed crust.
Freezing
This cake doesn’t freeze well due to its whipped topping and pudding layers, which can separate or become watery after thawing. If you want to enjoy it later, it’s best to make and consume fresh.
Reheating
Since this is a cold dessert, it’s best served chilled. However, if you prefer, you can let slices sit at room temperature for 10 to 15 minutes before enjoying to bring out the flavors even more vividly.
FAQs
Can I use homemade pudding instead of instant vanilla pudding in the Cream Puff Cake Recipe?
Absolutely! Homemade pudding can add a fresh, rich flavor. Just ensure it’s thickened properly before folding it with the cream cheese to maintain the cake’s structure and creaminess.
Is there a gluten-free version of this Cream Puff Cake Recipe?
Yes, you can substitute the all-purpose flour with a gluten-free flour blend that’s suitable for baking. Keep in mind the texture might vary slightly but will still be delicious.
How long does the cream puff crust stay crisp?
The crust is crispiest right after baking and assembling. It will soften slightly over time due to the moist filling, so it’s best enjoyed within a day or two for the perfect texture contrast.
Can I use fresh whipped cream instead of store-bought whipped topping?
Definitely! Freshly whipped cream gives a lighter, more natural flavor. Just be sure to whip it to medium peaks so it holds well atop the cake without deflating too quickly.
What’s the best way to cut this cake without making a mess?
Use a sharp knife dipped in hot water and wiped dry between cuts. This technique helps you slice cleanly through the cream layers without dragging or smearing.
Final Thoughts
There’s something truly magical about this Cream Puff Cake Recipe — it effortlessly combines comforting flavors with elegant presentation. Whether for a family gathering, holiday celebration, or just a weekend treat, it’s a dessert that always impresses and delights. I encourage you to give it a try; once you do, it might just become your go-to recipe for special occasions and sweet cravings alike.
Print
Cream Puff Cake Recipe
- Prep Time: 20 minutes
- Cook Time: 35 minutes
- Total Time: 1 hour 5 minutes
- Yield: 12 servings
- Category: Dessert
- Method: Baking
- Cuisine: American
Description
This Cream Puff Cake combines a light, airy choux pastry base with a rich and creamy vanilla pudding and cream cheese filling, topped with fluffy whipped topping and drizzled chocolate syrup. Perfect for a delightful dessert that’s both elegant and easy to make, this cake offers the classic flavors of cream puffs in an easy-to-slice layer cake form.
Ingredients
Choux Pastry Base
- 1 cup water
- 1/4 teaspoon salt
- 1/2 cup butter
- 1 cup all-purpose flour
- 4 eggs
Filling
- 2 (3.9 oz) boxes instant vanilla pudding
- 8 ounces cream cheese, very soft
- 3 1/2 cups milk
Topping
- 8 ounces whipped topping, defrosted
- 1/4 cup chocolate syrup
Instructions
- Preheat & Prepare Pan: Preheat your oven to 450°F (232°C). Grease a 9×13-inch baking pan thoroughly to prevent sticking.
- Boil Base Ingredients: In a saucepan, bring the water, butter, and salt to a rolling boil. Once boiling, remove from heat and transfer the hot mixture into a mixing bowl.
- Add Flour & Form Dough: Immediately add the flour to the hot liquid, stirring vigorously until a smooth ball of dough forms. Allow this dough to cool for about 10 minutes to prevent eggs from cooking when added.
- Incorporate Eggs: Add the eggs one at a time to the cooled dough, beating well after each addition until the batter is smooth and glossy. This step ensures the right consistency for puffing.
- Bake the Pastry: Spread the dough evenly into the prepared baking pan. Bake at 450°F for 15 minutes. Then, poke several holes in the puffed center to release steam, reduce oven temperature to 350°F (177°C), and bake for an additional 20 minutes. After baking, cool for 30-45 minutes completely.
- Make the Filling: In a mixing bowl, beat the cream cheese until smooth. In a separate bowl, whisk together the instant vanilla pudding mix with the milk until well combined and slightly thickened. Fold the pudding mixture into the cream cheese mixture until homogeneous.
- Assemble the Cake: Spread the cream cheese-pudding filling evenly over the cooled choux pastry base. Top with the defrosted whipped topping, spreading gently to cover the surface.
- Decorate & Chill: Drizzle the chocolate syrup artfully over the whipped topping for added flavor and visual appeal. Refrigerate the entire cake until ready to serve to allow the layers to set.
Notes
- Ensure the dough cools before adding eggs to avoid cooking them and ruining the batter texture.
- Poking holes after the initial bake lets steam escape, preventing soggy pastry.
- Use very soft cream cheese to make mixing easier and achieve a silky filling.
- Chilling the assembled cake helps the filling firm up and enhances flavor melding.
- For best results, serve within 2 days of preparation.


