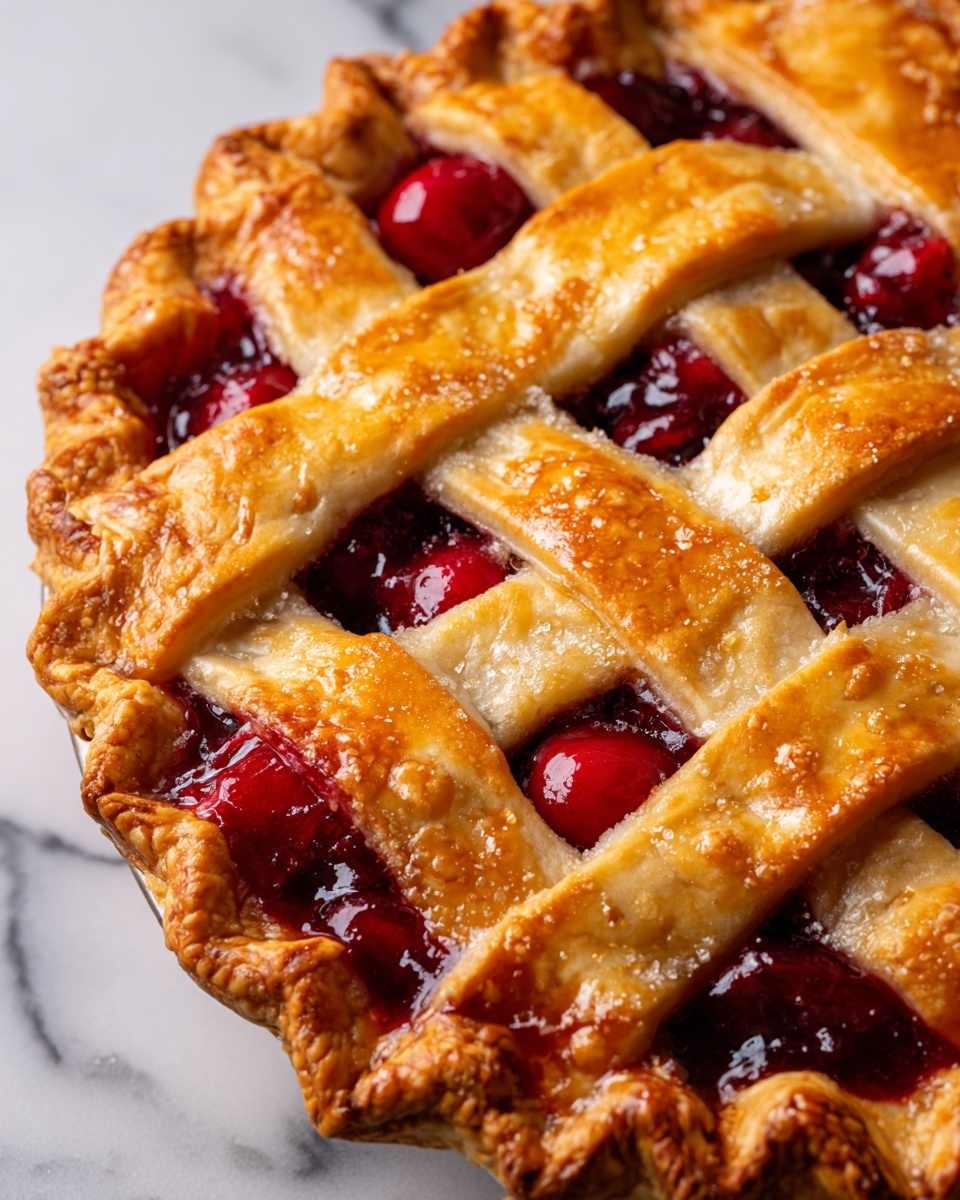
If you have a soft spot for all things sweet and slightly tart, this Homemade Cherry Pie Recipe is going to steal your heart. It’s a glorious celebration of fresh cherries wrapped in a buttery, flaky crust, revealing a beautiful balance of bright fruitiness and cozy warmth with every bite. Trust me when I say that making this pie from scratch brings such joy to your kitchen, and the fragrance alone will have everyone gathering around the table asking for a slice. Whether it’s for a special occasion or just because you’re in the mood for something classic and comforting, this recipe delivers that perfect homemade touch that can’t be beaten.
Ingredients You’ll Need
All the magic starts with a handful of simple, kitchen-friendly ingredients that each play an important role in building the flavor and texture of your pie. The fresh cherries bring natural sweetness and vibrant color, while the sugar and cornstarch balance the tartness and thicken the juicy filling. The lemon juice adds a lovely brightness, and vanilla extract lends a subtle warmth to every spoonful. Let’s gather these essential components before we get baking.
- 4 cups fresh cherries, pitted: The star of the show—juicy, tart, and bursting with flavor.
- 1 cup sugar: Sweetens the cherries perfectly without overpowering their natural taste.
- 1 pie crust (store-bought or homemade): Flaky, buttery, and ready to cradle that luscious filling.
- 2 tablespoons cornstarch: Thickens the filling to keep it beautifully set and not runny.
- 1 tablespoon lemon juice: Adds a fresh, tangy brightness that lifts the flavors.
- 1 teaspoon vanilla extract: Brings a warm, aromatic depth to the filling.
How to Make Homemade Cherry Pie Recipe
Step 1: Prep Your Cherries
Start by washing your cherries thoroughly, then remove the pits. This might be a bit time-consuming but it’s absolutely worth it for that perfect, pit-free bite later on. Fresh cherries are tender and juicy, so handle them gently to preserve their shape and flavor.
Step 2: Mix the Filling
In a large bowl, combine the pitted cherries with sugar, cornstarch, lemon juice, and vanilla extract. Stir gently to coat all the cherries evenly. Let this mixture sit for a few minutes so the flavors meld and the cornstarch starts thickening the natural cherry juices, which helps to create that irresistible glossy filling.
Step 3: Prepare the Pie Crust
On a lightly floured surface, roll out half of your pie dough just enough to cover your pie dish without stretching it. Placing it gently into the dish ensures a tender crust that bakes evenly, giving you that perfect flaky texture every time.
Step 4: Assemble the Pie
Pour the cherry filling evenly into the crust. Then roll out the remaining dough to form the top crust. You can either cut slits in it to vent steam or craft a lattice design for a timeless, eye-catching look. This step is where you get to have fun and personalize your pie’s appearance.
Step 5: Bake to Perfection
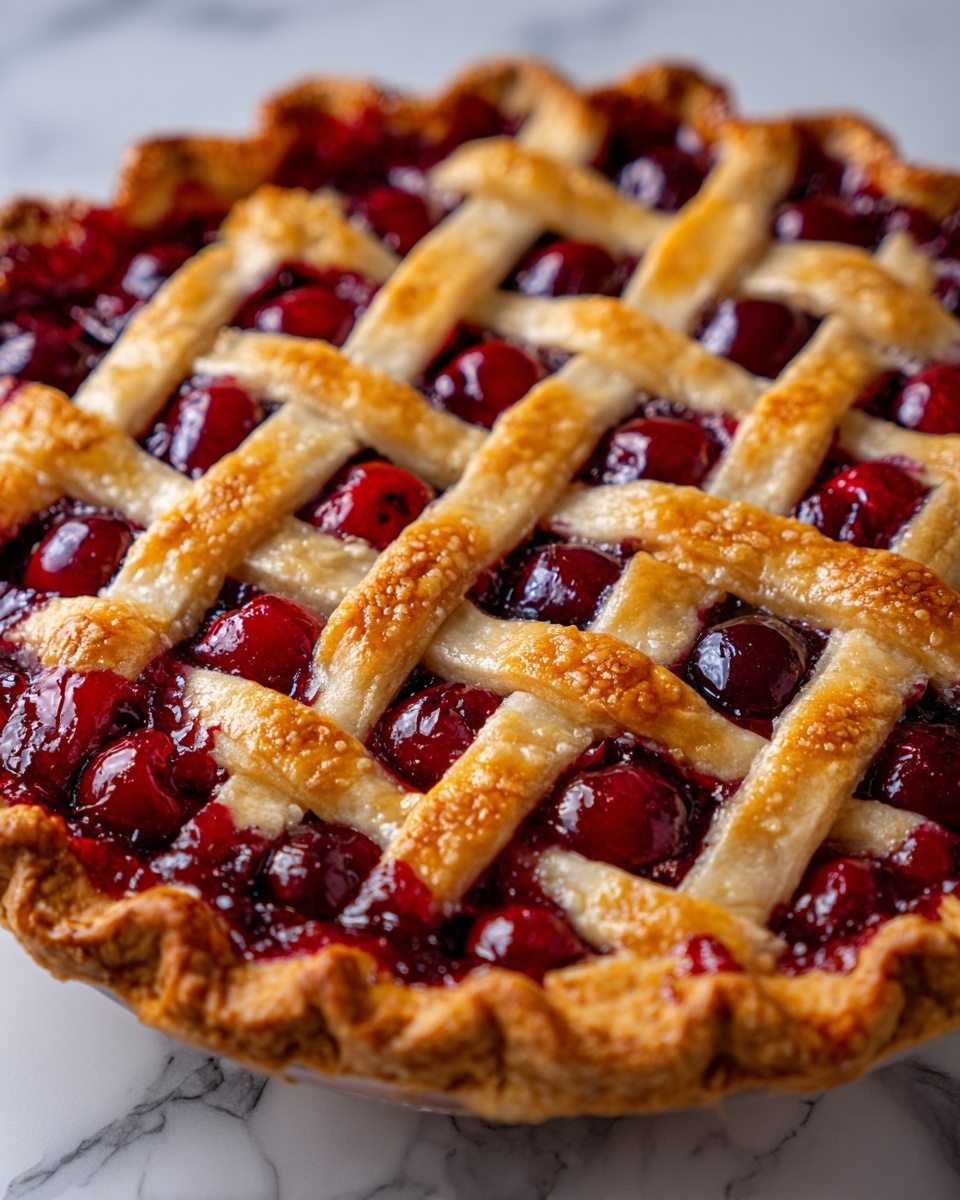
Preheat your oven to 425°F (220°C). Place the pie in the oven and bake for 45 to 50 minutes. You’re looking for a golden-brown crust with bubbling cherry filling peeking through. The baking process caramelizes the edges and deepens the cherry flavor, filling your kitchen with a warm, inviting aroma.
Step 6: Cool and Enjoy
Once out of the oven, give your pie at least an hour to cool; this helps the filling set fully for cleaner, more beautiful slices. Serve it warm with a dollop of whipped cream or a scoop of vanilla ice cream for a classic touch that everyone will love.
How to Serve Homemade Cherry Pie Recipe
Garnishes
A sprinkle of powdered sugar or a few extra fresh cherries on top can add a lovely finishing touch. You can also add a sprig of mint for a pop of color and a fresh aroma that complements the pie’s sweetness perfectly.
Side Dishes
This cherry pie pairs beautifully with simple sides like a scoop of vanilla ice cream or freshly whipped cream, which add a creamy contrast to the vibrant, juicy filling. For a brunch spread, serve alongside mild cheeses and fresh fruit to enhance the experience.
Creative Ways to Present
Try serving individual mini cherry pies in ramekins for a charming presentation, or add a drizzle of warm chocolate sauce on top for a decadent twist. You could even add a sprinkle of toasted almonds to the crust edges for a delightful crunch that contrasts with the soft filling.
Make Ahead and Storage
Storing Leftovers
Wrap any uneaten pie tightly in plastic wrap and store it in the refrigerator. It will keep well for up to 3 days without losing its flavor or texture, making it perfect for enjoying a slice or two later.
Freezing
You can freeze the pie before baking by assembling it and wrapping it securely. Freeze for up to 2 months. When ready to bake, thaw overnight in the refrigerator and then proceed with baking as usual, adding a few extra minutes if needed.
Reheating
To reheat, place slices in a 350°F (175°C) oven for about 10-15 minutes until warm. Avoid microwaving as it can make the crust soggy. Reheating this way helps recapture the fresh-baked texture and flavor of your Homemade Cherry Pie Recipe.
FAQs
Can I use frozen cherries instead of fresh?
Absolutely! Frozen cherries can be a great substitute when fresh ones are out of season. Just be sure to thaw and drain them well to avoid excess liquid, and adjust your cornstarch as needed to thicken the filling properly.
Do I have to make the pie crust from scratch?
Not at all! While homemade crust adds a wonderful rustic touch, a good quality store-bought crust works beautifully and saves time without sacrificing taste.
How can I prevent the crust edges from burning?
To keep crust edges from browning too quickly, cover them with strips of foil or a pie shield halfway through baking. This protects the delicate dough while letting the center bake fully.
Is it necessary to use cornstarch in the filling?
Cornstarch helps thicken the cherry juices as they cook so the filling isn’t too runny. You can substitute with tapioca starch or flour if needed, but cornstarch gives the clearest, most glossy finish.
What’s the best way to pit cherries quickly?
A cherry pitter is the easiest tool to speed things up. If you don’t have one, you can use a sturdy straw or the tip of a wooden skewer to push out the pits carefully.
Final Thoughts
There’s something truly special about making this Homemade Cherry Pie Recipe from scratch—the colors, the aromas, and the way it tastes like a warm hug on a plate. I encourage you to give it a try, whether as a sweet treat for yourself or a crowd-pleasing dessert. Once you do, I bet it will become a beloved recipe you’ll return to time and again.
Print
Homemade Cherry Pie Recipe
- Prep Time: 20 minutes
- Cook Time: 50 minutes
- Total Time: 1 hour 10 minutes
- Yield: 8 servings
- Category: Dessert
- Method: Baking
- Cuisine: American
Description
This homemade cherry pie recipe features a luscious filling made from fresh, pitted cherries combined with sugar, cornstarch, lemon juice, and vanilla extract, all encased in a flaky, golden pie crust. Baked to perfection until bubbly and golden, it’s a classic dessert that’s perfect for any occasion.
Ingredients
Filling Ingredients
- 4 cups fresh cherries, pitted
- 1 cup sugar
- 2 tablespoons cornstarch
- 1 tablespoon lemon juice
- 1 teaspoon vanilla extract
Crust
- 1 pie crust (store-bought or homemade)
Instructions
- Prepare the cherries: Wash and pit the fresh cherries carefully to remove any stems and pits, ensuring they are ready for the filling.
- Mix the filling: In a bowl, combine the pitted cherries with sugar, cornstarch, lemon juice, and vanilla extract. Stir well and let the mixture sit to meld the flavors and thicken slightly.
- Prepare the crust base: Roll out half of the pie dough on a floured surface to an even thickness and gently place it into your pie dish without stretching to prevent shrinking during baking.
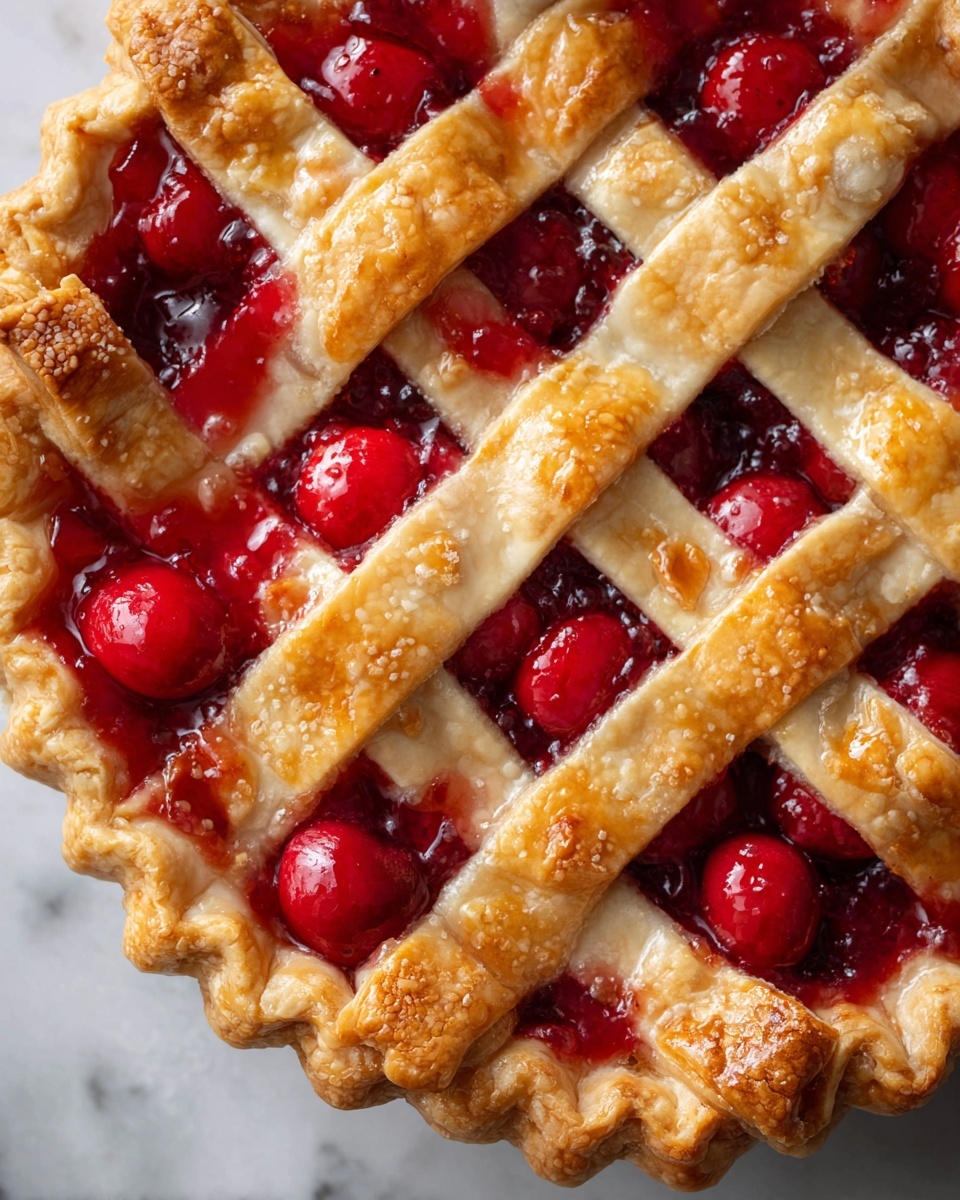
- Assemble the pie: Pour the cherry filling evenly into the crust-lined pie dish. Roll out the remaining dough for the top crust, then either cut slits for steam to escape or create a decorative lattice pattern over the filling.
- Bake the pie: Preheat your oven to 425°F (220°C). Bake the assembled pie for 45-50 minutes, or until the crust is golden brown and the filling is bubbling through the vents.
- Cool and serve: Allow the pie to cool for at least one hour before slicing to let the filling set properly. Serve warm, optionally with whipped cream or ice cream for added indulgence.
Notes
- Use fresh, ripe cherries for the best flavor and texture.
- If you prefer a sweeter pie, you can adjust the sugar quantity slightly.
- For a gluten-free version, use a gluten-free pie crust.
- Make sure to cut vents or lattice on top crust to avoid sogginess from steam.
- Chilling the dough before assembling can help maintain flakiness during baking.
- This pie can be stored covered in the refrigerator for up to 3 days.


