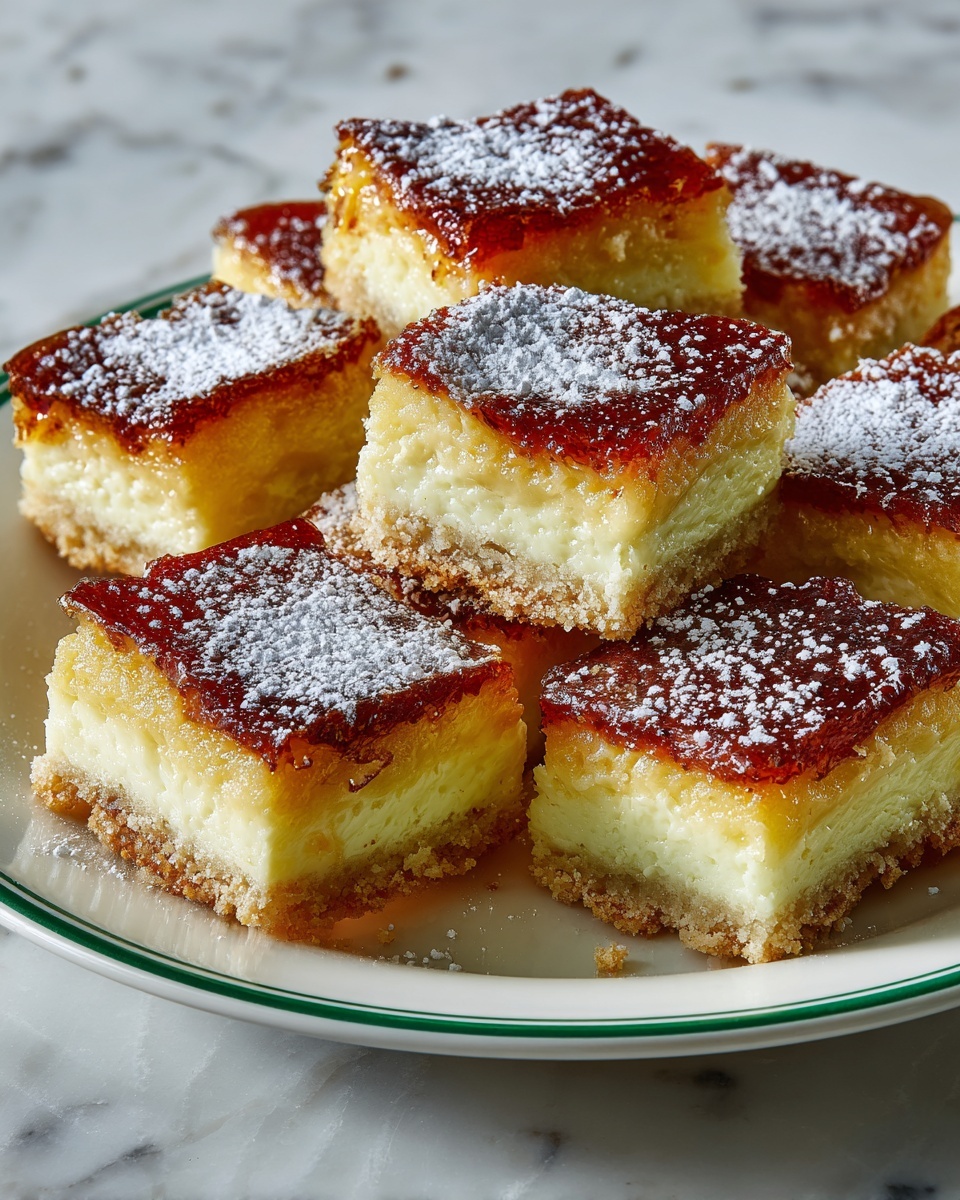
If you’re craving a dessert that’s both chewy and buttery with a tropical twist, you are going to fall head over heels for this Hawaiian Butter Mochi Recipe. This delightful treat combines the unique texture of mochi made from sweet rice flour with the rich flavors of coconut milk and vanilla. Every bite delivers a tender, slightly sticky bite that melts in your mouth while packing just the right amount of buttery sweetness. It’s the kind of dessert that beckons you to have just one more square, perfect for sharing with friends and family or savoring all by yourself on a cozy afternoon.
Ingredients You’ll Need
Gathering the ingredients for this Hawaiian Butter Mochi Recipe is refreshingly simple. Each component plays a crucial role, whether it’s adding moisture, sweetness, or that signature chewy texture we all love. From the creamy coconut milk to the versatile sweet rice flour, these staples come together effortlessly to create magic in your baking pan.
- Sweet rice flour (mochiko): This is the heart of the mochi, providing the chewy, sticky texture that makes this dessert so special.
- Sugar: Sweetens the batter perfectly without overpowering the subtle flavors.
- Baking powder: Helps give the mochi a light lift while keeping it tender.
- Salt: Enhances all the flavors and balances the sweetness.
- Unsalted butter, melted: Adds richness and a smooth, buttery flavor that pairs beautifully with coconut.
- Coconut milk: Delivers tropical creaminess and deep aroma that’s essential for Hawaiian flair.
- Eggs: Bind the ingredients together and contribute to the moist texture.
- Vanilla extract: Brings warmth and aromatic depth, rounding out the flavor profile.
- Whole milk: Adds extra moisture to ensure a tender, melt-in-your-mouth finish.
How to Make Hawaiian Butter Mochi Recipe
Step 1: Preheat and Prepare Your Pan
Start by heating your oven to 350°F (175°C). Grease a 9×9-inch baking pan or line it with parchment paper to prevent sticking. This simple step makes sure your mochi comes out cleanly and presents beautifully when sliced.
Step 2: Mix the Dry Ingredients
In a medium bowl, whisk together the sweet rice flour, sugar, baking powder, and salt. Combining these dry ingredients thoroughly helps to evenly distribute the leavening and salt, which contributes to that perfectly balanced flavor and texture.
Step 3: Blend the Wet Ingredients
In a separate bowl, beat the eggs until smooth. Stir in the melted butter, coconut milk, vanilla extract, and whole milk. This mixture comes together to infuse the mochi with incredible creaminess and a gently sweet aroma.
Step 4: Combine Wet and Dry
Gradually add the wet ingredients into the dry mixture, stirring continuously until the batter is smooth and lump-free. This is the moment when all the flavors start to marry, making your Hawaiian Butter Mochi Recipe truly irresistible.
Step 5: Pour and Spread the Batter
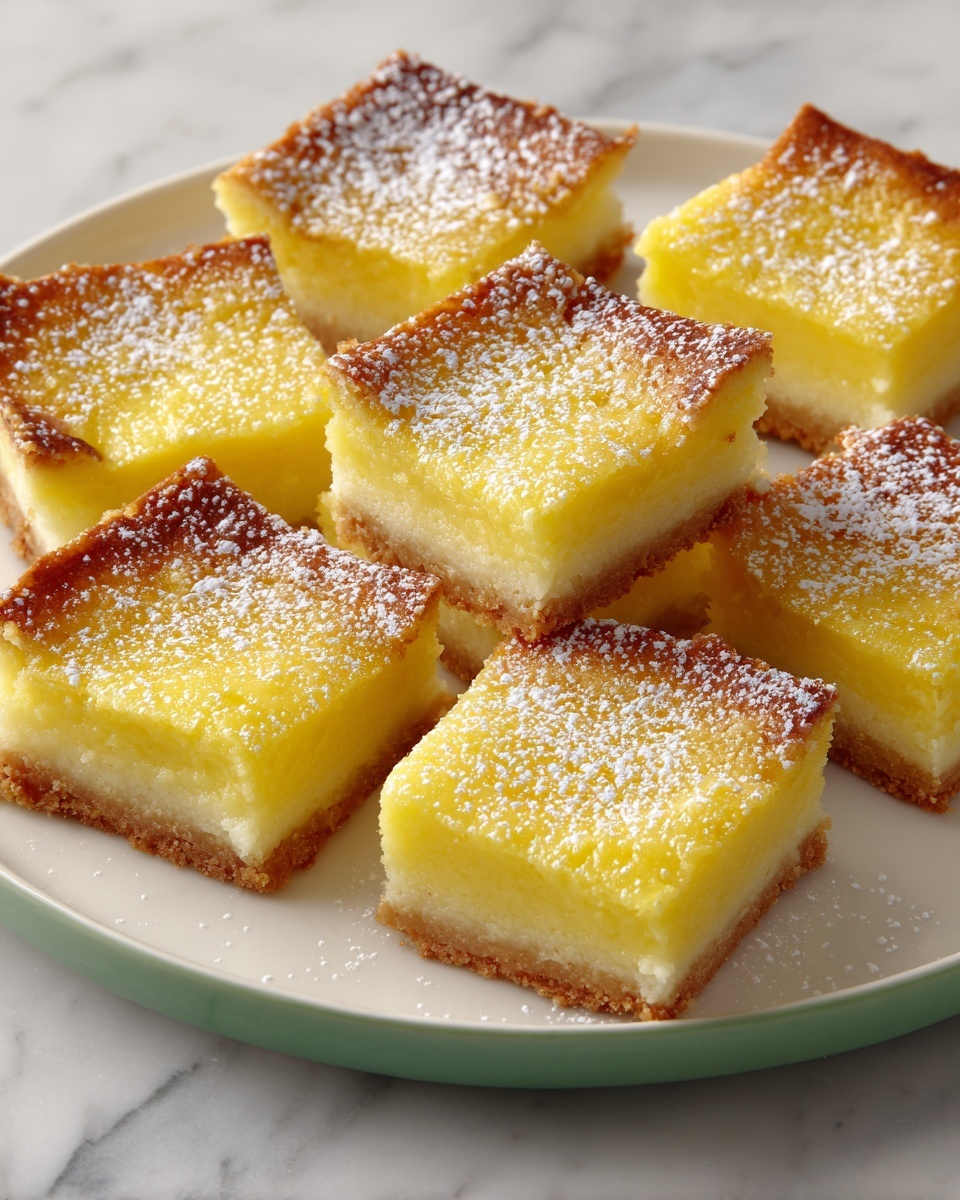
Pour the batter into your prepared baking pan. Use a spatula to smooth the surface evenly so the mochi bakes uniformly. This also helps achieve that signature golden-brown crust on top.
Step 6: Bake to Perfection
Bake your mochi for 50 to 55 minutes. It’s done when the top is beautifully golden and a toothpick inserted in the center comes out clean. The aroma wafting from the oven at this point is pure happiness.
Step 7: Cool and Slice
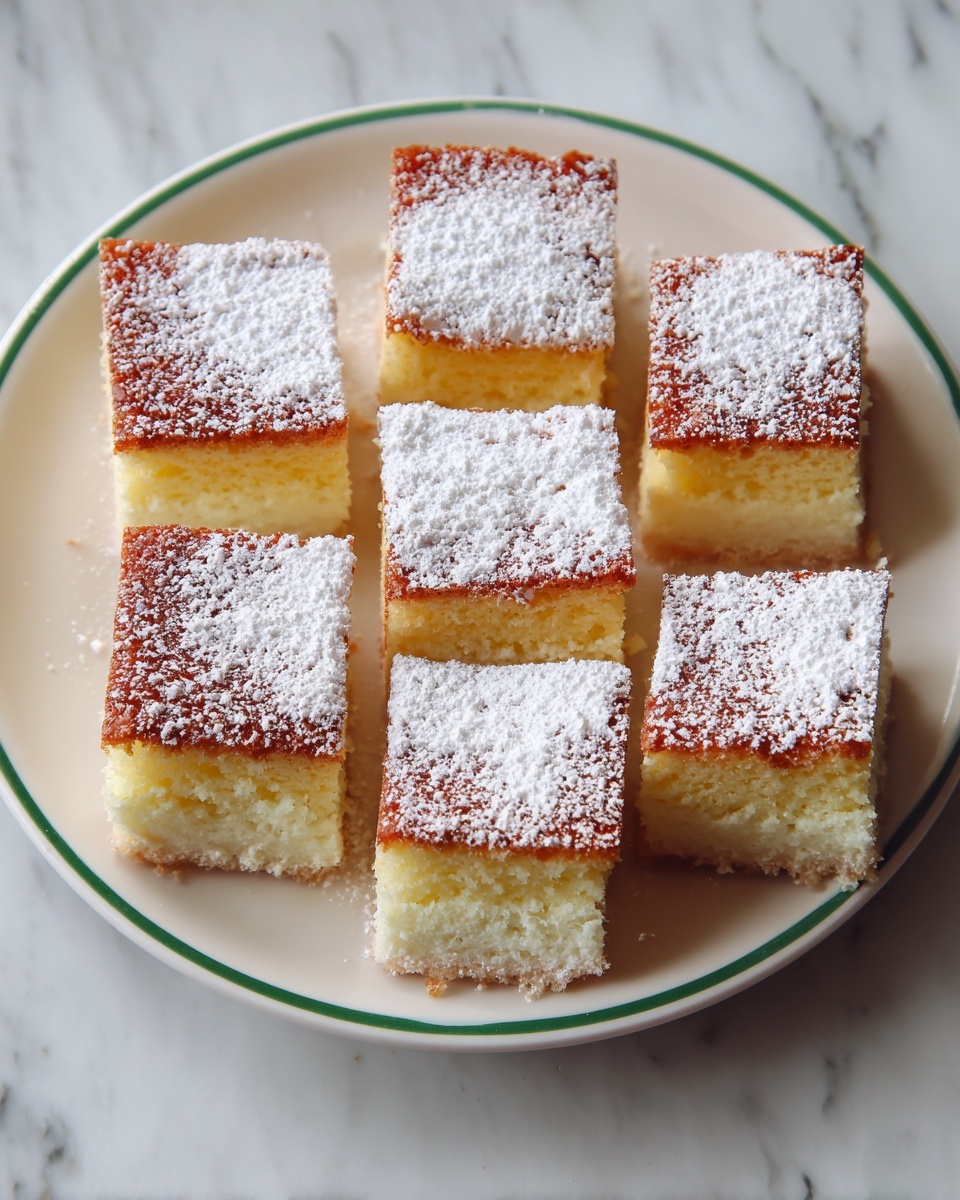
Allow the mochi to cool completely in the pan. This step is crucial to let it set properly so when you slice it into squares, they hold their shape but remain wonderfully chewy and soft inside.
How to Serve Hawaiian Butter Mochi Recipe
Garnishes
When it comes to garnishing your Hawaiian Butter Mochi Recipe, less is more. A light dusting of powdered sugar or a sprinkle of toasted coconut flakes complements the buttery sweetness beautifully without overpowering it. For extra flair, drizzle a little honey or a thin coconut cream glaze over the top.
Side Dishes
This mochi pairs wonderfully with tropical fruits like fresh pineapple, mango slices, or papaya to elevate your dessert into a full-on Hawaiian experience. For a decadent twist, serve alongside a scoop of vanilla bean ice cream or coconut sorbet to contrast the chewy texture with cool creaminess.
Creative Ways to Present
Looking to impress guests? Serve your Hawaiian Butter Mochi Recipe in a rustic wooden bowl lined with banana leaves for an authentic island vibe. You can also cut the mochi into bite-sized cubes on skewers for a fun finger food option at parties or package individual squares in cute boxes as homemade gifts.
Make Ahead and Storage
Storing Leftovers
Once cooled, store your mochi in an airtight container at room temperature for up to 2 days. If you want to keep it longer, refrigerate it but be aware this can slightly change the texture by making it firmer.
Freezing
To enjoy Hawaiian Butter Mochi Recipe later, wrap the cooled squares tightly in plastic wrap and place them in a freezer-safe bag or container. Frozen mochi keeps well for up to 2 months and thaws quickly at room temperature.
Reheating
Reheat leftover mochi gently in the microwave for about 20 seconds or warm it in a low oven (around 300°F) for 10 minutes. This brings back its chewiness and buttery flavor without drying it out.
FAQs
What is the difference between mochi and Hawaiian Butter Mochi Recipe?
Traditional mochi is usually a chewy rice cake made from pounded glutinous rice, while Hawaiian Butter Mochi Recipe uses sweet rice flour in a baked form combined with butter and coconut milk, giving it a cakey yet chewy texture with a uniquely rich flavor.
Can I use regular flour instead of sweet rice flour?
Regular flour will not give you the characteristic chewiness that sweet rice flour provides. For that authentic texture in the Hawaiian Butter Mochi Recipe, mochiko or sweet rice flour is essential.
Is this Hawaiian Butter Mochi Recipe gluten-free?
Yes! Since sweet rice flour is naturally gluten-free, this recipe is a great dessert option for those avoiding gluten, but always check ingredient labels to avoid cross-contamination.
Can I substitute coconut milk with something else?
You can use full-fat dairy milk in a pinch, but coconut milk adds the signature tropical flavor and creaminess that makes Hawaiian Butter Mochi Recipe stand out, so it’s worth using if you can.
Why does the mochi need to cool completely before slicing?
Allowing the mochi to cool ensures it finishes setting properly. If sliced too soon, it might be too soft and sticky to cut cleanly, causing it to crumble or fall apart.
Final Thoughts
There’s something truly heartwarming about baking this Hawaiian Butter Mochi Recipe and sharing it with loved ones. It’s a comforting, chewy delight that brings a hint of tropical sunshine into your kitchen, no matter the season. I can’t recommend it enough — take a little time to make it, and you’ll have a new favorite dessert that’s perfect for any occasion.
Print
Hawaiian Butter Mochi Recipe
- Prep Time: 15 minutes
- Cook Time: 50-55 minutes
- Total Time: 1 hour 5 minutes
- Yield: 16 servings
- Category: Dessert
- Method: Baking
- Cuisine: Hawaiian
Description
Hawaiian Butter Mochi is a delightful fusion dessert featuring a chewy, buttery texture with a tropical hint of coconut milk. This popular treat from Hawaii combines sweet rice flour with rich butter and creamy coconut milk, baked to golden perfection. Perfect for sharing at gatherings or enjoying as a sweet snack.
Ingredients
Dry Ingredients
- 1 cup sweet rice flour (mochiko)
- 1 cup sugar
- 1 1/2 teaspoons baking powder
- 1/4 teaspoon salt
Wet Ingredients
- 1/2 cup unsalted butter, melted
- 1 cup coconut milk
- 2 large eggs
- 1 teaspoon vanilla extract
- 1/2 cup whole milk
Instructions
- Preheat the oven: Preheat your oven to 350°F (175°C) and prepare a 9×9-inch baking pan by greasing it well or lining it with parchment paper to prevent sticking.
- Mix dry ingredients: In a medium bowl, whisk together the sweet rice flour, sugar, baking powder, and salt until evenly combined and free of lumps.
- Prepare wet ingredients: In a separate bowl, beat the eggs thoroughly. Add in the melted butter, coconut milk, vanilla extract, and whole milk, mixing well to combine all the wet components.
- Combine wet and dry: Gradually pour the wet mixture into the dry ingredients, stirring gently until the batter is completely smooth and homogeneous with no flour pockets.
- Transfer to pan: Pour the batter into the prepared baking pan, spreading it evenly with a spatula to create a smooth surface for even baking.
- Bake: Place the pan in the preheated oven and bake for 50 to 55 minutes. The mochi is done when the top is golden brown and a toothpick inserted in the center comes out clean.
- Cool and serve: Remove the baked mochi from the oven and allow it to cool completely in the pan. Once cool, slice it into squares and enjoy this chewy, buttery delight.
Notes
- Ensure the mochi cools completely before slicing to maintain its chewy texture and clean edges.
- You can substitute whole milk with coconut milk for a richer coconut flavor and a dairy-free version.
- If a golden top is desired, you can broil for an additional 1–2 minutes at the end of baking, watching carefully to avoid burning.
- Store leftovers in an airtight container at room temperature for up to 3 days or refrigerate for up to a week.
- Sweet rice flour (mochiko) is essential for the unique chewy texture; do not substitute with regular rice flour or all-purpose flour.

